





Straight cuts
20V Cordless Circular Saw FX-E1CS20 SET
For repeatable, straight cuts on frame timbers and braces — cordless, with no need for an extension lead in the garden.
- 4,300 RPM
- 165 × 16 mm saw blade
- Set includes 4Ah battery and 1A charger

Leckere Tomaten aus dem eigenen Garten!
A ripe tomato straight off the vine tastes like summer. But to get more than just a handful of fruit, plants need a sunny spot, dry leaves and still plenty of fresh air. A tomato house creates exactly these conditions: it keeps rain off the delicate plants without shutting them away like a fully enclosed greenhouse.
Our FUXTEC version is 160 cm wide, 80 cm deep, 210 cm high at the front and 195 cm high at the back. The gently sloping lean-to roof covers two to three tall-growing tomato plants. With four anchored posts, a sturdy frame and a transparent roof panel, the whole structure can easily be built yourself in a weekend.
Blight is one of the most common problems when growing tomatoes. The pathogens behind it thrive on prolonged moisture on the leaves. A sufficiently large tomato roof reduces direct rainfall and soil splash-back. It's no guarantee against blight, but drier foliage makes it much harder for the disease to spread.
The open design isn't an unfinished greenhouse — it's deliberate. Airflow from the sides carries away warm, humid air and prevents heat build-up in high summer. At the same time, the roof protects against wind, rain and sudden changes in weather. This creates ideal growing conditions without you having to open doors and windows every day. Tomatoes in particular benefit from staying dry on the leaves.
Choose a sunny, warm spot that isn't shaded for hours on end by buildings, hedges or fences. The open front should ideally face south or south-east. An existing wall to the north or west can act as a windbreak, but it mustn't block airflow. In a corner that's completely sheltered from wind, you'll lose that vital through-draught.
The suggested footprint of 160 × 80 cm is enough for two to three slender cordon (staked) tomato plants. Leave around 50 to 60 cm between plants and allow enough room at the front for tending and harvesting. Only plant as many as you can comfortably grow and reach from all sides. The 210 cm height at the front gives vigorous varieties room to grow and lets you work comfortably underneath the roof.
The rear posts are 15 cm shorter. Over a depth of 80 cm, that gives a roof pitch of roughly 10 degrees, so rain runs off towards the back. Even so, check the fitting and pitch requirements of your chosen roofing material before buying. In areas prone to snow or strong wind, sizing, bracing and fixings need to be adapted to the local loads.
The cutting list below is matched to our example size. Buy pressure-treated or otherwise weather-resistant timber and treat all cut edges with a suitable wood preserver. All screws, brackets and roof fixings should be corrosion-resistant and rated for outdoor use.
| Component | Quantity and cut size | Use |
|---|---|---|
| Timber posts, 70 × 70 mm | 2 × 210 cm, 2 × 195 cm | Four upright posts |
| Frame timber, approx. 45 × 70 mm | 2 × 160 cm, 5 × 80 cm | Top frame and three roof supports |
| Diagonal braces, approx. 45 × 70 mm | 4 pieces, 45–60 cm depending on angle | Bracing the corners |
| Ground spikes for square posts | 4 pieces suited to 70 mm posts | Anchoring into the ground |
| Brackets and screws | 16 brackets, construction screws and short exterior screws | Frame joints |
| Transparent roof panel | approx. 180–200 × 100–110 cm | Roof with overhang on the sides |
| Roofing screws with sealing washers | as specified by the panel manufacturer | Roof fixing |
| Optional: guttering, plant supports and weatherproofing | to suit the structure | Collecting water, training plants, shielding the exposed side |
You'll also need string, a tape measure, a carpenter's square, a pencil, a long straight batten, a spirit level, a sledgehammer with a post-driving cap, suitable drill bits and personal protective equipment. Clamp workpieces securely before cutting and wear at least safety glasses and hearing protection when cutting.
A cordless saw and a sturdy work surface let you prepare frame timbers and braces with precision and control.
Straight cuts
For repeatable, straight cuts on frame timbers and braces — cordless, with no need for an extension lead in the garden.
View product: FUXTEC 20V Cordless Circular Saw FX-E1CS20 SET

Mobile workstation
This folding platform doubles as a workbench and sawhorse, and folds away for space-saving storage once the project's finished.
View product: FUXTEC 5in1 Universal Workbench FX-WB
A transparent corrugated panel holds its shape, lasts well and reliably sheds rain. It does, however, need enough roof supports and fixings that exactly match its profile. When buying, check for UV resistance, the permitted support spacing, and make sure the material stays translucent. The material can be damaged if handled incorrectly. For this build, a rigid panel is the best choice.
Greenhouse film is often cheaper and easier to transport. It needs to be pulled taut, can chafe against edges and is more vulnerable to storms or damage. If you do use it, clamp it between smooth battens rather than screwing directly through the material. A lightweight covering can work well for a seasonal setup on a balcony or patio; for a permanent roof, the rigid option is usually the better choice.
| Criterion | Rigid roof panel | Film covering |
|---|---|---|
| Durability | high with correct installation | depends on thickness and UV protection |
| Installation | mind profile, expansion and screw points | stretch taut, wrinkle-free, and clamp flat |
| Best for | permanent roofing | lightweight or seasonal setups |
Lay out all the parts dry first and mark every cut. Before you start, check whether any cables or pipes run underground and whether local rules apply to your site. If you're unsure about wind or snow loads, get professional advice. Never work on a ladder in strong wind, and read the instructions for any tools you use.

Peg out a rectangle of 160 × 80 cm using string. Both diagonals should measure roughly 179 cm; if they match, the corners are square. On a new bed, strip off the turf and loosen any compacted soil. The finished planting area can sit slightly below the surrounding ground level, but shouldn't form a hollow where water can collect.
Mark all four corner points precisely. Double-check the sun's path, the working space in front of the open side, and the direction the roof will drain. Moving everything later is far more effort than a bit of extra checking now with a tape measure and string.

Drive in the post spikes using a suitable driving cap. Never hit their edges directly, as this can deform the socket. Lay the long straight batten across two opposite spikes and use the spirit level to check all four are at the same height. Recheck the diagonals as well.
On an existing concrete slab, use approved surface-mounted post supports and fixings suited to both the base material and the loads involved. Only drill once you've confirmed there are no cables or pipes in the way. Simple ground anchoring and fixing to a solid mineral base are two different systems — don't improvise between them.

Fit the two 210 cm posts at the front and the two 195 cm posts at the back. Secure all four posts temporarily with brace battens at first. Plumb each post in two directions and fix it according to the spike manufacturer's instructions. Then connect the top ends with the two long crossbeams and the side frame sections.
Metal brackets make square joints easier. Pre-drill near edges to stop the timber splitting, and use construction screws of sufficient length. Next, fit short diagonal braces in all four corners. Only remove the temporary braces once the frame feels completely solid and no longer racks.
For the frame itself, a combi drill driver handles all the repeated drilling and driving work. The rotary hammer only comes into play for a properly planned fixing into concrete or masonry.

Drilling and driving
For pilot holes, brackets and frame screws. Torque can be adjusted to suit each individual joint.
View product: FUXTEC 20V Cordless Combi Drill FX-E1SBS20

Option for concrete
The SDS-Plus chuck and switchable hammer action help with drilling into harder mineral surfaces.
View product: FUXTEC 20V Cordless Rotary Hammer FX-E1RH20
Important: For rawl plug holes, you'll need a suitable SDS-Plus masonry bit; the chisels included in the linked bundle are not a substitute for a masonry or concrete drill bit. Diameter, drilling depth, plugs and screws must all be matched to the base material and the chosen support system.

Lay the three 80 cm roof supports across the top frame, running front to back: one on the left, one in the middle and one on the right. Fix them with brackets. Check that all support points sit level with each other and that the slope runs evenly towards the back.
Only cut the roof covering with a tool and blade recommended by the panel manufacturer for that material. Support the panel across its full surface, secure it against slipping, and avoid applying any sideways pressure. Allow an overhang all round so that dripping water doesn't fall straight onto the plants or posts.
The panels are fixed using matching spacers and sealing screws. Follow the manufacturer's guidance exactly for pilot hole allowance, screw position, support spacing and edge clearance, so the roof covering can expand in the heat. Only tighten the fixings until the seal sits flush — a dented corrugation means it's been overtightened.

On a side that takes a lot of weather (typically the prevailing wind direction), you can fit a narrow back panel or a side shield. But don't close the structure in completely: at minimum, the front and a good portion of the sides should stay open so damp air can escape. Clamp a light sheet of film between battens and run its lower edge so no water drains back towards the bed.
A gutter can be fitted under the rear eave. Direct the rainwater into a water butt or away from the foundation points. To tie in the plants, use sturdy string or plant stakes positioned so the roof panel isn't put under localised strain. Finally, check every joint, remove any sharp edges and apply wood preserver to the cut surfaces.
Only plant out once the last frosts are safely behind you. Set each tomato a little deeper than it sat in its pot, so extra roots can form along the lower stem. The soil should be nutrient-rich, loose and well-drained. Water in the morning, straight at the root zone, and keep the leaves dry. A thin layer of mulch reduces splash-back and slows evaporation.
Tall-growing varieties need a sturdy support from the outset. Tie the main stems loosely and check the ties regularly as the plant grows. When it comes to side-shooting (removing sideshoots from the leaf joints), only do this if your variety needs it. Bush varieties and some wild types are grown differently, so always follow the guidance for your specific variety.
Tomatoes are hungry feeders. Feed them as needed with well-rotted compost or a suitable fertiliser, rather than topping up "just in case". Consistent watering matters more than constantly wet soil. During longer hot spells, check daily that ventilation is unobstructed and that warm air isn't building up under the roof. This helps the fruit develop evenly.
On a paved patio, a more compact shelter may be all you need. Choose a large container for each plant, secure the structure against toppling, and make sure water drains away reliably. Pots need clear drainage holes — standing water damages the roots. Position them so rain doesn't run straight off the roof edge into the containers.
Even a lightweight, movable DIY structure needs to be firmly anchored against wind, despite weighing less than a permanent build. Don't just weigh it down loosely — use a fixing system suited to the surface it's standing on. For very small balconies, a tested film-covered model is often a more practical choice than a tall, home-built structure. Also check your building's rules, tenancy agreement and any permitted wind loading.
If the roof ends directly above the plant, slanting rain will still reach the leaves and soil. Plan a generous overhang at the sides and eaves. On the side that gets the worst weather, the covering can extend further down, as long as air can still circulate.
More cladding doesn't automatically mean better conditions. Without enough open area, temperature and humidity rise. That creates a climate where fungal diseases take hold more easily. A simple tomato house relies on its open character to work. To keep your tomato house easy to maintain, leave clear access to every plant too.
A finished tomato house can look solid standing still, yet still twist and rack in gusty wind. Diagonal braces, proper joints and secure anchoring aren't optional extras. Check the roof after the first storm, and then at least at the start of every season.
Don't water over the foliage, and don't let the soil swing constantly between bone-dry and waterlogged. Even soil moisture supports better fruit development. Remove diseased lower leaves early with clean tools, and dispose of badly affected plant material away from the bed.
With four firmly anchored posts, a braced frame and a transparent lean-to roof panel, you get an airy rain shelter built exactly to fit your bed. The project stays manageable, but does call for careful measuring, secure joints and a roof covering fitted to the manufacturer's specification. That's what keeps the timber structure standing firm through wind and weather.
Check your homemade tomato house every spring: tighten any loose screws, inspect the panel and anchoring, and renew the weather protection if needed. Do that, and the structure will see you through many seasons — from the first planting to the last tomato harvest — bringing plenty of tasty fruit along the way. A well-maintained tomato house can easily stay in the garden for years.
A tomato house is an open-sided lean-to shelter with a transparent roof that protects plants from rain and wind while allowing excellent air circulation. Unlike a fully enclosed greenhouse, it deliberately stays open on the sides to prevent humidity build-up and fungal diseases, making it ideal specifically for growing tomatoes.
The recommended footprint is 160 cm wide and 80 cm deep, which comfortably accommodates two to three tall-growing cordon tomato plants. You should also allow at least 50 to 60 cm between plants and enough clear space at the front for tending and harvesting.
Yes, with careful planning and the right tools, you can build a tomato house in a weekend. The structure uses four anchored posts, a sturdy frame and a transparent roof panel, though success depends on accurate measuring, pre-drilling to prevent splitting, and following the manufacturer's instructions for the roof covering.
A rigid corrugated panel is the best choice for permanent roofing because it holds its shape, lasts well and reliably sheds rain, provided you use the exact fixings and support spacing recommended by the manufacturer. Greenhouse film is cheaper and easier to transport but is more vulnerable to damage and works better for seasonal or lightweight setups.
Blight pathogens thrive on prolonged moisture on the leaves. A tomato house with an open design keeps rain and soil splash off the foliage while still allowing warm, humid air to escape from the sides, creating drier conditions that make it much harder for the disease to spread.
The open front should ideally face south or south-east to maximise sunlight and warmth. An existing wall to the north or west can provide shelter from wind, but it must not block air circulation through the open sides, as good ventilation is essential for healthy plants.
Use four ground spikes suited to your 70 mm posts, driven firmly into the earth using a proper post-driving cap. Never hit the spike edges directly, as this can damage the socket. On concrete, use approved surface-mounted post supports and fixings matched to the base material and expected loads.
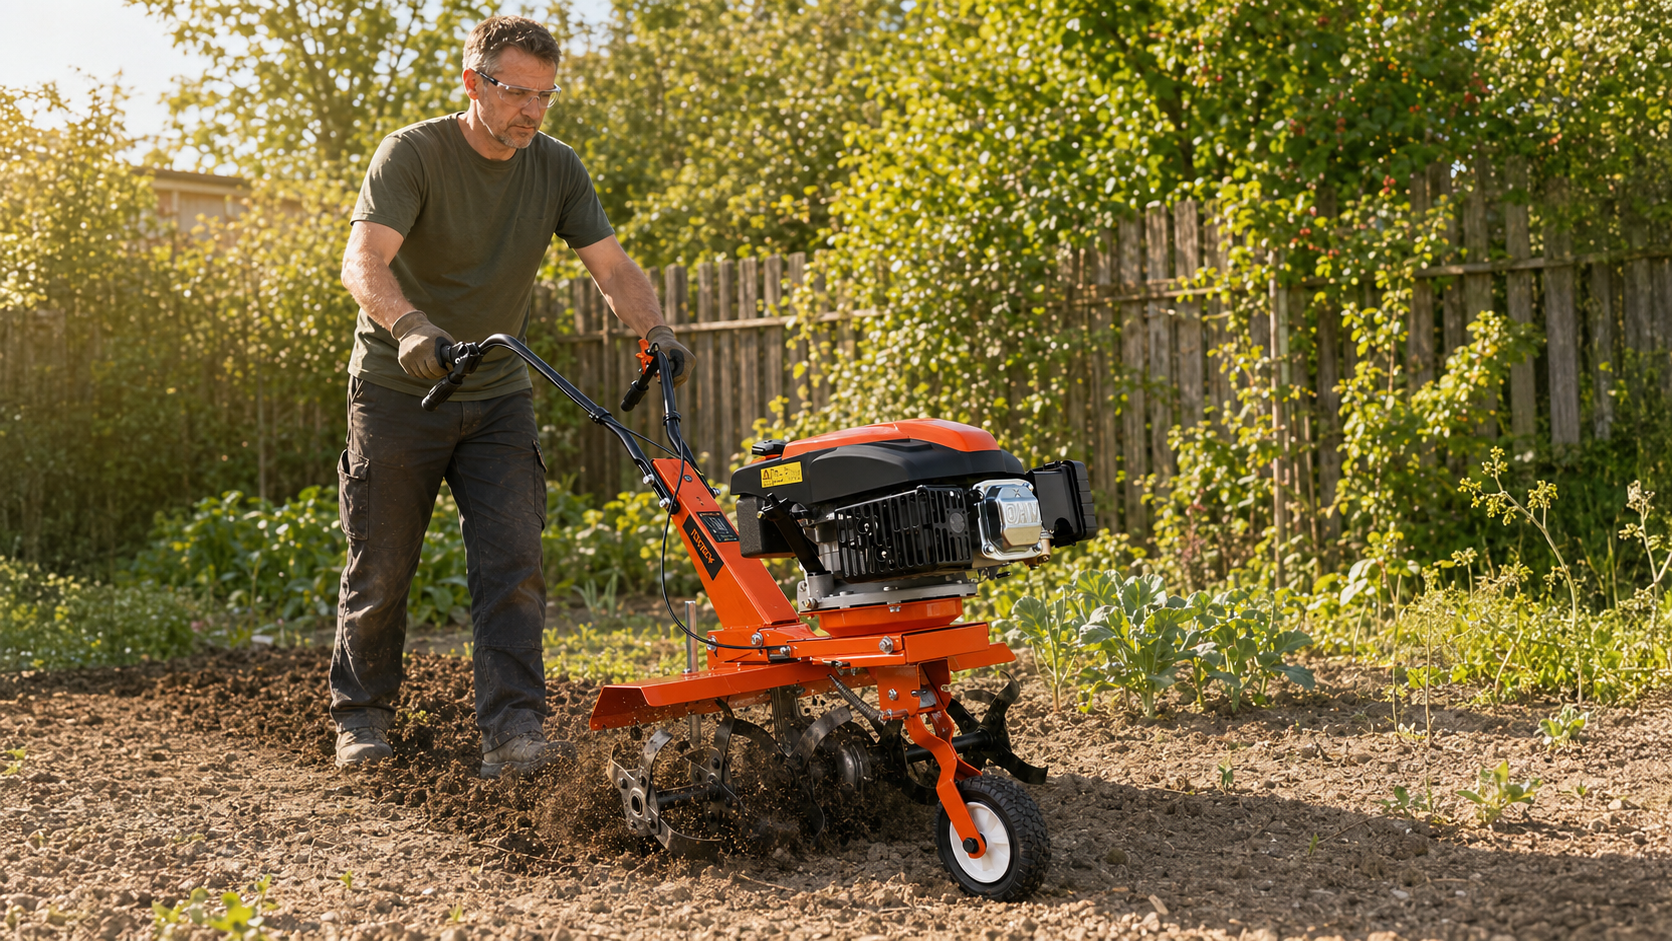
Trockenheit im Garten: Boden lockern, richtig gießen und mit Mulch Wasser sparen
Du gießt das Beet, doch das Wasser bleibt auf der harten Erdoberfläche stehen oder läuft zur Seite ab. Schon nach kurzer Zeit wirkt der Boden wieder trocken, obwohl Du gerade erst zur Gießkanne g...

Pine Bark Mulch: The Complete Gardening Guide
Mulching with pine bark is one of the most effective methods in modern gardening and sustainable horticulture. A layer of mulch material is applied to the soil surface to protect and improve the so...
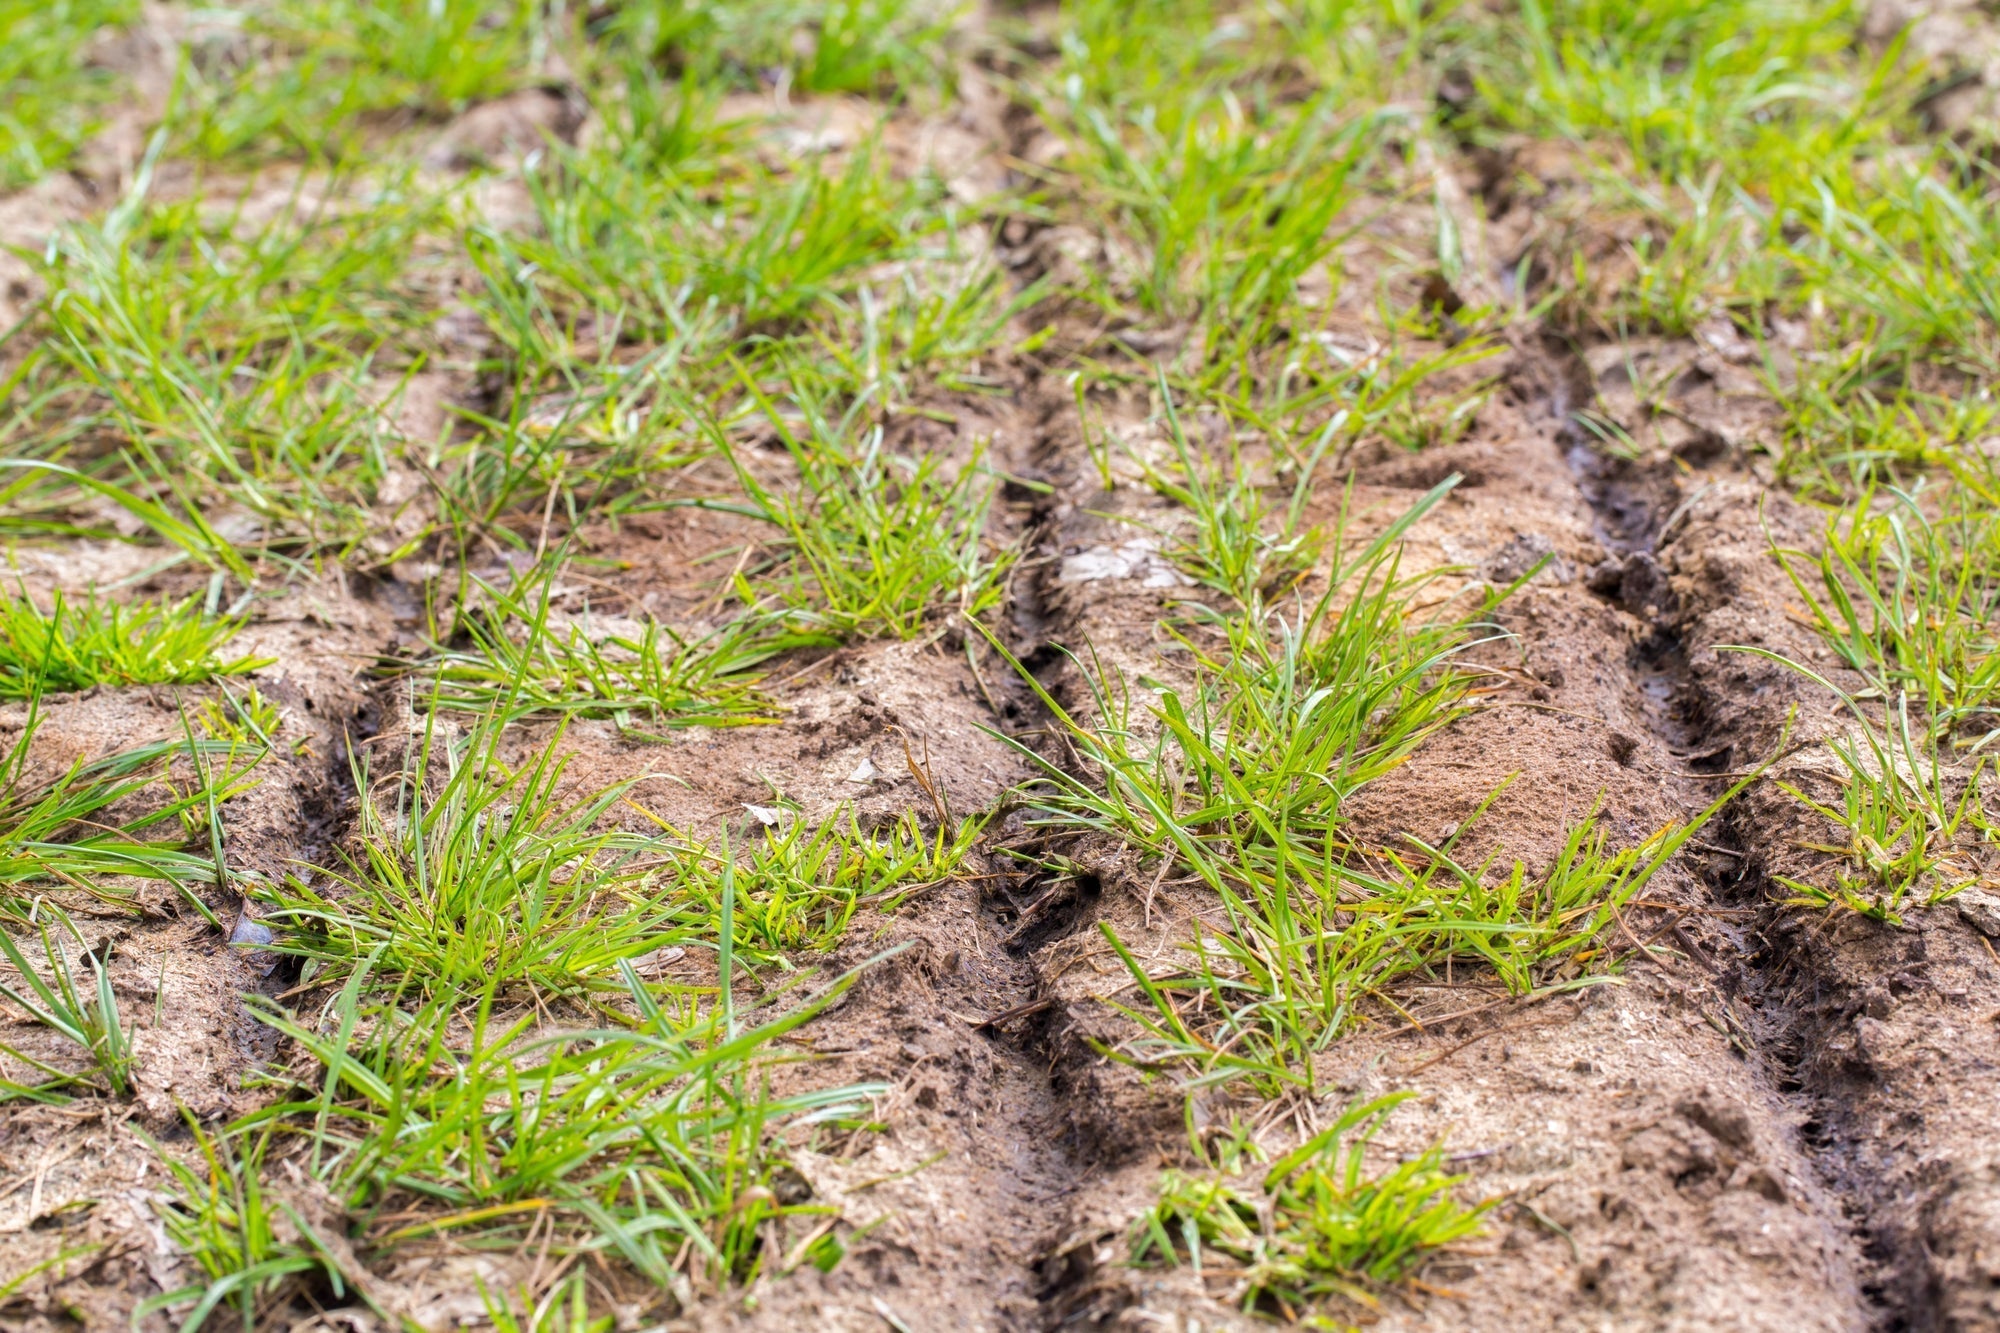
Spring Soil Improvement: Prepare Your Garden Soil
Inhaltsverzeichnis Warum Bodenverbesserung im Garten im Frühjahr so wichtig für einen gesunden Gartenboden ist Gartenboden nach dem Winter prüfen: Bodenstruktur, Verdichtung und Bodenart erke...