







Spring Soil Improvement: Prepare Your Garden Soil
-
Warum Bodenverbesserung im Garten im Frühjahr so wichtig für einen gesunden Gartenboden ist
-
Gartenboden nach dem Winter prüfen: Bodenstruktur, Verdichtung und Bodenart erkennen
-
Bodenarten im Garten verstehen: Lehm-, Ton- und andere Böden richtig verbessern
-
Verdichtete Böden im Garten verbessern: Ursachen erkennen und den Boden schonend lockern
-
pH-Wert vom Gartenboden bestimmen: Wann Kalk im Gartenboden sinnvoll ist
-
Bodenverbesserung im Garten mit Kompost, Pflanzenkohle und natürlichen Bodenverbesserern
-
Gründüngung im Frühjahr: Boden verbessern und Pflanzen optimal vorbereiten
-
Fazit: Mit gezielter Bodenverbesserung im Garten zu gesundem Boden und kräftigen Pflanzen
Spring is the critical moment for soil improvement in the garden. After months of frost, rainfall, low temperatures and minimal biological activity, the soil is often out of balance. Many problems that become visible later in the year — poor growth, waterlogging, nutrient deficiencies or disease-prone plants — have their roots in exactly this phase.
In this FUXTEC garden guide, we walk you through step by step how to assess your garden soil at the start of the season, gently break up compaction, and sustainably improve soil structure. Rather than offering blanket advice, this is a practical approach tailored to soil type, moisture levels and intended use. Where relevant, we also explain how the right FUXTEC garden tools can support you during soil preparation, so you can carry out each step efficiently and without damaging the soil.
Why spring soil improvement is so important for a healthy garden
During winter, several processes occur simultaneously in the soil. Freeze-thaw cycles cause soil particles to shift and compact, fine pores close up, and compacted layers form. At the same time, soil life is greatly reduced, as micro-organisms are barely active at low temperatures.

In spring, the soil begins to thaw slowly but is often still saturated with water. If it is worked too early or incorrectly at this stage, compaction worsens rather than improves. This is precisely why timing is crucial: the soil surface should have dried out slightly, but the soil should still hold together well when pressed.
Spring soil improvement has three core aims:
-
Restoring a loose, open soil structure
-
Reactivating soil biology
-
Establishing a balanced nutrient profile
Soil that meets these conditions forms the foundation for a healthy garden that supports and nourishes plants over the long term.
Assessing your garden soil after winter: identifying structure, compaction and soil type
Before taking any action, it is worth carefully assessing the current state of the soil. Use a spade to take a soil profile sample. If the soil is difficult to break apart or shows smooth, smeared surfaces, it is heavily compacted. If it crumbles into large, hard clods, it lacks a stable crumb structure.
Pay attention to how rainwater drains. If it pools on the surface and cannot drain away, this will lead to waterlogging and root rot later in the season. This observation is especially important in beds that are to be planted early.
A basic soil test is also a worthwhile step. It shows whether the soil is acidic, neutral or alkaline, and whether key nutrients are present in sufficient quantities. This information determines which measures are appropriate and helps you avoid making corrections that could do more harm than good.
Understanding garden soil types: how to improve clay, loam and other soils
Soil type largely determines how the soil responds to water, nutrients and cultivation.
Loam soil is nutrient-rich and retains water well, but is prone to severe compaction if worked incorrectly. Clay soils are particularly dense, difficult to work, and very sensitive to wet conditions. Sandy soils, on the other hand, are free-draining but lose water and nutrients rapidly.
Heavy soils benefit from structure-stabilising amendments such as bentonite. These clay minerals help bind fine soil particles together into crumbs, creating larger air pockets. This improves aeration without sacrificing the soil's ability to retain moisture.
Only by taking soil type into account can you sustainably and effectively improve soil fertility.
Improving compacted garden soil: identifying causes and gently loosening the soil
Compacted soil is one of the most common problems in the garden at the start of spring. Water drains slowly, the surface feels hard, and young roots struggle to spread out. The aim of soil cultivation is not to turn the soil over deeply, but to loosen the upper layer so that air, water and warmth can penetrate again. This is where a controlled, step-by-step approach comes in.
Identifying compaction correctly — the first and most important step
Before you start working the soil, check whether — and to what extent — it is compacted. A simple spade test works well here. Push a spade into the soil at several points to a depth of around 20 to 25 centimetres. If it only moves with considerable effort, or if the soil shows smooth, smeared surfaces, it is compacted. If it breaks into large, angular clods, it lacks a stable crumb structure.
A quick moisture test is also helpful. Take a handful of soil and squeeze it. If it can be rolled into a firm sausage shape, it is still too wet to work. If it crumbles apart easily, conditions are right. The behaviour of rainwater also gives clues: if it sits on the surface for an extended period rather than soaking in, this is a clear sign of a disrupted soil structure.
Why you should avoid deep digging in spring
In spring, soil is particularly sensitive. Deep cultivation or full digging destroys the natural layering in which micro-organisms and soil life have established themselves. It also brings cold, wet layers of soil to the surface, which delays plant growth. Instead, the soil should only be loosened enough to break up existing compaction and open new pores. The goal is a loose, airy topsoil that can warm up and become biologically active.
Preparing the area: the foundation for clean, effective work
Before you begin the actual loosening process, the area should be prepared. Remove larger stones, thick roots and plant debris. Particularly in spring, dead plant material tends to accumulate on the surface, making work more difficult. It is also worth roughly marking out beds to avoid unnecessary traffic over paths and border areas. Finally, check the soil moisture once more — if the soil is too wet, it is worth waiting a day or two.
Gently loosening the soil: step by step with a rotavator
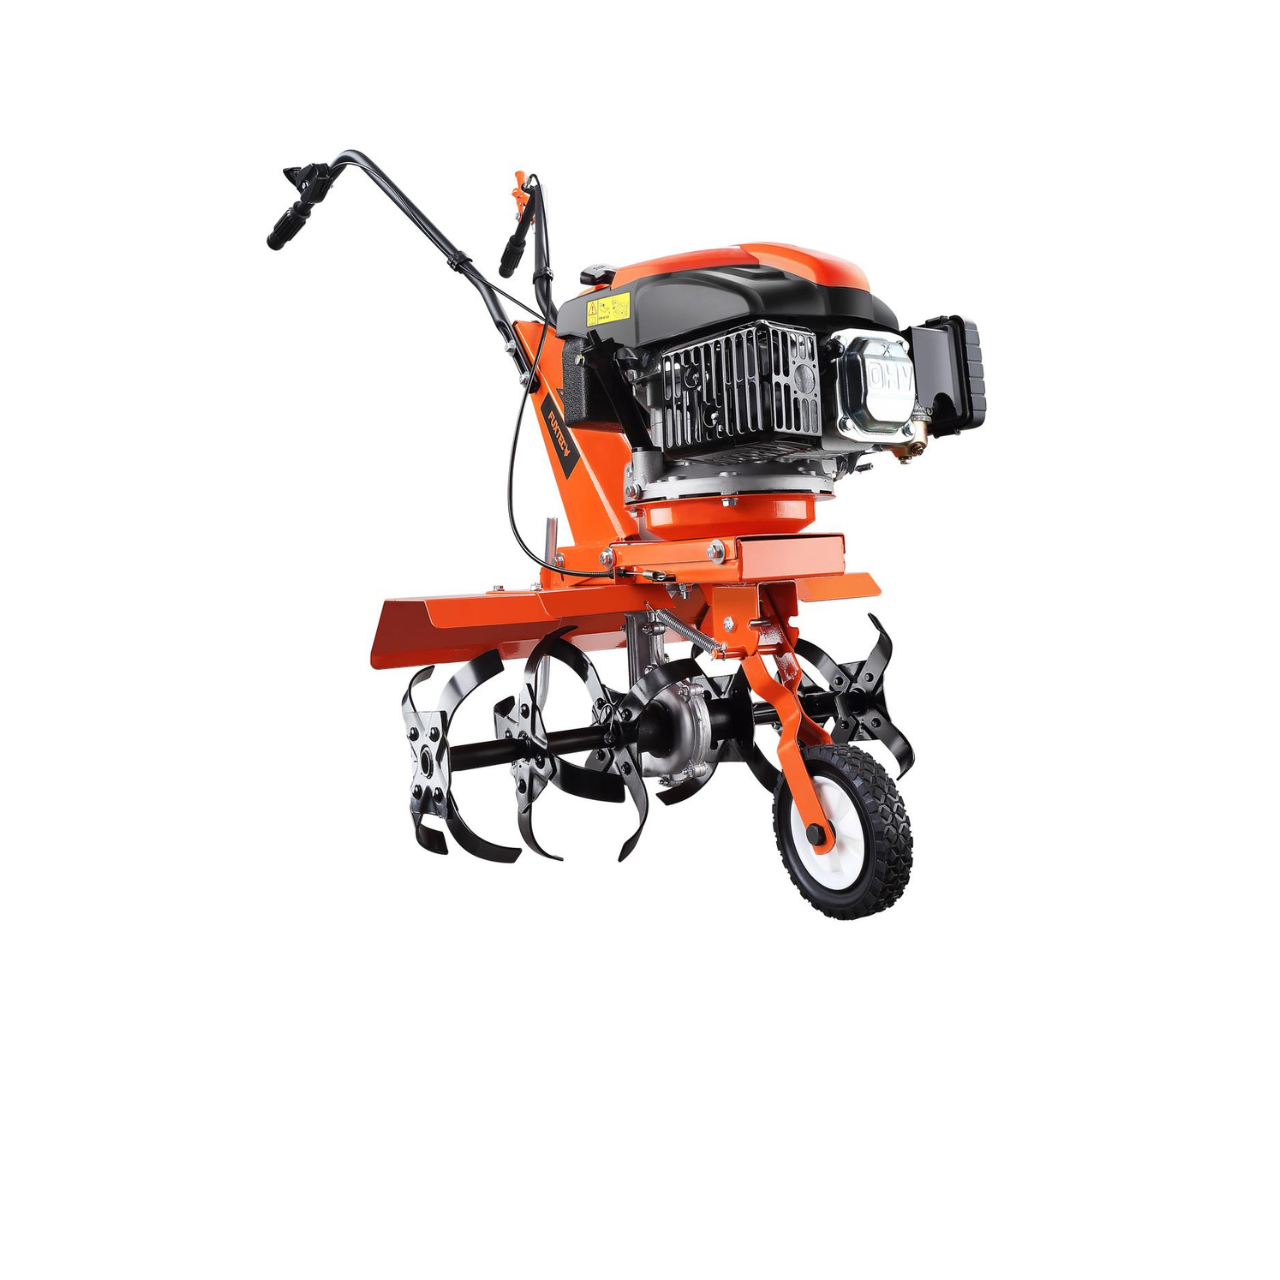
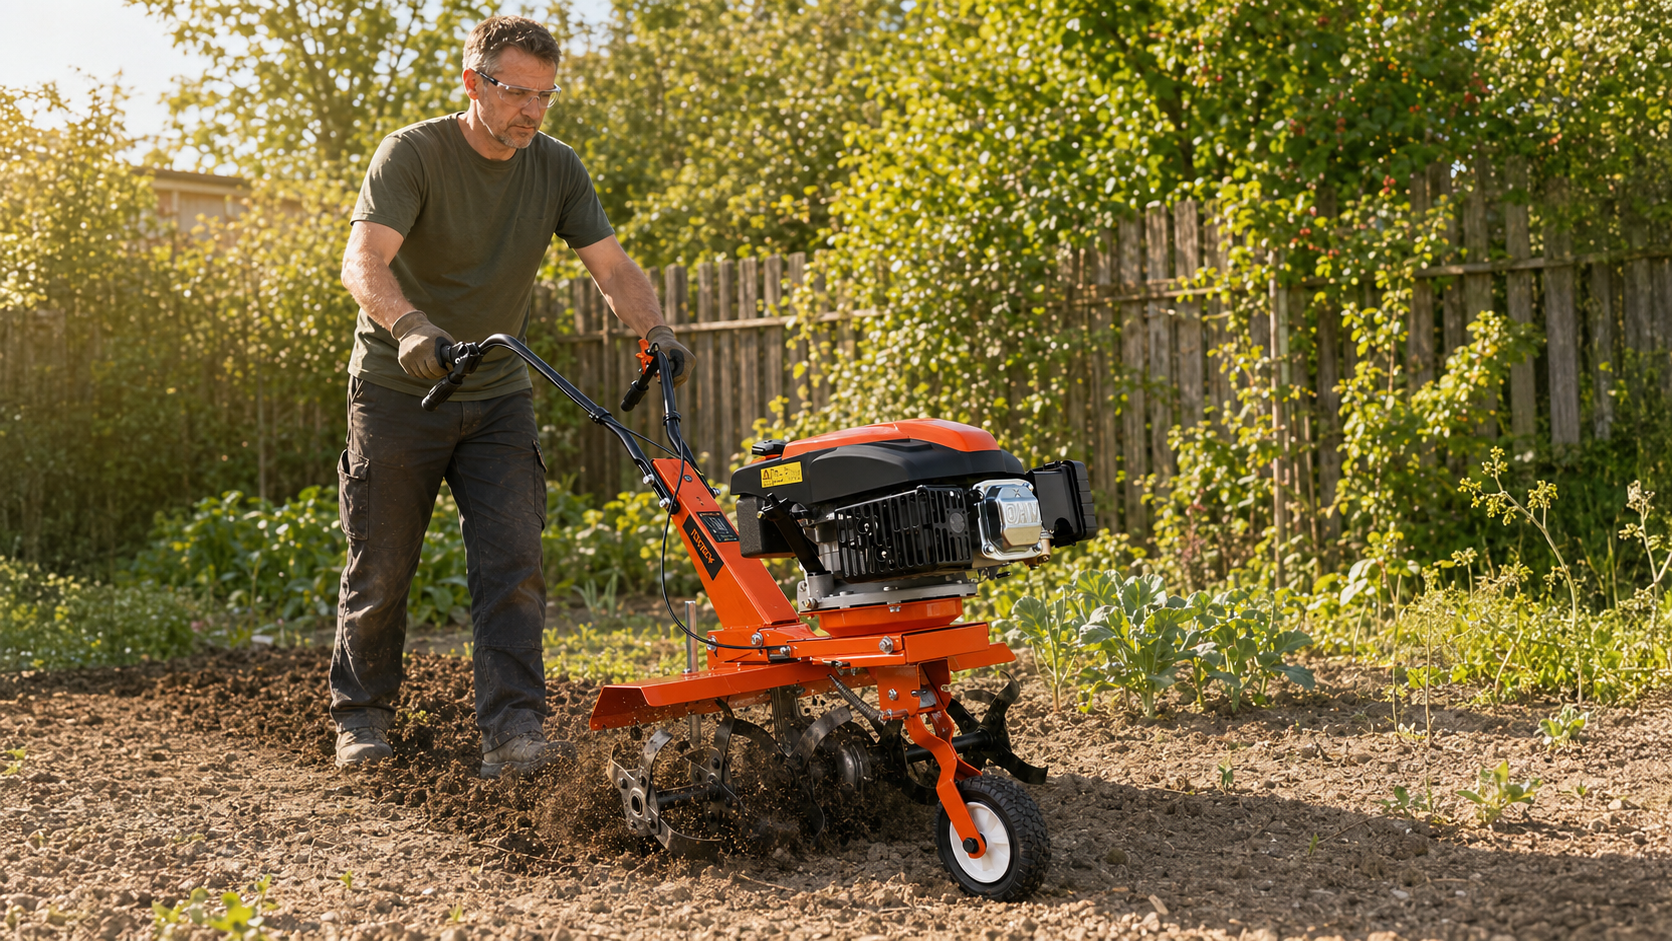
For larger areas or more heavily compacted ground, using a rotavator is a sensible approach. The correct working method is crucial. A compact rotavator such as the FUXTEC FX-AF1139 allows for even, shallow loosening without working the soil too deeply.
On the first pass, the aim is simply to "break open" the soil. Keep the working depth deliberately shallow — around five to eight centimetres. Guide the machine slowly and without applying additional downward pressure. The goal is to open up the upper layer and create initial air channels, not to produce a finely tilled tilth.
After this first pass, make a second run — ideally at right angles to the first. The depth can be increased slightly on this pass, provided the soil is not smearing. This ensures any remaining compaction is evenly broken up. It is important to monitor the soil's response closely: if it starts to look wet again or forms smooth, plate-like layers, reduce the depth immediately or stop work.
Improving and stabilising the soil: incorporating amendments correctly
After loosening, the soil is particularly receptive to amendments. This is the right time to work in structure-improving materials. Spread a thin layer of well-rotted compost or humus-rich material across the surface. Depending on the soil type, mineral supplements such as rock dust can also be used. The material is then worked in briefly and shallowly with the rotavator — a modest depth is sufficient to mix the soil and amendments without disturbing the deeper layers again.
Restraint is important here: if you rotavate for too long or too deeply, you create a very fine-textured soil that is prone to capping and re-compaction after rain.
Finishing the surface and giving the soil time to settle
After cultivation, avoid planting immediately. A short resting period of one to a few days allows the loosened structure to settle. The surface can then be levelled with a rake and worked into an even crumb structure. Only then is the soil optimally prepared for sowing or planting.
Comparison table: FUXTEC rotavators & cultivators at a glance
| Model | Suitable area size | Engine & power | Working width | Working depth | Weight | Key features | Recommendation from the FUXTEC garden guide |
|---|---|---|---|---|---|---|---|
| FUXTEC Cultivator FX-AF152 | Small to medium beds, raised beds, narrow rows | 2-stroke engine, 51.6 cc, 1.46 kW | 230 mm | approx. 70 mm | 14 kg | Very lightweight, manoeuvrable, high rotation speed, ideal for precise work | Ideal for narrow beds, delicate soils and targeted loosening |
| FUXTEC Rotavator FX-AF1139 | Small to medium-sized areas | 4-stroke OHV engine, 139 cc | up to 360 mm | up to 300 mm | weight-optimised | Low maintenance, sturdy steel frame, guide wheel, EU-II compliant | A great all-round solution for hobby gardeners with regular needs |
| FUXTEC SET Rotavator FX-AF1139 (with tilling width extension) | Medium beds and garden areas | 4-stroke OHV engine, 139 cc | up to 660 mm | up to 300 mm | weight-optimised | 6 tilling tools, protective covers, flexible width adjustment | Ideal when you need the same machine for both narrow and wide areas |
| FUXTEC Tiller FX-AF1212 | Large areas, vegetable gardens, heavy soils | 4-stroke engine, 212 cc, up to 4.5 kW | 36 – 85 cm variable | up to 330 mm | 63 kg | Forward & reverse gears, DUAL-Shaft drive, accessory-compatible | For intensive soil cultivation, green manuring and larger garden plots |
-
For fine, gentle spring loosening, the FX-AF152 is the right choice — particularly for delicate soils.
-
For classic garden beds, the rotavator FX-AF1139 is the ideal starting point.
-
More flexibility with the same proven technology is offered by the FUXTEC AF1139 Set with tilling width extension.
-
For large areas, heavy soils and intensive use, the FX-AF1212 is the right choice.
What matters is not just the power of the rotavator, but how it is used. Starting with a shallow working depth in spring and loosening the soil gradually prevents new compaction and maintains a stable soil structure. This is exactly what FUXTEC rotavators are designed for.
Testing garden soil pH: when liming your garden soil makes sense
The pH level has a significant influence on which nutrients plants are able to absorb. In overly acidic soil, important minerals become locked up and unavailable to plants. A targeted soil improvement using lime can correct this situation.
Caution is important here. Quicklime is very powerful and should only be used when there is a clear need. The aim is not an extreme pH, but a slightly alkaline to neutral soil in which micro-organisms remain active and nutrients are available to plants.
Improving garden soil with compost, biochar and natural soil conditioners
Well-rotted compost is the single most important component of soil improvement. It supplies organic matter, encourages micro-organisms and supports the build-up of humus. Building up humus in the soil is particularly important in the long term, as it retains water, buffers nutrients and stabilises soil structure.

Supplements such as rock dust deliver trace elements and stimulate biological activity. This allows the soil to be enriched in a targeted way while also improving its water-holding capacity.
Green manures in spring: improving soil and setting plants up for success
Green manure plants support soil improvement without placing any mechanical stress on the soil. Their roots penetrate the soil evenly and gradually loosen it over several weeks. In doing so, they create stable pores that improve drainage whilst also promoting aeration.
Some green manure plants fix additional nitrogen through their roots and release it back into the soil over time. Once the growing phase is complete, the plants are cut down and shallowly incorporated into the topsoil. The decomposing plant material stimulates soil life, stabilises soil structure and contributes to lasting improvements in soil quality. This approach has proved particularly effective after winter, when the soil needs to be rebuilt gently.
Avoiding common mistakes in garden soil improvement
Working the soil too early, digging when wet, deep turning and uncontrolled mulching are among the most common mistakes. Over-application of fertilisers also causes long-term damage. The aim is an improved soil that remains stable, well-aerated and biologically active.
Conclusion: targeted soil improvement for a healthy garden and vigorous plants

Thoughtful soil improvement in spring strengthens soil biology, improves the soil's resilience and creates a lasting fertile growing environment. Taking a structured approach now lays the foundation for healthy plants, reliable yields and a low-maintenance garden throughout the entire season.
With the right FUXTEC rotavator or tiller, compost and soil conditioners can be incorporated in a controlled manner without unnecessarily disturbing the soil structure. This sets you up for strong growth in the season ahead!
Discover our range of garden tools

When is the best time to improve garden soil in spring?
The ideal timing is when the soil surface has dried slightly but the soil still holds together when pressed. Working too early when the soil is waterlogged will worsen compaction rather than improve it, so waiting a few extra days for the right conditions is always worth it.
How do I know if my garden soil is compacted?
Push a spade into the soil to a depth of 20-25 centimetres at several points. If it requires considerable effort or shows smooth, smeared surfaces, the soil is compacted. You can also squeeze a handful of soil; if it rolls into a firm sausage, it's still too wet to work.
Should I dig over my garden soil deeply in spring?
No, deep digging in spring destroys the natural soil layering and disturbs beneficial micro-organisms. Instead, loosen only the upper 5-8 centimetres initially to break up compaction and create air channels whilst preserving the soil structure.
What amendments should I add to improve soil structure?
Well-rotted compost is the most important amendment, as it supplies organic matter and encourages soil life. For heavy soils, structure-stabilising materials such as bentonite help bind particles into crumbs, whilst rock dust delivers trace elements and stimulates biological activity.
How can I tell what type of soil I have in my garden?
Take a soil profile sample with a spade and observe how it breaks apart. Clay soil is dense and difficult to work; loam is nutrient-rich and retains water well; sandy soil is free-draining but loses water rapidly. A basic soil test also reveals whether the soil is acidic, neutral or alkaline.
Do I need to do a soil test before improving my garden?
Yes, a basic soil test is worthwhile as it shows the pH level and whether key nutrients are present in sufficient quantities. This information helps you choose the right amendments and avoid corrections that could do more harm than good.
Can I plant immediately after loosening the soil?
No, it's best to wait one to a few days after cultivation to allow the loosened structure to settle. You can then level the surface with a rake and work it into an even crumb structure before sowing or planting.
More articles about garden care
Trockenheit im Garten: Boden lockern, richtig gießen und mit Mulch Wasser sparen
Du gießt das Beet, doch das Wasser bleibt auf der harten Erdoberfläche stehen oder läuft zur Seite ab. Schon nach kurzer Zeit wirkt der Boden wieder trocken, obwohl Du gerade erst zur Gießkanne g...
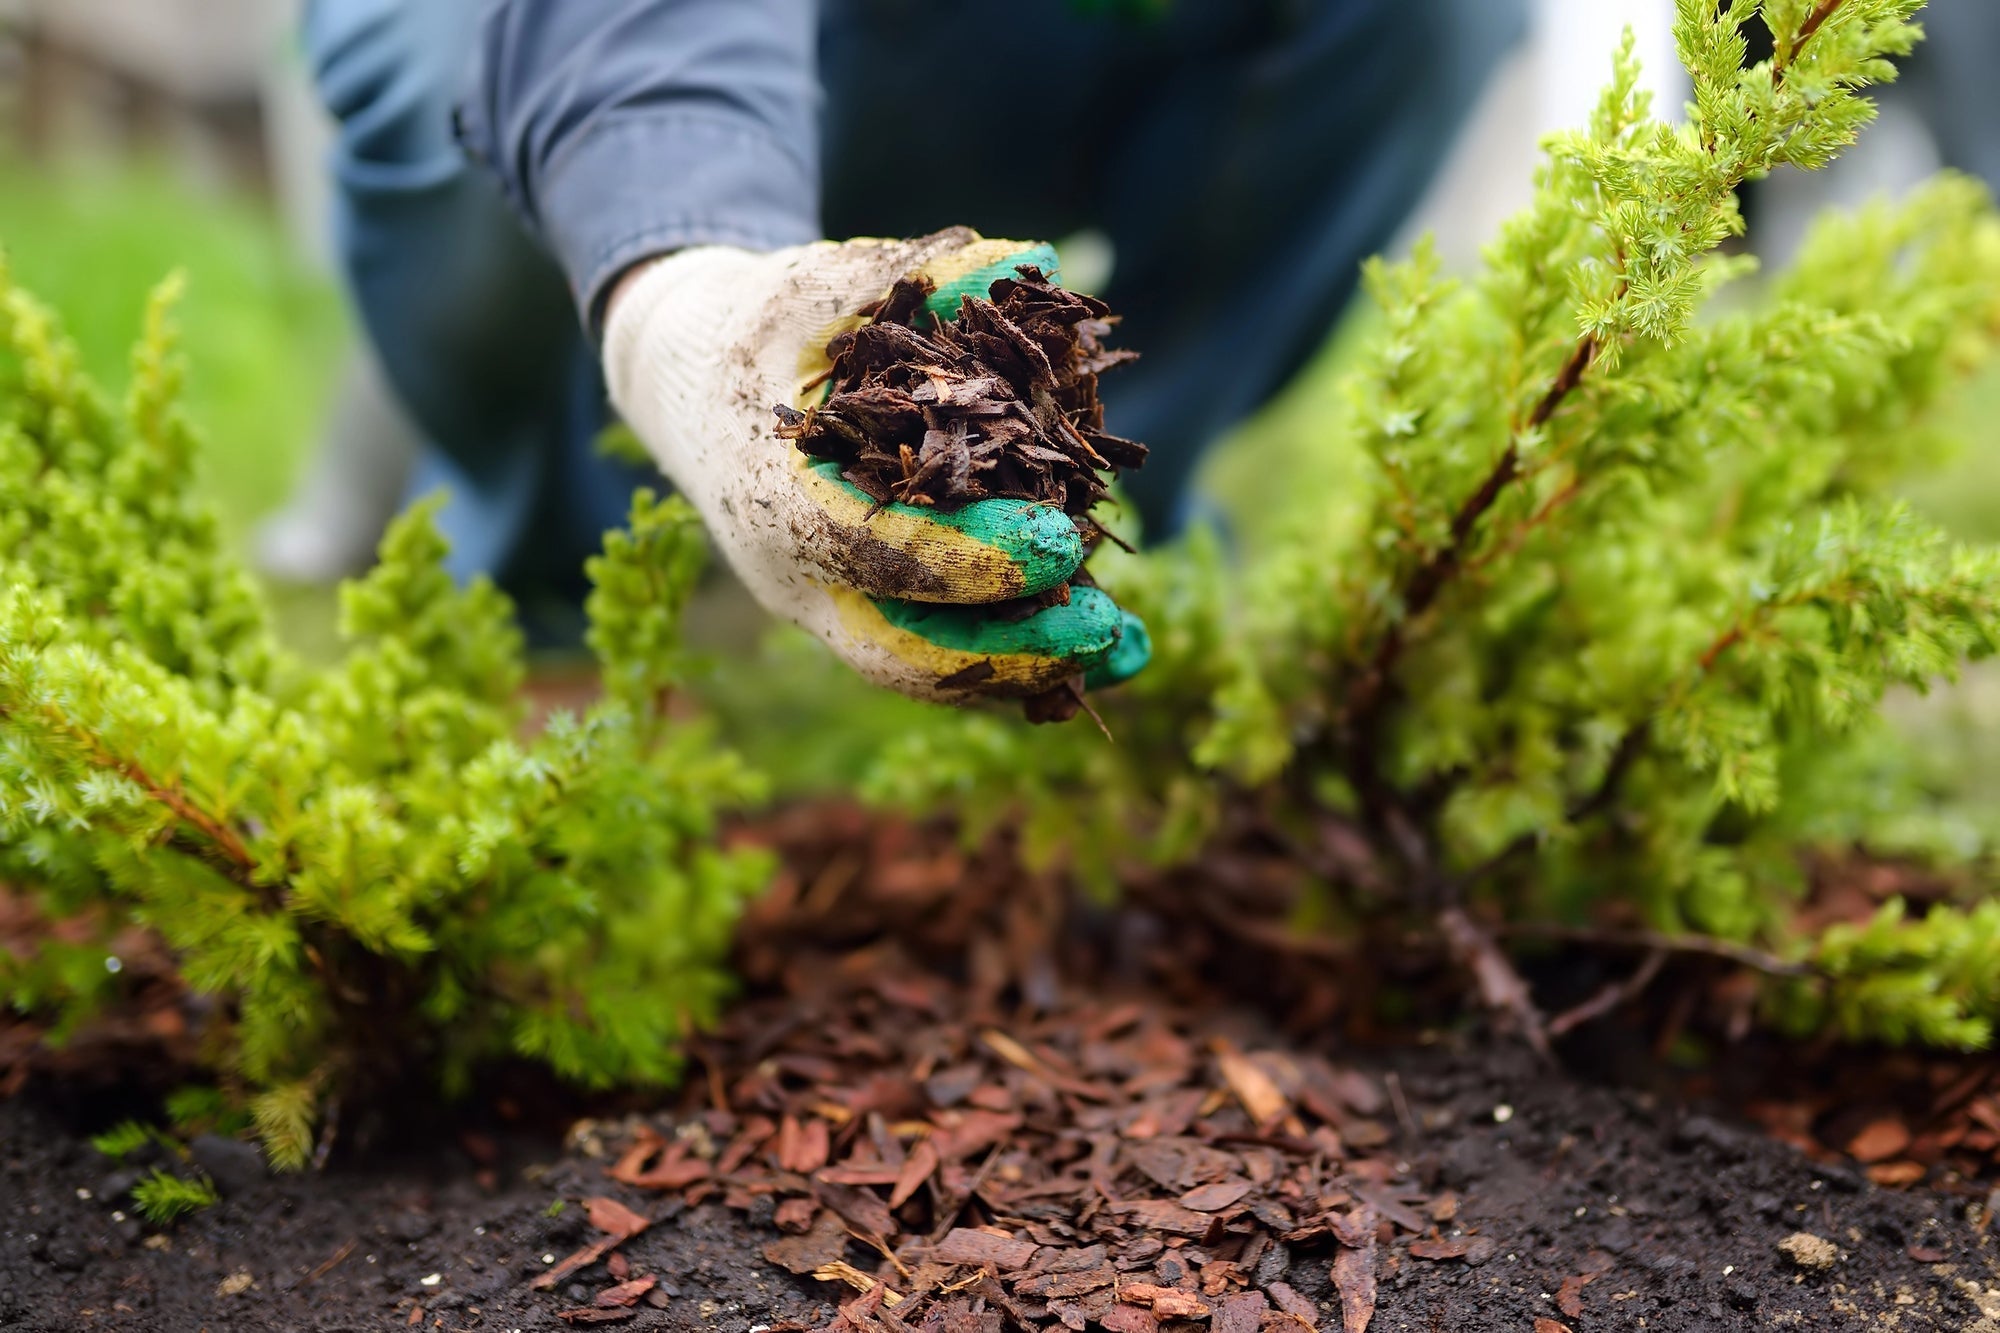
Pine Bark Mulch: The Complete Gardening Guide
Mulching with pine bark is one of the most effective methods in modern gardening and sustainable horticulture. A layer of mulch material is applied to the soil surface to protect and improve the so...
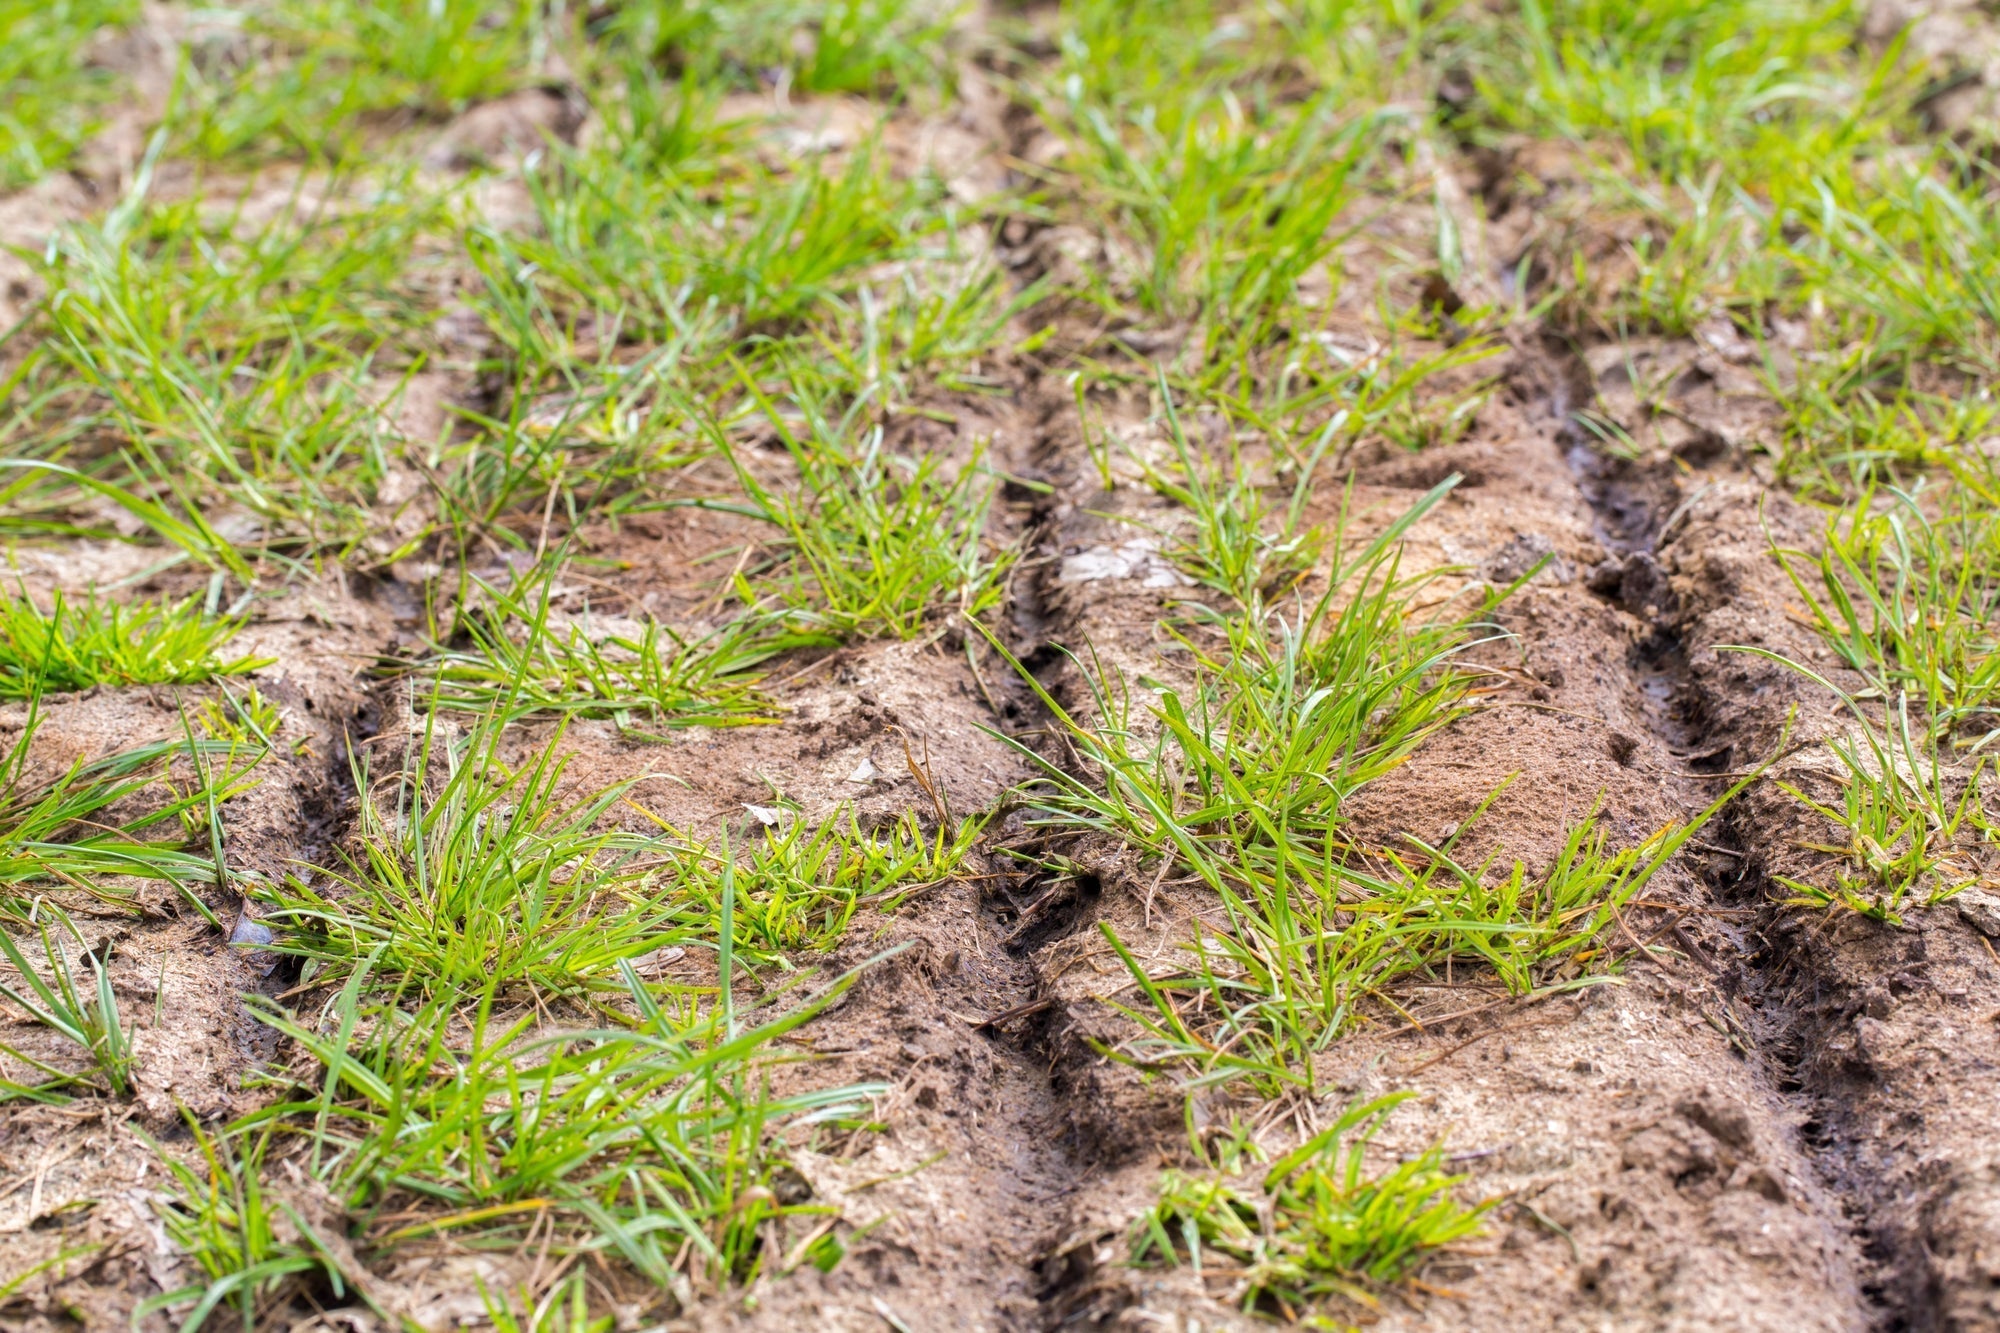
Spring Soil Improvement: Prepare Your Garden Soil
Inhaltsverzeichnis Warum Bodenverbesserung im Garten im Frühjahr so wichtig für einen gesunden Gartenboden ist Gartenboden nach dem Winter prüfen: Bodenstruktur, Verdichtung und Bodenart erke...


