
Cordless combi drill
For pilot-drilling and screwing together the base frame, wall posts, bracing, pool surround, external cladding and equipment box.
So wird dein garten zum Privatschwimmbad!
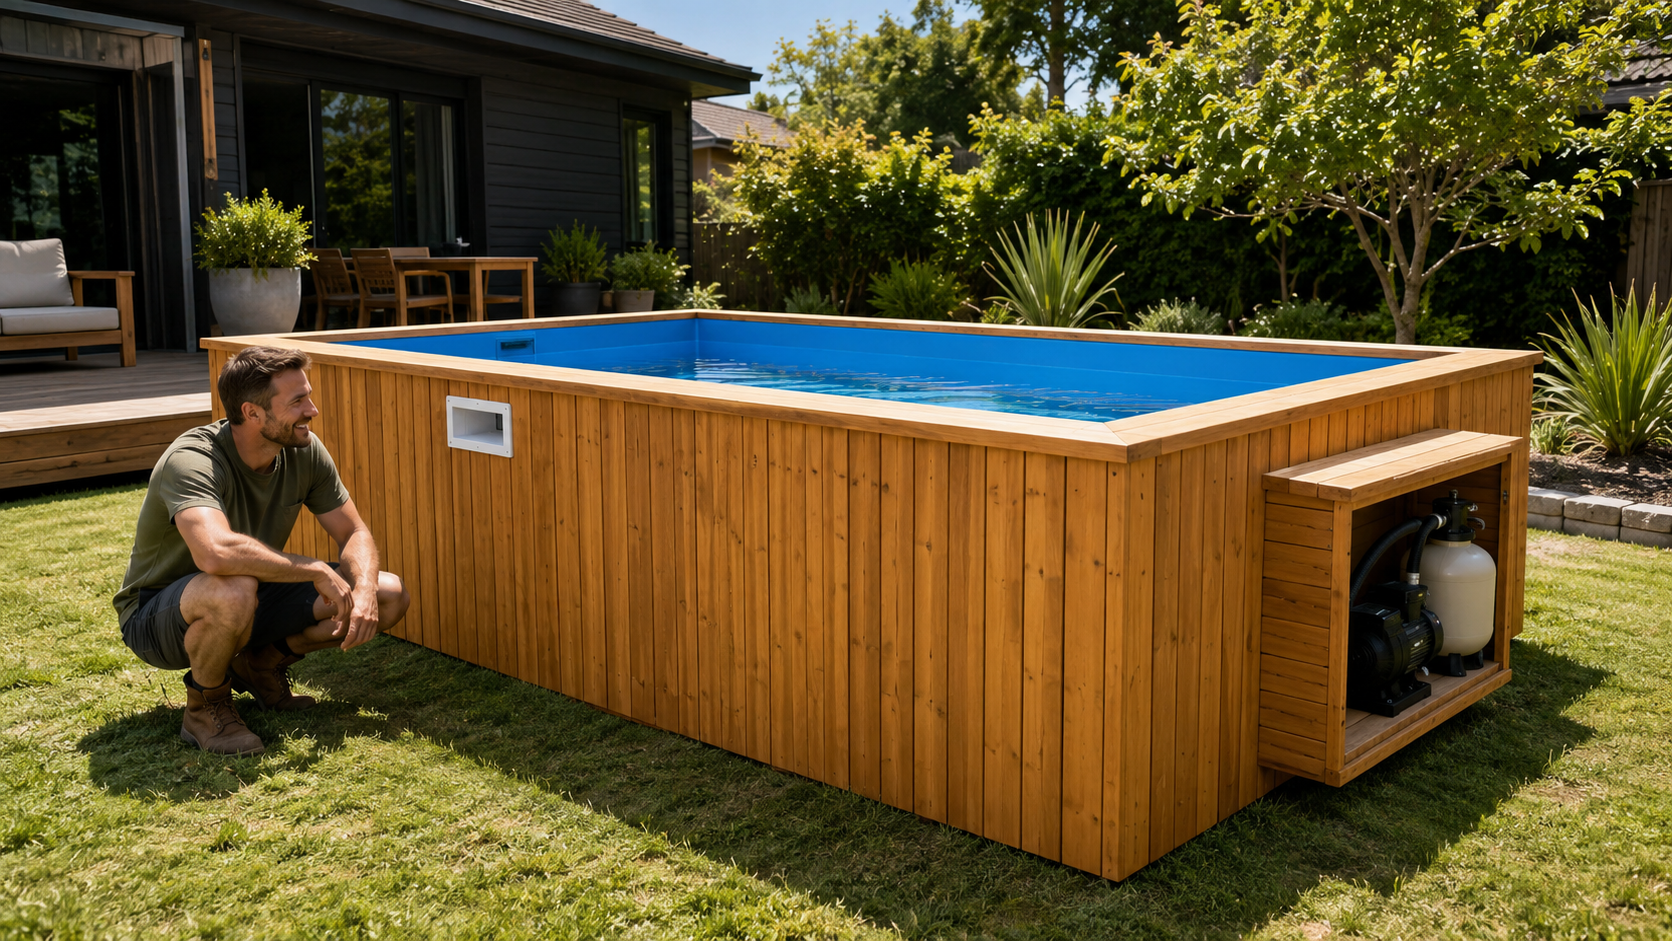
Fancy building your own wooden pool for summer? With clear planning, realistic dimensions and carefully executed steps, a compact garden pool built from scratch is genuinely achievable with a bit of DIY skill. The key is not to improvise on the load-bearing frame, and to buy safety-relevant components such as pool liner, inlet nozzle, skimmer, seals and technical fittings as proper pool parts. That's exactly the difference between a fully custom build and a kit: you're not replacing the pool technology itself, but the pre-configured kit frame with thoughtful DIY work. For smaller pools, this kind of build is often exempt from planning permission under permitted development rules, but building regulations, local council requirements and boundary distance rules still matter and should always be checked with your local planning authority before you start.
For this FUXTEC garden guide, we deliberately chose a lean example project: a rectangular pool for the garden with an internal size of roughly 3 x 2 metres and just under 1 metre of water depth. That's large enough for proper bathing fun, but small enough to keep effort, material quantities and cost manageable. A classic family-sized pool measuring 8 x 4 m or heading towards 20,000 litres is a completely different league. It needs a much stronger foundation, heavier bracing and often extras such as a counter-current system or pool heating.
Before you get started, it's worth taking a quick look at the main pool types. Alongside freestanding above-ground pools, there are inset pools, classic sunken swimming pools, steel-wall pools, fully rendered/block-built pools, polystyrene block pools and natural swimming ponds. Anyone after a more natural look will almost inevitably end up weighing pool versus natural swimming pond. For a compact self-build in a private garden, we think a small timber-frame pool is the best middle ground: less involved than a concrete or masonry pool, cosier-looking than a plain steel-wall pool, and visually easy to blend into the garden. That's exactly why we're not showing you a partly sunken luxury pool here, but a freestanding timber frame with a liner.
Our FUXTEC tip: don't start by thinking about which shapes and sizes look good, but about how you'll actually use the pool. You'll get through the planning of a smaller pool more cleanly, keep the loads under better control, and find the technical equipment easier to maintain. Gardens quickly look overcrowded with a pool that's too large. A compact wooden pool, on the other hand, can be integrated really well alongside a patio, border edge and screening in your garden. It's exactly this link between how you'll use it and how it fits the garden design that makes the difference between a "tub plonked on the lawn" and a coherent project.
For our freestanding wooden pool with a footprint of roughly 3 × 2 metres, you should plan for approximately the following quantities. A small buffer for offcuts and adjustments is already included.
| Material | Approximate quantity |
|---|---|
| Frost-resistant hardcore or MOT-type aggregate | 1.2–1.6 m³ |
| Concrete for a roughly 15 cm thick base slab | 1.0–1.2 m³ |
| Reinforcement mesh | 8–10 m² |
| Formwork boards | 11–13 linear metres |
| Separation/damp-proof membrane between concrete and timber | 11–12 linear metres |
| Structural timber for base frame, posts and top frame | 45–60 linear metres |
| Structural timber for cross braces and bracing | 20–30 linear metres |
| Smooth, moisture-resistant boards for the internal walls | 13–15 m² |
| Additional boards if the pool floor is also to be lined | 6–7 m² |
| External cladding in Douglas fir, larch or similar timber | 13–15 m² |
| Boards or decking for the pool surround | 11–12 linear metres |
| Protective fleece/geotextile for floor and pool walls | 19–22 m² |
| Custom-made pool liner | approx. 19–22 m² |
| Clamping or hanger rail for the pool liner | 10–11 linear metres |
| Heavy-duty angle brackets and joist hangers | approx. 16–24 pieces |
| Perforated plates and additional flat connectors | approx. 12–20 pieces |
| Concrete anchors for the base frame | approx. 10–14 pieces |
| Structural screws | approx. 200–300 pieces |
| Cladding and decking screws | approx. 300–450 pieces |
| Wood preserver stain or wood oil | approx. 4–6 litres |
| End-grain sealer | approx. 1 litre |
| Spray adhesive for the fleece | approx. 2–4 cans |
| Fleece tape, sealing tape and edge protection | 1–2 rolls each |
| Skimmer with flange and gaskets | 1 piece |
| Inlet nozzle with flange and gaskets | 1 piece |
For the separate equipment box, you should also allow for roughly 8 to 10 linear metres of structural timber and 3 to 4 m² of cladding boards.
When building a wooden pool without a kit, straight cuts, sturdy fixings and clean cut-outs for the skimmer and pool equipment are essential. These FUXTEC cordless tools make building the base frame, pool walls, external cladding, pool surround and equipment box significantly easier.
For pilot-drilling and screwing together the base frame, wall posts, bracing, pool surround, external cladding and equipment box.
View product: FUXTEC cordless combi drill FX-E1SBS20-SET

Handy for drilling into concrete when you want to securely fix the base frame, equipment box or other components to the base slab.
View product: FUXTEC cordless rotary hammer FX-E1RH20-MEISSEL-SL

For precise cut-outs in the pool walls, for example for the skimmer, inlet nozzle, pipework and access openings for the pool equipment.
View product: FUXTEC cordless jigsaw FX-E1JS20-SET

For straight cuts of structural timber, posts, internal boards, cladding boards and the surrounding capping of the pool edge.
View product: FUXTEC cordless circular saw FX-E1CS20-SET

For finishing off small cut-outs, trimming protruding components and sanding hard-to-reach spots around the skimmer and pipework.
View product: FUXTEC cordless multi-tool FX-E1MT20-SET2-SL

For an even application of a suitable spray-on wood treatment on external cladding, pool surround and equipment box – ideally before fitting the pool liner.
View product: FUXTEC cordless sprayer FX-E1CSP20-SET
Before you assemble the base frame and pool walls, prepare all the timber parts as fully as possible. This saves time later and stops you from having to loosen already-fitted components or work right next to the pool liner.
First, use your plan to draw up a cutting list for the base frame, posts, top frame timbers, cross braces, external cladding and pool surround. Number each item and carefully transfer the measurements onto the timber. Double-check every measurement before cutting – lengths on opposite frame parts especially need to match exactly.
The FUXTEC cordless circular saw is ideal for long, straight cuts. Cut-outs for the skimmer, inlet nozzle or pipe runs can be made cleanly with the FUXTEC cordless jigsaw. When sawing, support the timber securely on trestles, clamp it with G-clamps and work with a guide rail or a straight batten. This keeps the cut edges straight so the frame goes together later without any misalignment.
After cutting, sand all the cut faces, edges and visible timber surfaces. This is especially important on the inside of the pool: there must be no splinters, sharp corners or protruding fibres left that could later damage the fleece or liner. Slightly round off the edges and touch up around screw points as needed. A FUXTEC cordless multi-tool also gets you into corners, cut-outs and narrow gaps easily.
Next, pre-drill all the intended screw holes. This reduces the risk of the structural timber or cladding boards splitting when screwed. With the FUXTEC cordless combi drill, you can pilot-drill first and then join the components together securely. Mark matching parts so you can find them quickly again during assembly.
It's also best to apply wood preservative before assembly. Pay particular attention to cut edges and end grain, since these areas absorb moisture especially easily. For large external surfaces, a FUXTEC cordless sprayer can make it easier to apply a suitable spray-on wood treatment evenly. Always follow the manufacturer's instructions on application, drying times and suitability for the intended use.
Let all treated parts dry completely before assembling the pool. Surfaces that will later be in direct contact with protective fleece or the pool liner must be smooth, clean and free of any sticky or oily residue. A trial assembly of the base frame at the end helps you check that all components fit and that the planned openings sit in the right position.
For a permanently stable pool in the garden, you first need a load-bearing, level base. The site should ideally be sunny, sheltered from wind, and not directly under trees. You should also think early about where pipework, maintenance access and the equipment cupboard will go. Pool industry professionals also point out that the space required is often greater than people initially assume, and that the ground must be able to safely carry the weight of the water-filled pool – which is exactly why a concrete base slab is generally the sensible choice.
In practice, this means: mark out the area cleanly, allow for the outer dimensions plus working space, and dig the excavation so that you can work properly on all sides.
Once the area has been excavated, it really does need to be levelled exactly. This is precisely where people cut corners in the wrong place on a self-build, trying to correct uneven measurements later on with packing pieces.
For our example, we recommend a frost-resistant sub-base prepared first, followed by a level concrete slab as the foundation. A solid concrete foundation is the more reliable solution for a freely designed wooden pool than a system build that only works alongside a particular manufacturer's kit specifications.
This DIY guide deliberately focuses on a rectangular project. It's not a substitute for detailed structural planning of larger pools, but it shows you what a clean process looks like for a small pool built without a complete kit.
Once the slab has cured, lay down a separating layer and align the base frame exactly. You don't need a fleet of specialist machinery here, but you do need careful work with a tape measure, string line and spirit level. The surrounding base frame must sit perfectly square, because any error here will carry through into the wall panels later. This is precisely the crucial point when building your own pool: the visible cladding doesn't carry the load of the pool – the structural framework of posts, frame timbers and bracing does.
Next, fit the corner posts, intermediate posts and horizontal rails. The pool walls don't just need to look good – they must permanently withstand the sideways pressure of the water. That's why, as FUXTEC, we clearly advise against improvised solutions where boards or pallets are expected to carry the load almost as an afterthought. Even a small pool generates several tonnes of water load. At the same time, the material must stay dry: timber industry guidance generally recommends dry timber with a moisture content of no more than around 20% at installation, protection from rain and splashing water, avoidance of standing water, and covering exposed end grain. This is exactly why load-bearing timber shouldn't sit permanently in standing water or uncontrolled contact with the ground.
In practice, this means: keep the posts cleanly separated from the mineral sub-base, protect the top edges, direct water away deliberately, and avoid creating any hidden damp pockets. If you're cladding the outside later, leave an air gap between the structural frame and the visible layer. This makes the whole build more durable and noticeably extends its lifespan. A single solid plank as the sole wall works with kit systems that use defined profiles, but for a freely designed self-build, a braced frame with a smooth internal lining is usually the more controllable solution.
Once the walls are plumb, line the inside with smooth, load-bearing boards. Screw heads must be fully countersunk, and edges should be chamfered or sanded smooth. Only then does the fleece go onto the floor and walls. If you're lining a pool with a liner, nothing underneath it should be able to rub, press through or splinter.
For a freely built pool, the liner itself should ideally be ordered as a matching liner bag or as an exactly made-to-measure solution. This reduces the risk of errors that can quickly get expensive with amateur welding. Work in mild temperatures where possible, position the liner centrally, and fill the pool gradually a few centimetres at a time so you can smooth out creases properly.
A neatly fitted liner edge matters more than speed. Our FUXTEC tip here: when building your own pool, it's worth taking plenty of time, especially for fitting the liner. As mentioned, this is probably the trickiest part of the whole build, so it's particularly frustrating if you don't work carefully enough at this stage.
Once the pool is watertight, it's time for the pool equipment. For a working water circuit, you need at least a pump, filter and fittings matched to the volume of the pool. Even if you're not building an Olympic-sized pool, you still need proper water treatment with a pump and filter system, so the water doesn't have to be completely replaced all the time. Make sure the filter system, pipe runs and maintenance access are all planned together. A dry-standing equipment cupboard next to the pool is generally more practical for small private pools than a built-in below-ground chamber.
When positioning the openings, work with particular care: the skimmer should sit as high as possible on one of the long sides, and the inlet nozzle should be placed so that the water can circulate well within the pool. Mark out all cut-outs carefully, check measurements and positions several times, and follow the manufacturer's instructions exactly for the skimmer, nozzle, pump and pipework. Careful work is just as essential with all electrical components. Use only fittings that are suitable and properly rated for splash protection, observe the required safety zones around the swimming pool, and never improvise on connections, extension leads or plug connections. This helps you avoid leaks, poor water flow and unnecessary safety risks. All electrical work near the pool should be carried out or checked by a qualified electrician in line with UK wiring regulations (BS 7671).
And what about costs? When building a pool without a kit, costs are spread across groundworks, concrete, structural timber, internal boarding, liner, fittings and equipment. The main ways to save are through size and doing the work yourself. What you shouldn't skimp on is the foundation, waterproofing and equipment.
A quick comparison helps put things in perspective. A kit from a pool manufacturer takes a lot of decisions off your hands: wall thickness, accessories, liner size and equipment package all come already matched to one another. With a freely designed project, you have to work all of that out yourself. That's exactly why a small rectangular pool makes more sense than a complex round pool or an oversized family pool. If you're currently torn between an above-ground pool, a freestanding pool, a timber frame, a steel wall or a fully built masonry pool, don't just ask what's cheapest – ask what you can genuinely build to a good standard. A steel-wall pool is often quicker to assemble, a wooden pool feels cosier, and solid concrete solutions are structurally more demanding.
What matters is that the pool works structurally as well as visually. A freestanding wooden pool doesn't need complicated backfilling behind the walls. That's exactly why it's often more manageable for DIYers than a partially sunken pool. As soon as you start planning components in contact with the ground, moisture risk and the requirements for drainage and protective measures increase significantly.
Building a pool without a complete kit is absolutely achievable if you stick to a realistic size and work carefully. That's why our guide deliberately focuses on a small, rectangular pool rather than spectacular custom shapes. This way, you can keep the key points of the build under control: a load-bearing base slab, braced walls, smooth internal surfaces, a well-fitted liner and easily accessible equipment. Anyone looking for a small timber-frame pool gets more design freedom this way than with a ready-made kit, without straying into the complexity of a large sunken pool or a concrete swimming pool.
Our FUXTEC final word: if you're planning a wooden pool, you don't need to reinvent everything. You just need to think professionally at the right points. Then a good idea can turn into a sturdy pool for many summers to come, rather than just a short-lived DIY experiment.
Smaller pools may be exempt from planning permission under permitted development rules in the UK, but you must check with your local planning authority first. Building regulations, boundary distance rules and local council requirements still apply and should always be verified before starting work.
A rectangular pool of about 3 x 2 metres with roughly 1 metre water depth is ideal for DIY builders. It's large enough for proper swimming but small enough to keep effort, costs and technical complexity manageable compared to larger family-sized pools.
Costs vary depending on size and materials, but the main expenses are groundworks, concrete base slab, structural timber, internal boarding, custom pool liner and equipment. The biggest savings come from choosing a smaller size and doing the work yourself, though you shouldn't compromise on the foundation, waterproofing or pool equipment.
The foundation is crucial – a solid, level concrete base slab is essential for a permanently stable pool. Equally important is the load-bearing frame structure (posts, bracing and rails) which must safely withstand the pressure of thousands of litres of water, so improvisation here is not an option.
No. Pool walls must withstand several tonnes of water pressure, so you need proper structural timber with adequate bracing. Standard boards or pallets are not load-bearing and will fail. The timber must also be kept dry with moisture content around 20% at installation and protected from standing water and rain.
Essential tools include a cordless combi drill for screwing, a circular saw for straight cuts, a jigsaw for cut-outs (skimmer and pipes), a rotary hammer for fixing to concrete, a multi-tool for detail work, and a cordless sprayer for wood treatment. These FUXTEC cordless tools make the build significantly easier and more accurate.
The timeline depends on pool size, weather and your experience level. A small 3 x 2 metre pool typically takes several weeks from excavation through to filling and equipment setup. The liner fitting stage requires particular care and patience, so it's worth allocating extra time here to avoid costly mistakes.
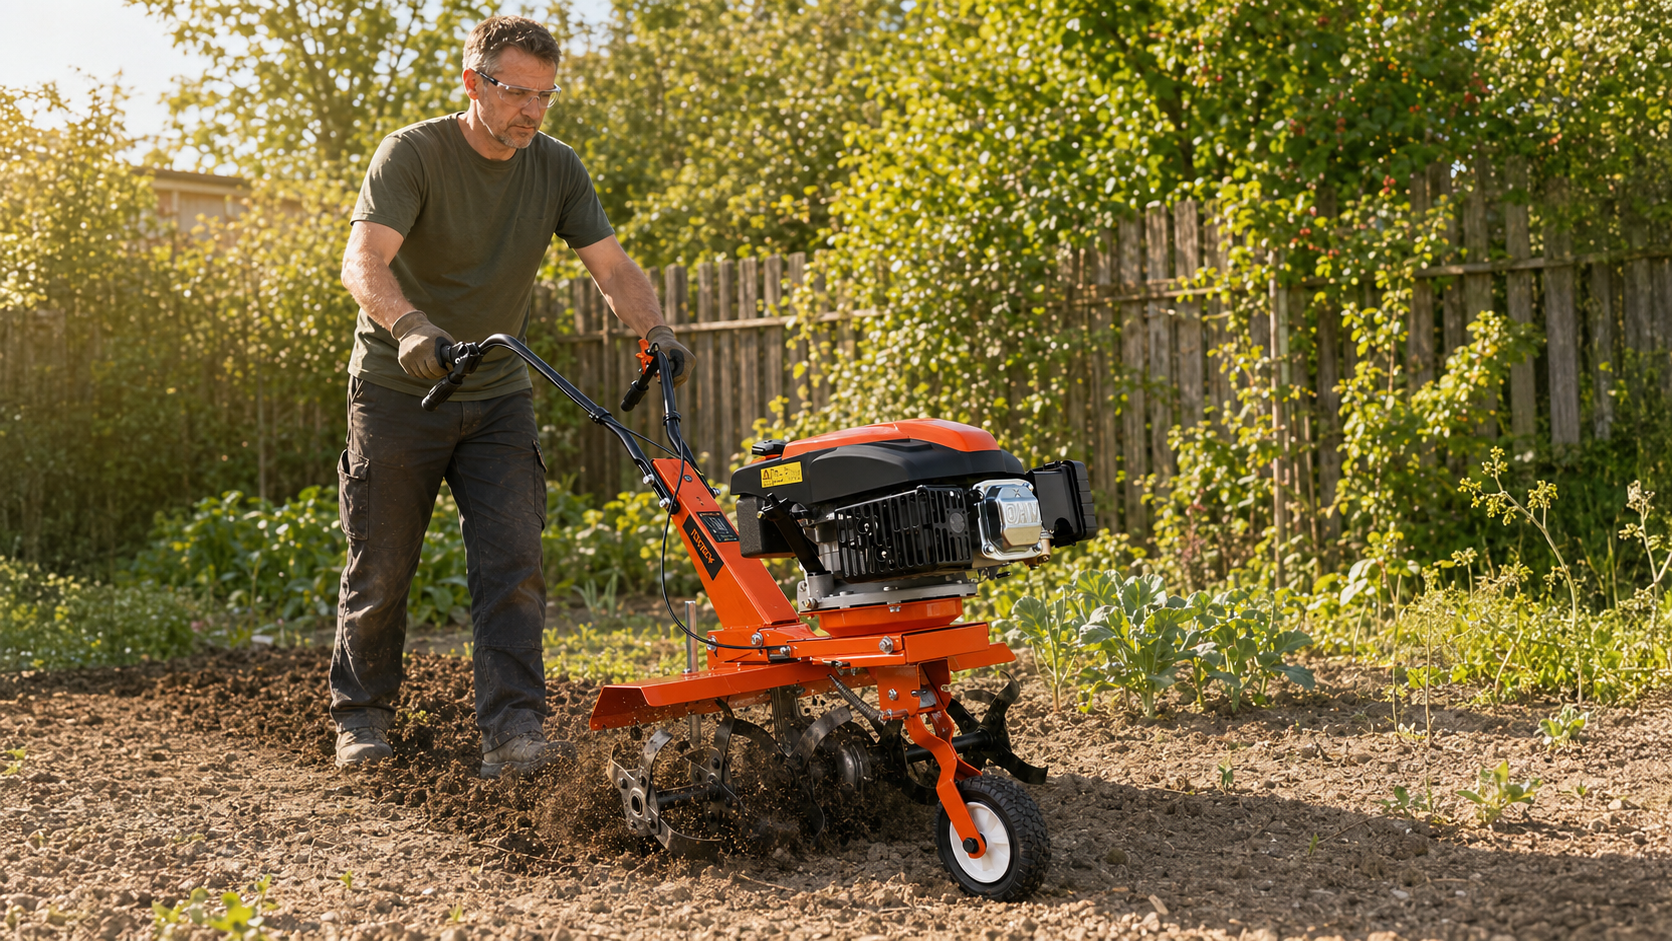
Trockenheit im Garten: Boden lockern, richtig gießen und mit Mulch Wasser sparen
Du gießt das Beet, doch das Wasser bleibt auf der harten Erdoberfläche stehen oder läuft zur Seite ab. Schon nach kurzer Zeit wirkt der Boden wieder trocken, obwohl Du gerade erst zur Gießkanne g...

Pine Bark Mulch: The Complete Gardening Guide
Mulching with pine bark is one of the most effective methods in modern gardening and sustainable horticulture. A layer of mulch material is applied to the soil surface to protect and improve the so...

Spring Soil Improvement: Prepare Your Garden Soil
Inhaltsverzeichnis Warum Bodenverbesserung im Garten im Frühjahr so wichtig für einen gesunden Gartenboden ist Gartenboden nach dem Winter prüfen: Bodenstruktur, Verdichtung und Bodenart erke...