


Cordless combi drill
Ideal for pre-drilling and screwing together the substructure, bench, entry steps and two-piece wooden lid.
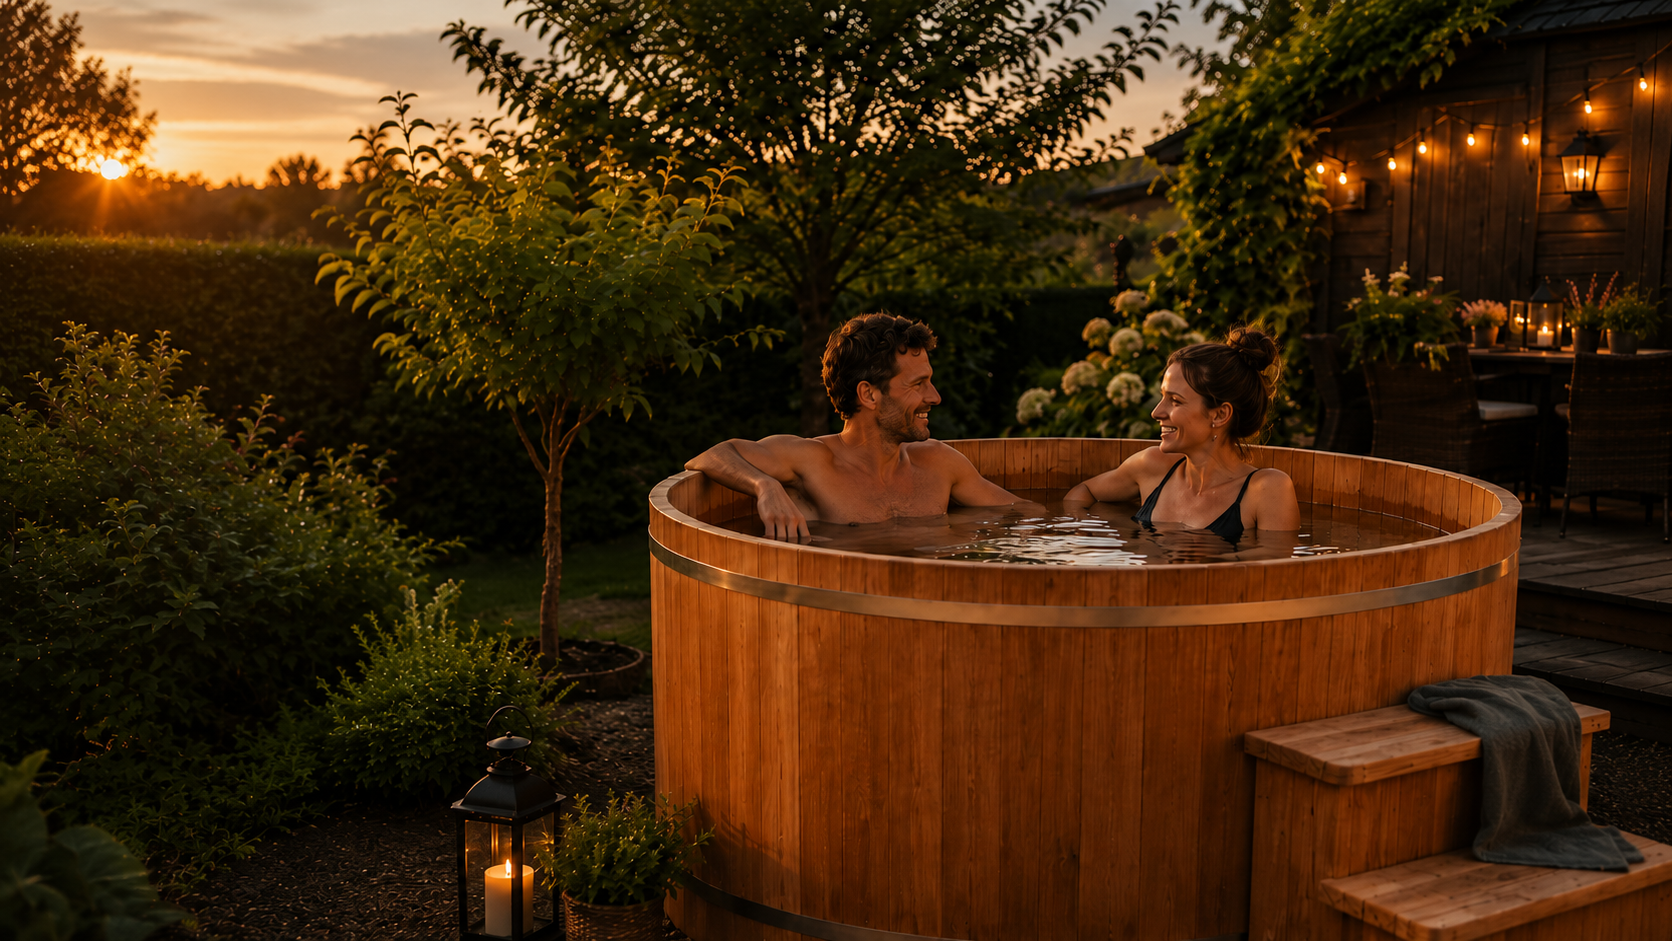
Alternative zum großen Pool im Garten
A dedicated swimming pool promises welcome relief in summer, but it quickly takes up a large chunk of your garden. Add to that the high water demand, ongoing maintenance and, depending on the design, extensive groundworks and installation work. On smaller plots especially, the effort involved is often out of proportion to how much use you actually get out of it.
A self-built wood-fired hot tub, or bathing barrel, is a more compact alternative. On a hot day, you can settle right into the cool water without needing to create a large swimming area. A barrel with a diameter of around 150 centimetres only takes up roughly 1.8 square metres of ground space. At the same time, the natural wood finish blends far more naturally into your patio, garden lounge and flower beds than a free-standing plastic pool.
And a bathing barrel doesn't have to become a heated hot tub straight away. For summer use, this FUXTEC garden guide first shows you how to build a sturdy tub with a bench, drain and cover. You can add a wood-fired stove or another heating system later on, if you'd like to keep using the tub into autumn and winter too.
A bathing barrel won't replace a pool where you can swim laps or splash about with several children. But if what you're really after is somewhere to cool off, relax and sit together, you'll make far more efficient use of the space available.
For two to four people, an internal diameter of around 150 centimetres is often enough. A tub with a diameter of roughly 200 centimetres can seat up to six people, depending on how the seating is arranged. Alongside the barrel itself, you should allow enough room for getting in and out safely, for maintenance, and for a secure walkway.
Compared with a permanently built-in pool, a bathing barrel offers several advantages:
| Feature | Bathing barrel | Permanently built-in pool |
|---|---|---|
| Space required | compact, works even in small gardens | needs considerably more open space |
| Summer use | for sitting and cooling off | for bathing and swimming |
| Water usage | comparatively low | significantly higher, depending on size |
| Construction effort | possible as a DIY project or kit | often requires groundworks and specialist contractors |
| Winter use | possible with an optional heater | depends on design and technology |
| Appearance | natural wood surface | technical or architectural look |
| Expandability | stove, filter and lid can be added later | technology usually required from the outset |
The biggest cost advantage comes if you first build the bathing barrel as an unheated summer pool. In this first stage, you can skip the stove, pipework and elaborate heating technology altogether.
A traditional bathing barrel is made from individual staves that are set into the base using tongue-and-groove joints and then drawn together with tension hoops. The wood swells slightly when it's filled with water, sealing the narrow gaps between the staves.
This method of construction looks particularly authentic, but it demands precisely machined components. Even small deviations in the staves, the base groove or the joints can mean the barrel leaks permanently.
For most garden enthusiasts, one of three approaches makes more sense:
Bathing barrel kit: the base and staves are already machined to fit. You handle assembly, the substructure, the bench, the entry steps and the surface finish yourself.
Pre-cut staves: you build the base and fittings yourself but use precisely machined staves for the water-facing side walls.
Sturdy inner liner with a timber cladding: a ready-made liner suitable for the purpose forms the watertight core. On the outside, you build your own timber cladding. This approach is technically simpler, yet once clad it still looks just like a wooden hot tub.
The guide below is based on a classic bathing barrel with pre-cut staves. The substructure and fittings are built entirely from scratch.
Before you order any timber, decide on the outer dimensions and the eventual location. For a compact bathing barrel intended for summer cooling, a diameter of around 150 centimetres is a good starting point. Wall height is typically between 90 and 110 centimetres. An internal bench running around the sides lets you decide later how deep you actually sit in the water.
Don't underestimate the weight involved. A litre of water weighs roughly one kilogram, so 1,000 litres alone puts around a tonne of load on the ground beneath. Add to that the weight of the barrel itself, the bench, and the people sitting in the water.
The site should therefore:
A compacted base of hardcore topped with grit and sturdy paving slabs is more practical for this DIY project than a deep concrete foundation. What matters most is that the base doesn't settle over time and that no standing water collects beneath the barrel. Air still needs to reach the underside of the wood.
The exact amount you need depends on diameter, height and construction method. For a classic wooden bathing barrel, you'll need the following core components:
Larch is widely used because it's weather-resistant and looks good in a garden setting. Oak is also robust and water-resistant, though it's heavy and relatively expensive. With spruce, choosing the right grade and using proper workmanship really matters. All three timber species are commonly cited as suitable materials for barrel construction.
For the inner surface that stays in contact with water, don't just use any wood stain or preservative. Check carefully whether a product is explicitly approved for that type of contact. On a classic barrel build, the interior is often left untreated. Outer surfaces, the entry steps and the lid, on the other hand, can be given a suitable protective coating.
A sturdy bathing barrel needs precisely cut timber, strong screw connections and carefully sanded surfaces. These FUXTEC cordless tools make it much easier to build the substructure, base, bench, entry steps and cover.
Ideal for pre-drilling and screwing together the substructure, bench, entry steps and two-piece wooden lid.
View product: FUXTEC cordless combi drill FX-E1SBS20-SET

Handy if you want to fix the entry steps, a surround or other fittings around the bathing barrel into concrete or stone.
View product: FUXTEC cordless rotary hammer FX-E1RH20-MEISSEL-SL

Perfect for the round barrel base, curved seating surfaces and precise cut-outs for the drain or pipework.
View product: FUXTEC cordless jigsaw FX-E1JS20-SET

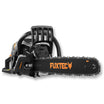
For straight cuts on substructure timbers, base boards, seat slats, entry steps and lid elements.
View product: FUXTEC cordless circular saw FX-E1CS20-SET

For sawing, sanding and finishing tight spots, edges and small cut-outs on the bench, entry steps and cladding.
View product: FUXTEC cordless multi-tool FX-E1MT20-SET2-SL

For applying a suitable, spray-compatible wood treatment evenly to the outer cladding, entry steps and lid.
View product: FUXTEC cordless hand sprayer FX-E1CSP20-SET
Start by marking out the area you'll need for your bathing barrel in the garden. Around the barrel itself, allow for a sufficiently wide access route. Remove any loose topsoil and compact the ground underneath.
A layer of hardcore stabilises the area and helps drain away water. On top of that comes grit, followed by sturdy paving slabs or support points. Use a long spirit level to check the surface is level in several directions.
A slight fall in the surrounding ground can help direct water away from the barrel. The barrel itself, however, must stand perfectly level so the load is distributed evenly.
Lay the tongue-and-groove boards tightly next to one another and secure them temporarily with ratchet straps. Find the centre point and mark the desired outer diameter using a compass board or a length of string.
Don't cut out the circle just yet. First, you need to create the groove that runs around the edge, where the staves will later sit. This step is crucial in determining whether the base and side walls will fit together cleanly.
If you don't have experience with a router, groove profiles and barrel-making, it's worth having the base made to match your pre-cut staves, or using a matching ready-made base panel.
The substructure raises the base off the ground. This allows air to circulate underneath the wood and lets any splashed water dry off more quickly.
Arrange several load-bearing timbers parallel to one another underneath the base. Depending on the design, these are joined with cross timbers to form a stable frame. Pre-drill the screw holes and use stainless steel screws.
The screws must not fully pierce through the water-facing base. Check their length carefully before fitting.
The drain should go in an easily accessible spot, ideally at the lowest point. Decide now where the water will flow once it's released. A short hose connection makes controlled draining much easier.
Drill the opening to match your chosen drain valve and fit all seals according to the manufacturer's instructions. Then saw around the outer marking to cut the base to its final round shape.
Work slowly and without applying too much pressure. The cleaner the cut edge, the more evenly the staves will sit once fitted.
Place the first stave into the prepared base groove. Then add each subsequent stave tightly next to the last. A rubber mallet, together with an offcut of wood, lets you tap the pieces gently into position without striking the visible edges directly.
As you build up the wall, hold it steady with one or two ratchet straps. The final stave is usually the trickiest. It shouldn't be forced in, nor should it have too much play.
This is exactly where pre-cut staves show their worth: if the width, profile and angle are matched to the barrel's diameter, the circle closes up neatly.
Mark the positions of the stainless steel hoops around the barrel. Start with the lowest hoop and only tighten it gently at first. Then move on to the hoops above it.
Keep checking that the staves are standing vertically and sitting evenly in the base groove. Only once the whole structure is properly aligned should you gradually tighten the hoops further.
Don't fully tighten a single hoop straight away. Instead, work your way around all the hoops in turn, so the tension builds up evenly.
A bench running around the sides, or a half-circle bench, turns a simple bathing barrel into a cosy tub. Build it so the load is transferred to the base through several support points.
The bench should be removable for cleaning. Leave narrow gaps between the individual seat slats so water and dirt don't collect on the surface permanently.
For the entry steps, you can build a small set of two or three wide steps. Each step needs a slip-resistant surface and a firm footing. Round off all edges and sand them thoroughly.
A lid keeps leaves, pollen and insects out of the water. It also reduces heat build-up from direct sunlight and makes it harder for young children and pets to gain unsupervised access.
A two-piece wooden lid is easier to move around than a single large panel. Join the boards on the underside with cross battens and fit sturdy handles. Small gaps between the boards are fine, as they let rainwater drain away.
Start by smoothing out any rough spots, then move on to a finer grit. Pay particular attention to the top rim, the bench, the entry steps and all handle areas.
Remove all sanding dust thoroughly. For an even outer coating, you can apply a suitable oil or stain using the FUXTEC 20V cordless hand sprayer FX-E1CSP20, provided the coating you're using is suitable for the sprayer and for the intended outdoor use.
Only treat inner surfaces that will be in permanent contact with bathing water with products explicitly approved for that purpose.
A classic barrel made from dry wooden staves won't be completely watertight right after assembly. Start by filling it with around ten centimetres of water and keep an eye on the base, drain and lower staves.
The wood absorbs moisture, swells, and seals up the narrow gaps as a result. Increase the water level gradually. As a rule of thumb, it's worth waiting several hours, or even overnight, between each stage of filling.
Keep checking the tension hoops throughout this process. Persistent or unchanging leaks, on the other hand, tend to point to an assembly error, a damaged stave or a problematic joint.
For summer use, the stove stays switched off, or isn't fitted at all to begin with. You simply fill the tub with cool tap water and use it as a compact plunge-and-sit pool.
A partly shaded spot stops the water heating up too much during the day. Even more important is a well-fitting lid. As well as keeping out debris, it also cuts down on direct sunlight hitting the water.
The water doesn't need to be ice cold to feel refreshing. Even a temperature noticeably lower than the surrounding air brings welcome relief on a hot day. Because you sit in a bathing barrel rather than swim, it takes up far less ground space than a traditional garden pool.
Around the barrel, you can create a small relaxation area. A self-built garden bench, a lounge seating area or a shady pergola turn the spot into a proper summer retreat that still works even when no one's in the water. We've also put together a whole range of DIY ideas for setting up your own garden lounge area.
If you only use the water briefly and change it regularly, a simple approach of a cover, manual cleaning and controlled water changes can be enough. Once several people use the barrel regularly, or the water sits for longer periods, proper filtration and water care become worthwhile.
Leaves, hair, skin particles and other organic matter won't disappear through disinfectant alone. UK guidance for hot tubs and small pools, such as that from the Health and Safety Executive (HSE) and the Pool Water Treatment Advisory Group (PWTAG), recommends measures for private tubs including using a cover, regularly removing visible debris, cleaning the walls and floor, and maintaining effective filtration.
A quick shower before getting in reduces the amount of dirt entering the water. Test the water regularly and follow the manufacturer's instructions exactly for any water care or disinfection products.
Don't simply empty chemically treated water onto the lawn, into a flower bed, or near a watercourse. In the UK, it's generally best to drain such water to the foul sewer via a household drain, ideally in small amounts and diluted, rather than to a surface water drain or soakaway. Rules can vary locally, so check with your water company or local council before disposing of treated water.
If you'd like to use the bathing barrel all year round eventually, you can add a suitable internal or external stove. For a compact barrel, an external stove is often more practical, since it doesn't take up any seating space inside. In return, you'll need extra pipework running between the stove and the tub.
An internal stove transfers heat directly into the water but needs a sturdy protective guard. Bathers must never be able to touch hot metal surfaces.
Always follow the stove manufacturer's instructions for installation, clearances, pipework and operation. Never fire up a wood-burning bathing barrel stove until it's fully surrounded by water, or properly connected so water flows through it as intended. Also check for any local rules on solid fuel appliances, smoke emissions and boundary clearances, and make sure any stove meets current UK emissions requirements if you live in a smoke control area.
Electric heaters, hard-wired pumps and sockets located near water should always be installed by a qualified electrician. Trailing extension leads have no place anywhere near a bathing barrel.
Whether your bathing barrel needs planning permission depends on its size, location and any local restrictions that apply, including whether your home is listed or in a conservation area. Boundary distances, rules covering patios or hard standing areas, and the use of a wood-fired stove can all be relevant too.
It's worth checking with your local council before you build if the barrel is going to be permanently installed, fixed to a solid base, or fitted with a stove. If you're planning to install it on a raised patio, decking or balcony, you'll also need to confirm the structure can safely bear the load.
A filled bathing barrel must never be left accessible to children unsupervised. Secure the lid and keep children under close, constant supervision throughout use. Even a relatively small area of water can pose a serious risk.
Keep the entry area and surroundings free of trip hazards. Water-resistant, slip-resistant surfaces reduce the risk of slipping on wet timber. Check the tension hoops, bench, steps, lid and drain regularly.
Don't use the bathing barrel if the water looks visibly dirty, smells unusual, or if you're no longer able to keep on top of water care. If in doubt, drain the tub completely and clean it thoroughly.
A self-built bathing barrel is a great solution for gardens where a traditional pool would be too big, too expensive, or simply unnecessary. You get a dedicated spot to cool off that needs very little ground space and blends naturally into the garden thanks to its timber finish.
The cheapest and simplest way to start is with an unheated bathing barrel for summer use. Pre-cut staves or a suitable inner liner reduce the risk of leaks. You can shape the substructure, cladding, bench, entry steps and lid to suit your own garden using FUXTEC cordless tools.
If you'd later like to turn your summer cooling pool into a proper hot tub, simply add a suitable stove and the necessary water technology. That way, the project can grow alongside your needs, from a compact mini-pool for hot garden days right through to a heated bathing barrel for the cooler months.
A typical bathing barrel with a diameter of around 150 centimetres requires approximately 1.8 square metres of ground space, making it far more compact than a traditional swimming pool. You should allow additional room around the barrel for safe access, maintenance, and a secure walkway.
Yes, you can add a wood-fired stove either internally or externally to turn your summer cooling pool into a heated hot tub. External stoves are often more practical for compact barrels as they don't take up seating space, though they require extra pipework.
You'll need pre-cut staves, tongue-and-groove boards for the base, load-bearing timber for the substructure, stainless steel tension hoops and screws, a lockable water drain, and timber for the bench, entry steps and lid. Larch and oak are popular choices for their weather resistance.
Planning permission requirements depend on the barrel's size, location, whether your home is listed or in a conservation area, and if you're fitting a wood-fired stove. You should check with your local council before building, especially if the barrel will be permanently installed or on a raised structure.
A classic wooden barrel made from dry staves won't be completely watertight immediately after assembly. The wood absorbs moisture and swells to seal the gaps, typically taking several hours or overnight between each stage of filling with water.
For brief use with regular water changes, a cover and manual cleaning may be sufficient. However, UK guidance recommends proper filtration for regular use, which helps remove leaves, hair and organic matter that disinfectant alone cannot handle.
Yes, by adding a suitable heating system such as a wood-fired stove or electric heater. As an unheated summer cooling pool, it works only during warm months, but heating technology allows you to extend use into autumn and winter.

Trockenheit im Garten: Boden lockern, richtig gießen und mit Mulch Wasser sparen
Du gießt das Beet, doch das Wasser bleibt auf der harten Erdoberfläche stehen oder läuft zur Seite ab. Schon nach kurzer Zeit wirkt der Boden wieder trocken, obwohl Du gerade erst zur Gießkanne g...
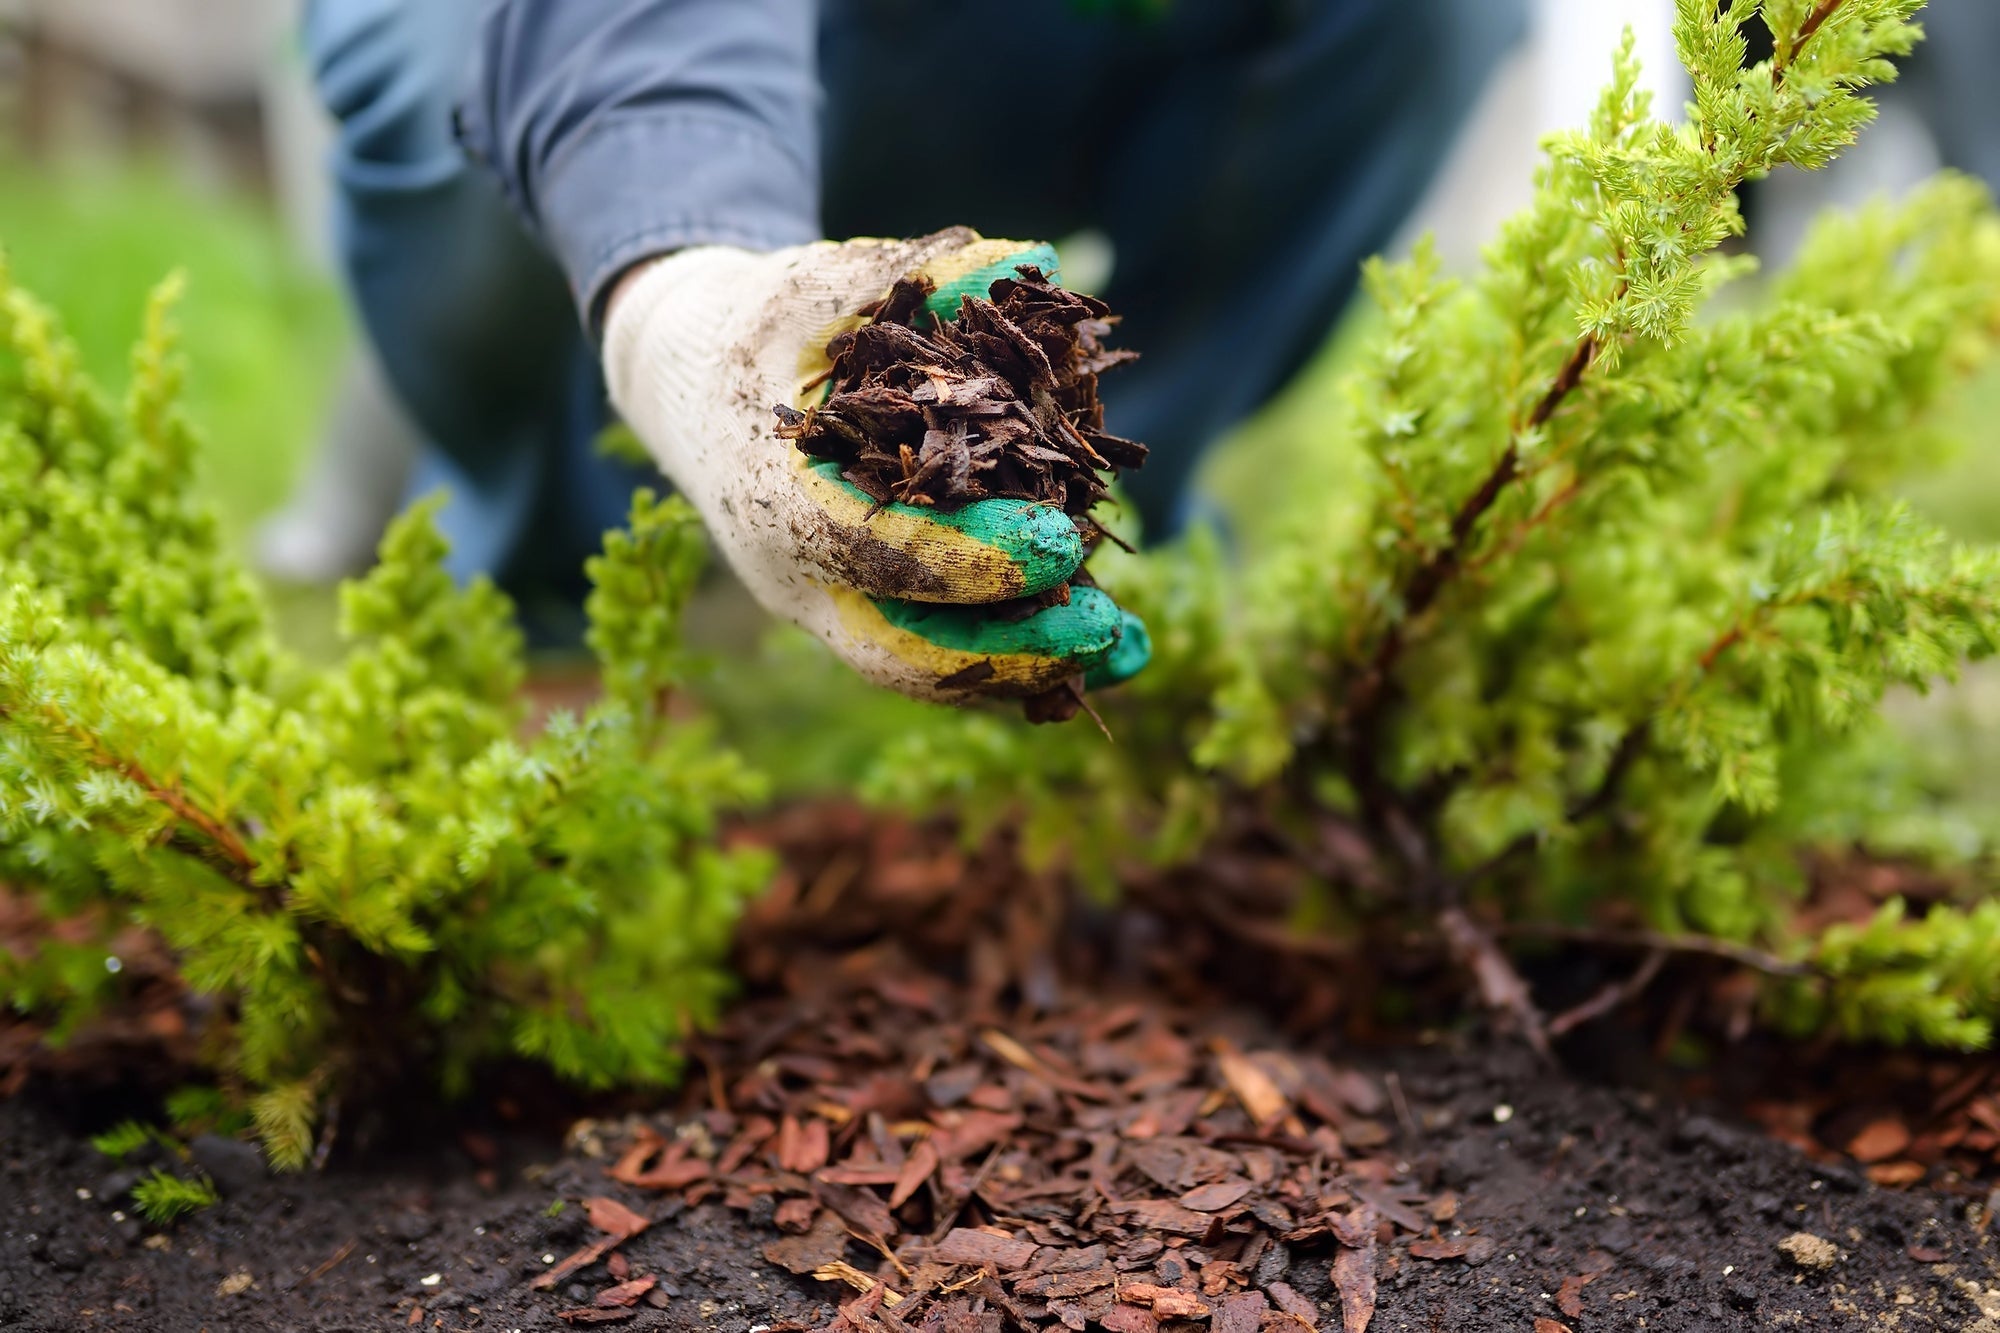
Pine Bark Mulch: The Complete Gardening Guide
Mulching with pine bark is one of the most effective methods in modern gardening and sustainable horticulture. A layer of mulch material is applied to the soil surface to protect and improve the so...
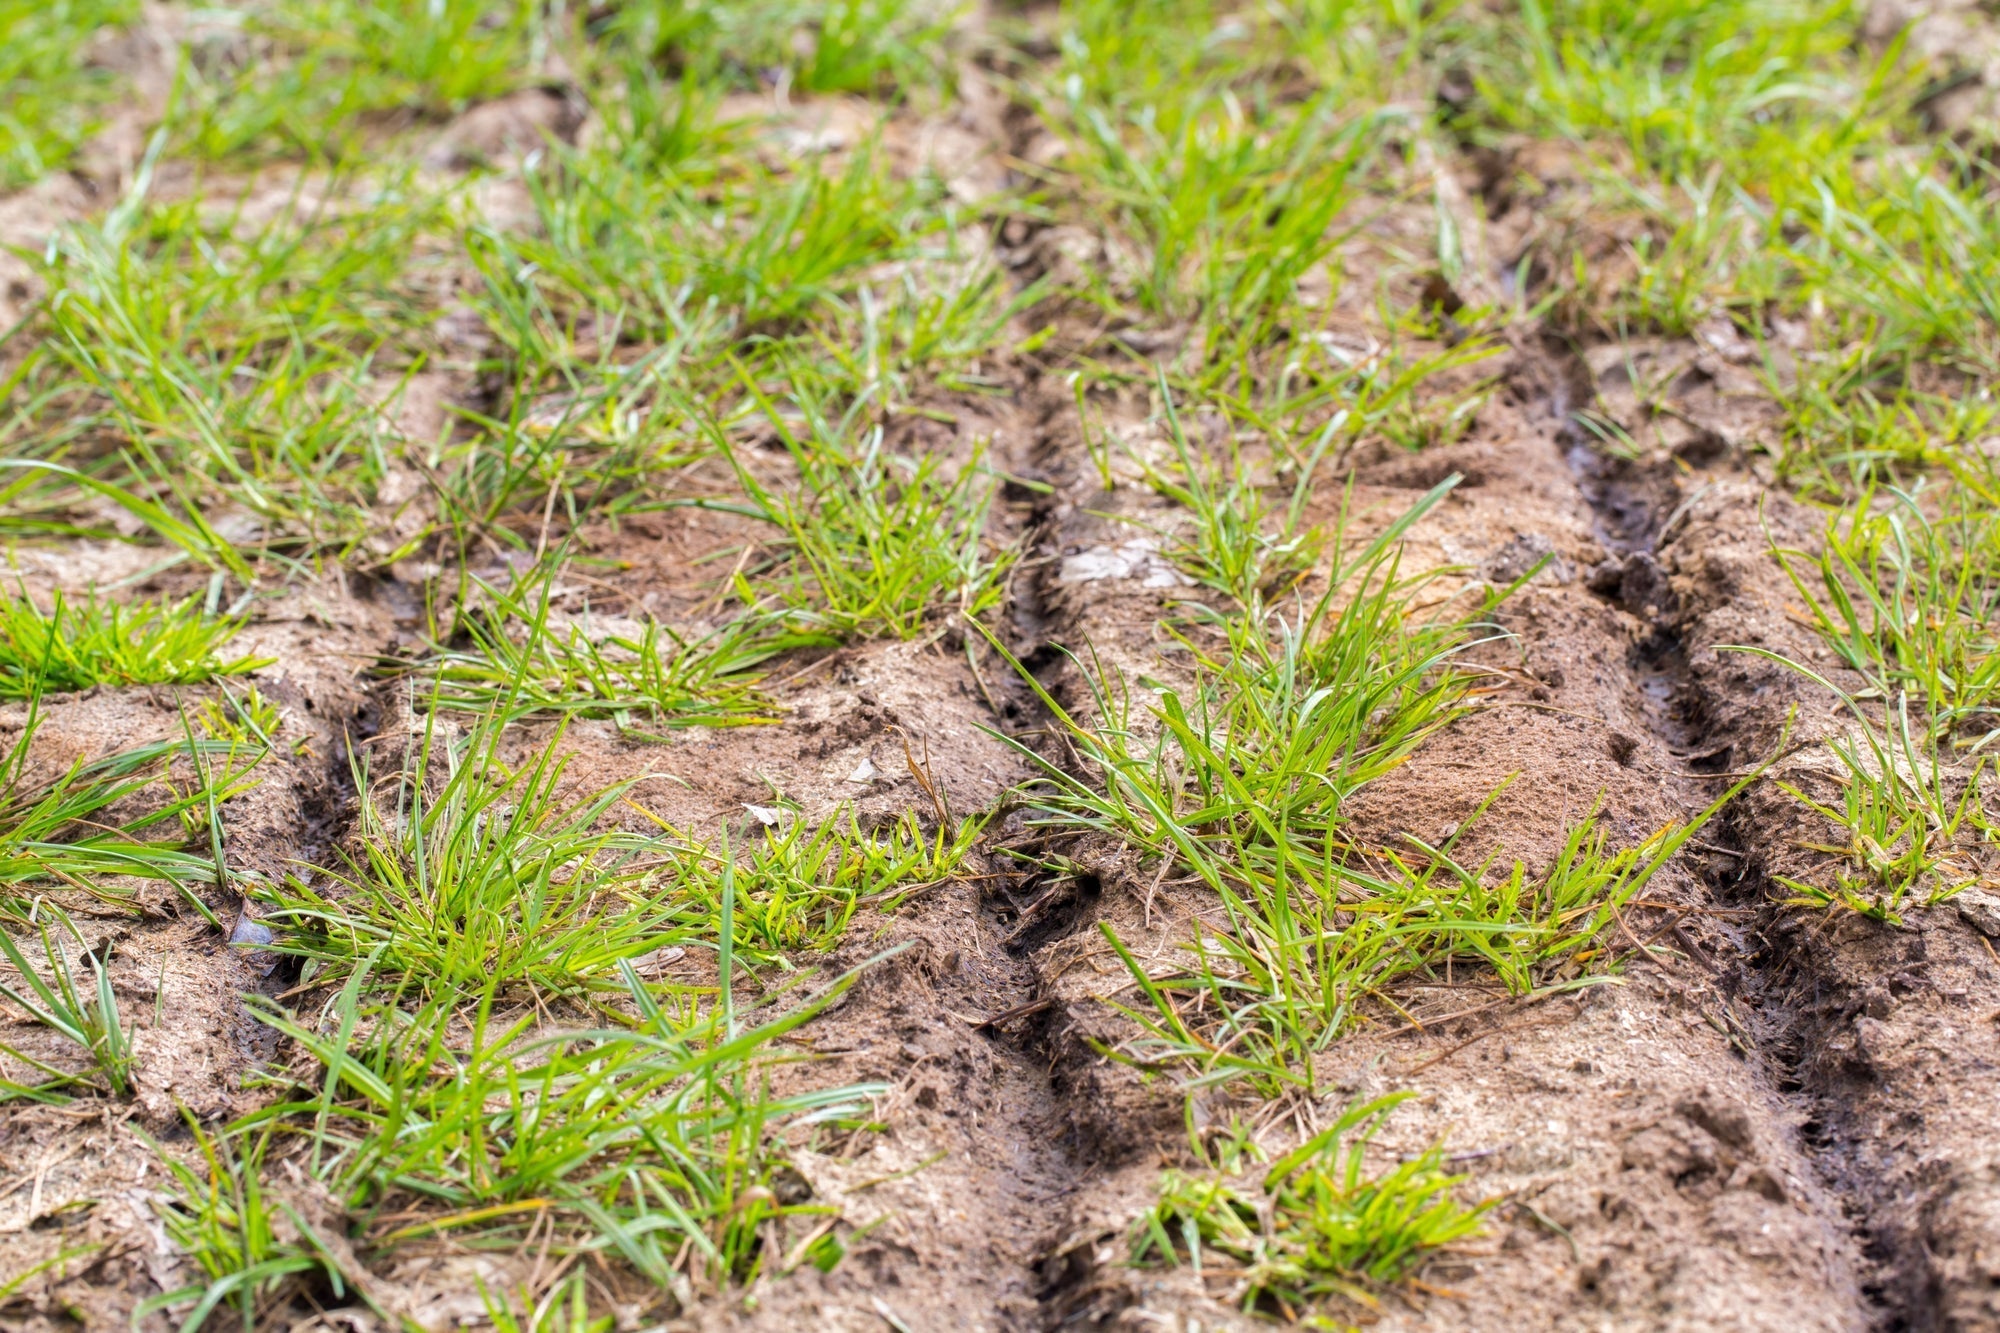
Spring Soil Improvement: Prepare Your Garden Soil
Inhaltsverzeichnis Warum Bodenverbesserung im Garten im Frühjahr so wichtig für einen gesunden Gartenboden ist Gartenboden nach dem Winter prüfen: Bodenstruktur, Verdichtung und Bodenart erke...