
Bodenverbesserung
How to Rotavate Your Garden | Complete Guide
- Was bedeutet Boden fräsen eigentlich?
- Vor- und Nachteile des Bodenfräsens im Überblick
- Wann ist der richtige Zeitpunkt zum Boden fräsen?
- Welche Fräsen eignen sich für welche Bodenarten?
- Tipps aus der Praxis für ein lockeres Ergebnis
- Fazit: So wird Dein Garten fit für die nächste Saison
- FAQ
A beautiful garden starts with the soil. It sounds simple, but it really is the foundation of every successful garden.
Whether you're creating a new garden from scratch or looking to bring tired beds and lawns back to life, you shouldn't underestimate the importance of rotavating your soil.
Getting the preparation right saves you time, frustration and money further down the line – because well-broken, weed- and root-free soil absorbs nutrients more effectively, retains water more efficiently, and gives your lawn or beds the very best start.
In this guide you'll find everything you need to rotavate your soil properly – whether you're looking for advice on choosing the right rotavator, the best time to rotavate, or the pros and cons of the method!
What does rotavating actually mean?

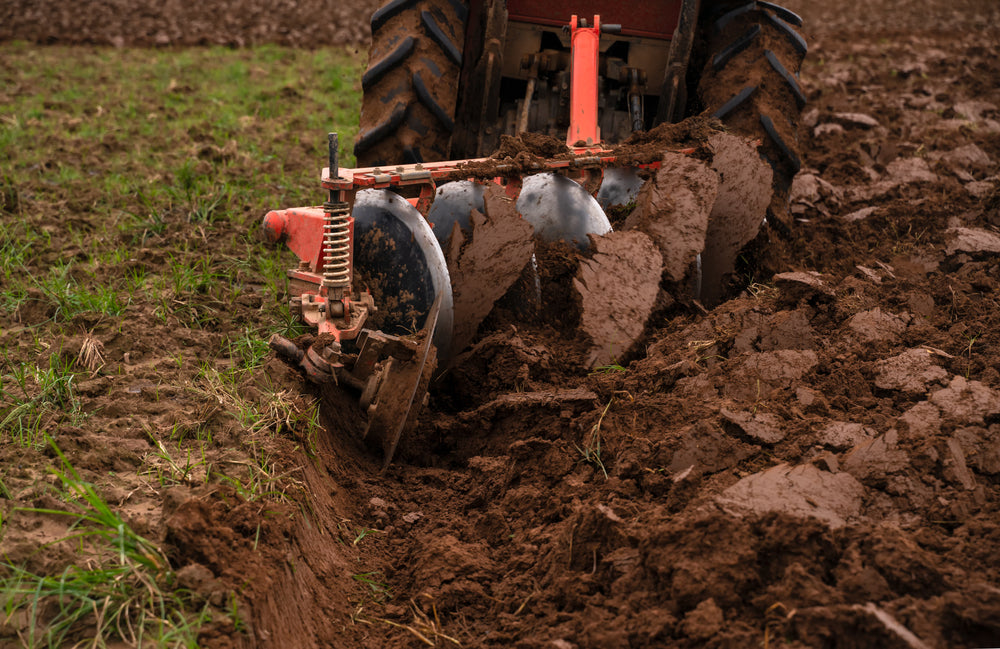
Rotavating involves mechanically working the top layer of soil. Rotating blades break up the earth, mix it through and loosen its structure.
The aim is to make the soil more permeable and better structured, so water can drain freely and plant roots have plenty of air and space. For compacted or heavily overgrown ground, rotavating is a genuine game-changer.
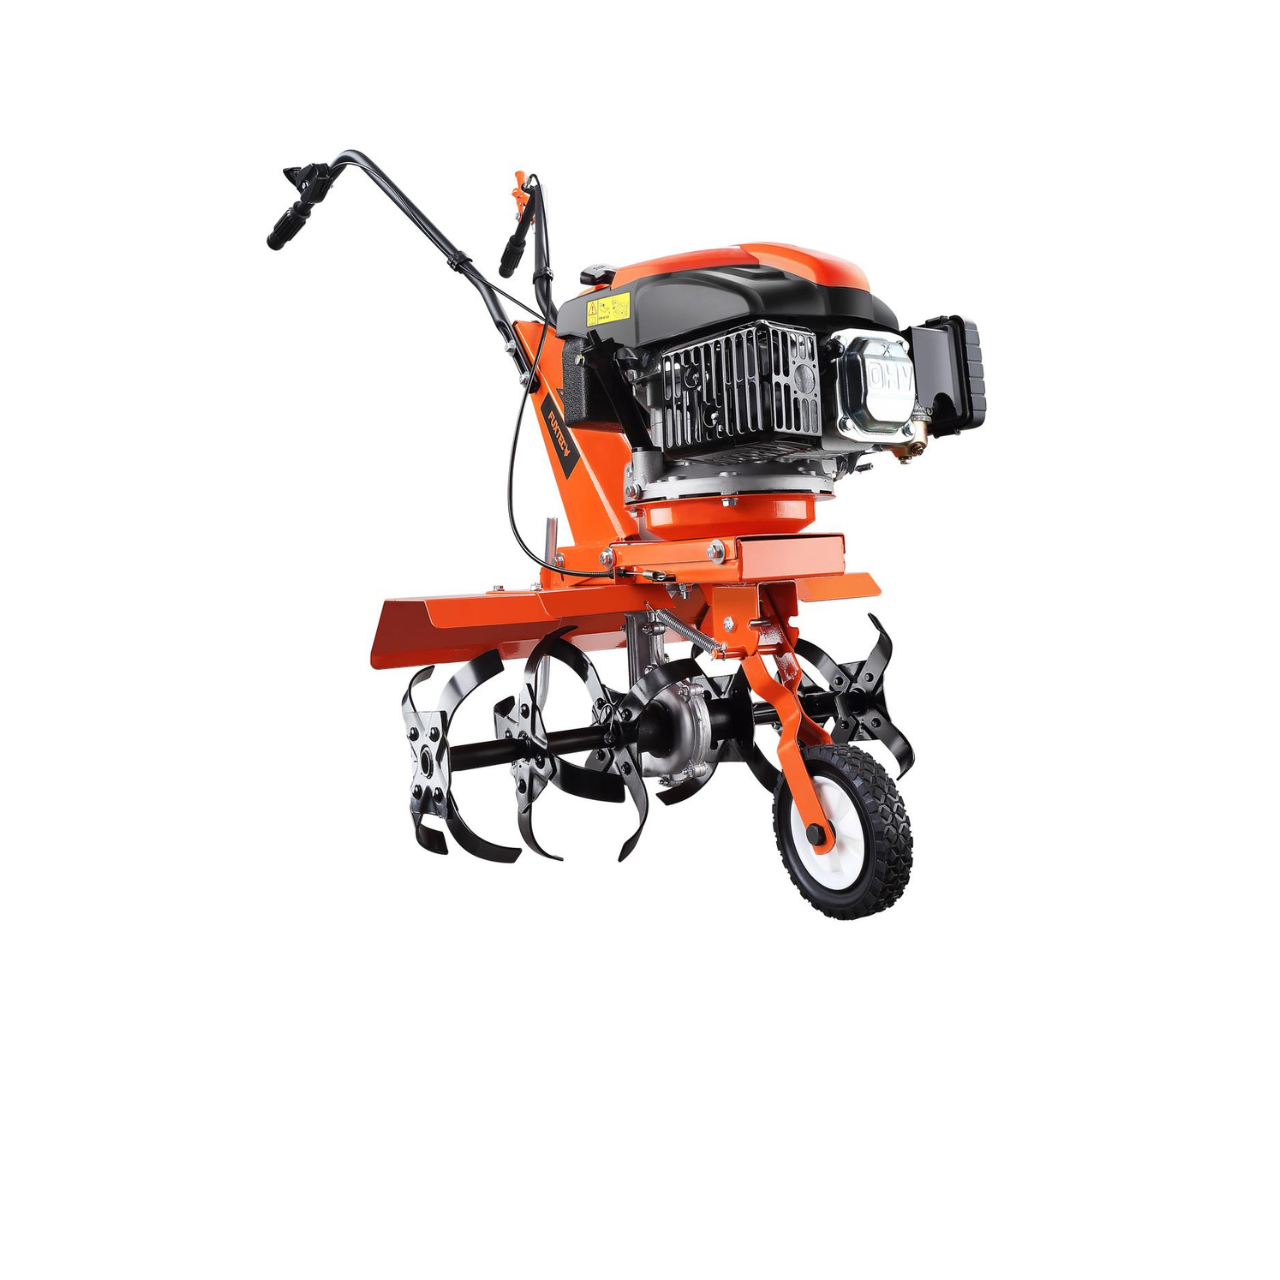
Whether you use a hand-held mini tiller, a heavy-duty rotavator or even a counter-rotating model depends largely on the size of the area, the soil type and what you want to achieve.
For small to medium-sized gardens, machines such as our FX-AF1139 are ideal – powerful, versatile and easy to manoeuvre. It's important to do your research beforehand, as no two soils are alike and not every machine suits every plot.
Another benefit: Rotavating breaks up old roots and plant debris, which can help suppress weeds. You can also work nutrients or compost straight in afterwards – the perfect way to kick-start new growth.
Pros and cons of rotavating at a glance

Rotavating is a popular technique – and for good reason. But as with any method, there are not only benefits; there are also a few pitfalls to watch out for. Here's a clear summary of the most important points:
Pros:
- Soil is broken up deeply – ideal for root development and water absorption.
- You can work in nutrients, compost or sand in a single pass.
- Old weeds and plant debris are chopped up and partly incorporated.
- Large areas can be covered in a short amount of time.
- Saves a huge amount of time and effort compared to digging by hand.
Cons:
- Working wet soil can damage its structure.
- Incorrect use can lead to uneven results.
- Some weeds can actually spread when chopped up – couch grass is a common example in UK gardens.
- Not every soil type is equally well suited to rotavating.
- Without the right knowledge, even good soil can be damaged by over-rotavating.
Especially for home gardeners: less is sometimes more.
Observe your soil, consider whether rotavating is genuinely worth it, and make a clear plan. Take advantage of what a rotavator offers, but treat your soil with respect – after all, it's the foundation for everything you want to grow.
When is the best time to rotavate?
Timing is crucial. Spring and autumn are generally considered ideal, as the soil tends to be neither too wet nor too dry at these times of year.
Rotavating in spring is particularly worthwhile if you want to lay a new lawn or prepare an area for planting.
After winter the soil is usually compacted, and rotavating creates the best possible conditions for new plant growth.
In autumn you can prepare the ground for the following season – removing weeds, loosening the soil and incorporating green manure if desired.
Important: Not every timing suits every soil type. Heavy clay soils are best rotavated only once they have dried out sufficiently – otherwise things get muddy very quickly.
A quick test: take a handful of soil and squeeze it firmly. If it stays as a solid clump, wait a few more days. If it crumbles apart easily, you're ready to go.
Which rotavator suits which soil type?

Not every rotavator is suited to every soil type – this is one of the most common misconceptions among home gardeners.
For light, sandy soils you can use a compact mini tiller such as our FX-AF1139-Set1, which offers a modest working width and excellent manoeuvrability. Ideal for small beds and narrow rows.
Heavy soils are a different matter – here you need more power. A robust rotavator such as the FX-AF152, with a high-powered engine and heavy-duty blades, has the clear advantage. It cuts through compacted clay soils and larger plots with ease.
A quick overview:
| Soil type | Suitable machine | Notes |
|---|---|---|
| Sandy | Compact mini tiller | Easy to work |
| Clay soil | Powerful rotavator | Only rotavate in dry conditions |
| Humus-rich soil | Mid-size rotavator | Works well, high nutrient content |
| Compacted ground | Counter-rotating rotavator | Ideal for deep breaking up |
Practical tips for the best results
Now for the detail: how do you get the best results from rotavating – without your garden ending up looking like a ploughed field?
Simple: follow a few tried-and-tested tips from the experts.
- Assess the area first: Are there stones, old root systems or severely compacted patches? If so, remove anything that could obstruct the rotavator before you start.
- Work in the right order: Begin at the outer edge of your plot and work systematically inwards. Overlapping your passes ensures an even finish.
- Watch your speed: Pay attention to how fast you're working – moving too quickly can compact the soil rather than loosen it.
- Don't go too deep on the first pass: It's better to make two passes at a moderate depth than one very deep pass – this avoids unnecessary strain on the machine and reduces the risk of soil damage.
- Check and sharpen the blades regularly: Blunt blades not only struggle to cut through the soil – they can also tear up the soil structure unnecessarily. Our FX-AF1212 scores points here with easily replaceable blades, saving time and significantly extending the machine's lifespan.
- Choose the right conditions: Never rotavate when the ground is frozen or after heavy rainfall – this can do more harm than good. Instead, check the forecast and pick a mild, dry day in spring or autumn.
Getting your garden ready for the new season
Whether you want to renovate an old lawn, start a garden from scratch or simply prepare your beds – a rotavator is a genuinely powerful tool for modern soil preparation.
Choose the right time, use the right machine and work methodically, and you'll not only save time – you'll create the perfect conditions for a healthy, thriving garden!
Discover our range of garden tools
What exactly does rotavating do to soil?
Rotavating uses rotating blades to mechanically break up and loosen the top layer of soil, making it more permeable and better structured. This allows water to drain freely and gives plant roots plenty of air and space to develop.
When is the best time to rotavate my garden?
Spring and autumn are generally ideal for rotavating, as the soil is neither too wet nor too dry. Spring is particularly good for preparing new lawns, whilst autumn lets you prepare the ground for the following season.
Can I rotavate clay soil, and if so, when?
Yes, but only when clay soil has dried out sufficiently – rotavating wet clay can damage its structure. A quick test: squeeze a handful of soil; if it crumbles apart easily, you're ready to go.
What size rotavator do I need for my garden?
It depends on your soil type and plot size. Sandy soils work well with a compact mini tiller, whilst heavy clay soils require a more powerful rotavator with high-powered engine and heavy-duty blades. For small to medium gardens, a versatile mid-size machine is often ideal.
Does rotavating help control weeds?
Rotavating breaks up old roots and plant debris, which can help suppress weeds. However, some weeds like couch grass can actually spread when chopped up, so it's worth assessing your situation first.
How many passes should I make when rotavating?
It's better to make two passes at a moderate depth than one very deep pass – this avoids unnecessary strain on the machine and reduces the risk of soil damage. Always work systematically from the outer edge inwards, overlapping your passes for an even finish.
What are the main drawbacks of rotavating?
Working wet soil can damage its structure, incorrect use can lead to uneven results, and over-rotavating can harm good soil. Some weeds can spread when chopped up, and not every soil type is equally well suited to the method.
More articles about garden care
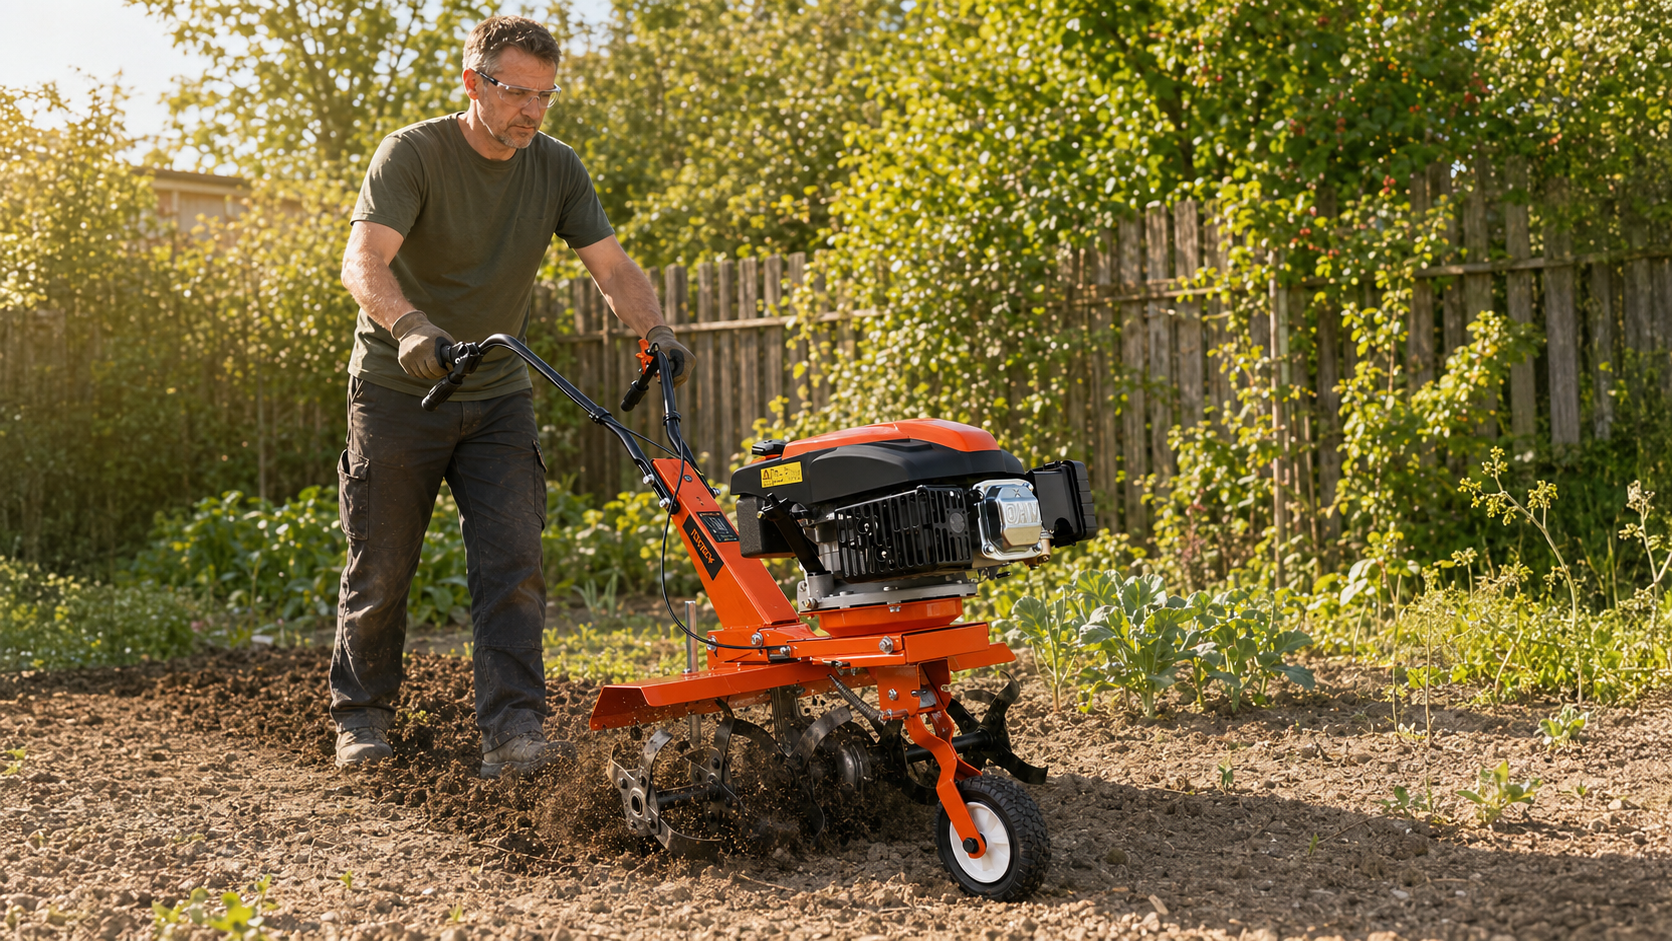
Trockenheit im Garten: Boden lockern, richtig gießen und mit Mulch Wasser sparen
Du gießt das Beet, doch das Wasser bleibt auf der harten Erdoberfläche stehen oder läuft zur Seite ab. Schon nach kurzer Zeit wirkt der Boden wieder trocken, obwohl Du gerade erst zur Gießkanne g...
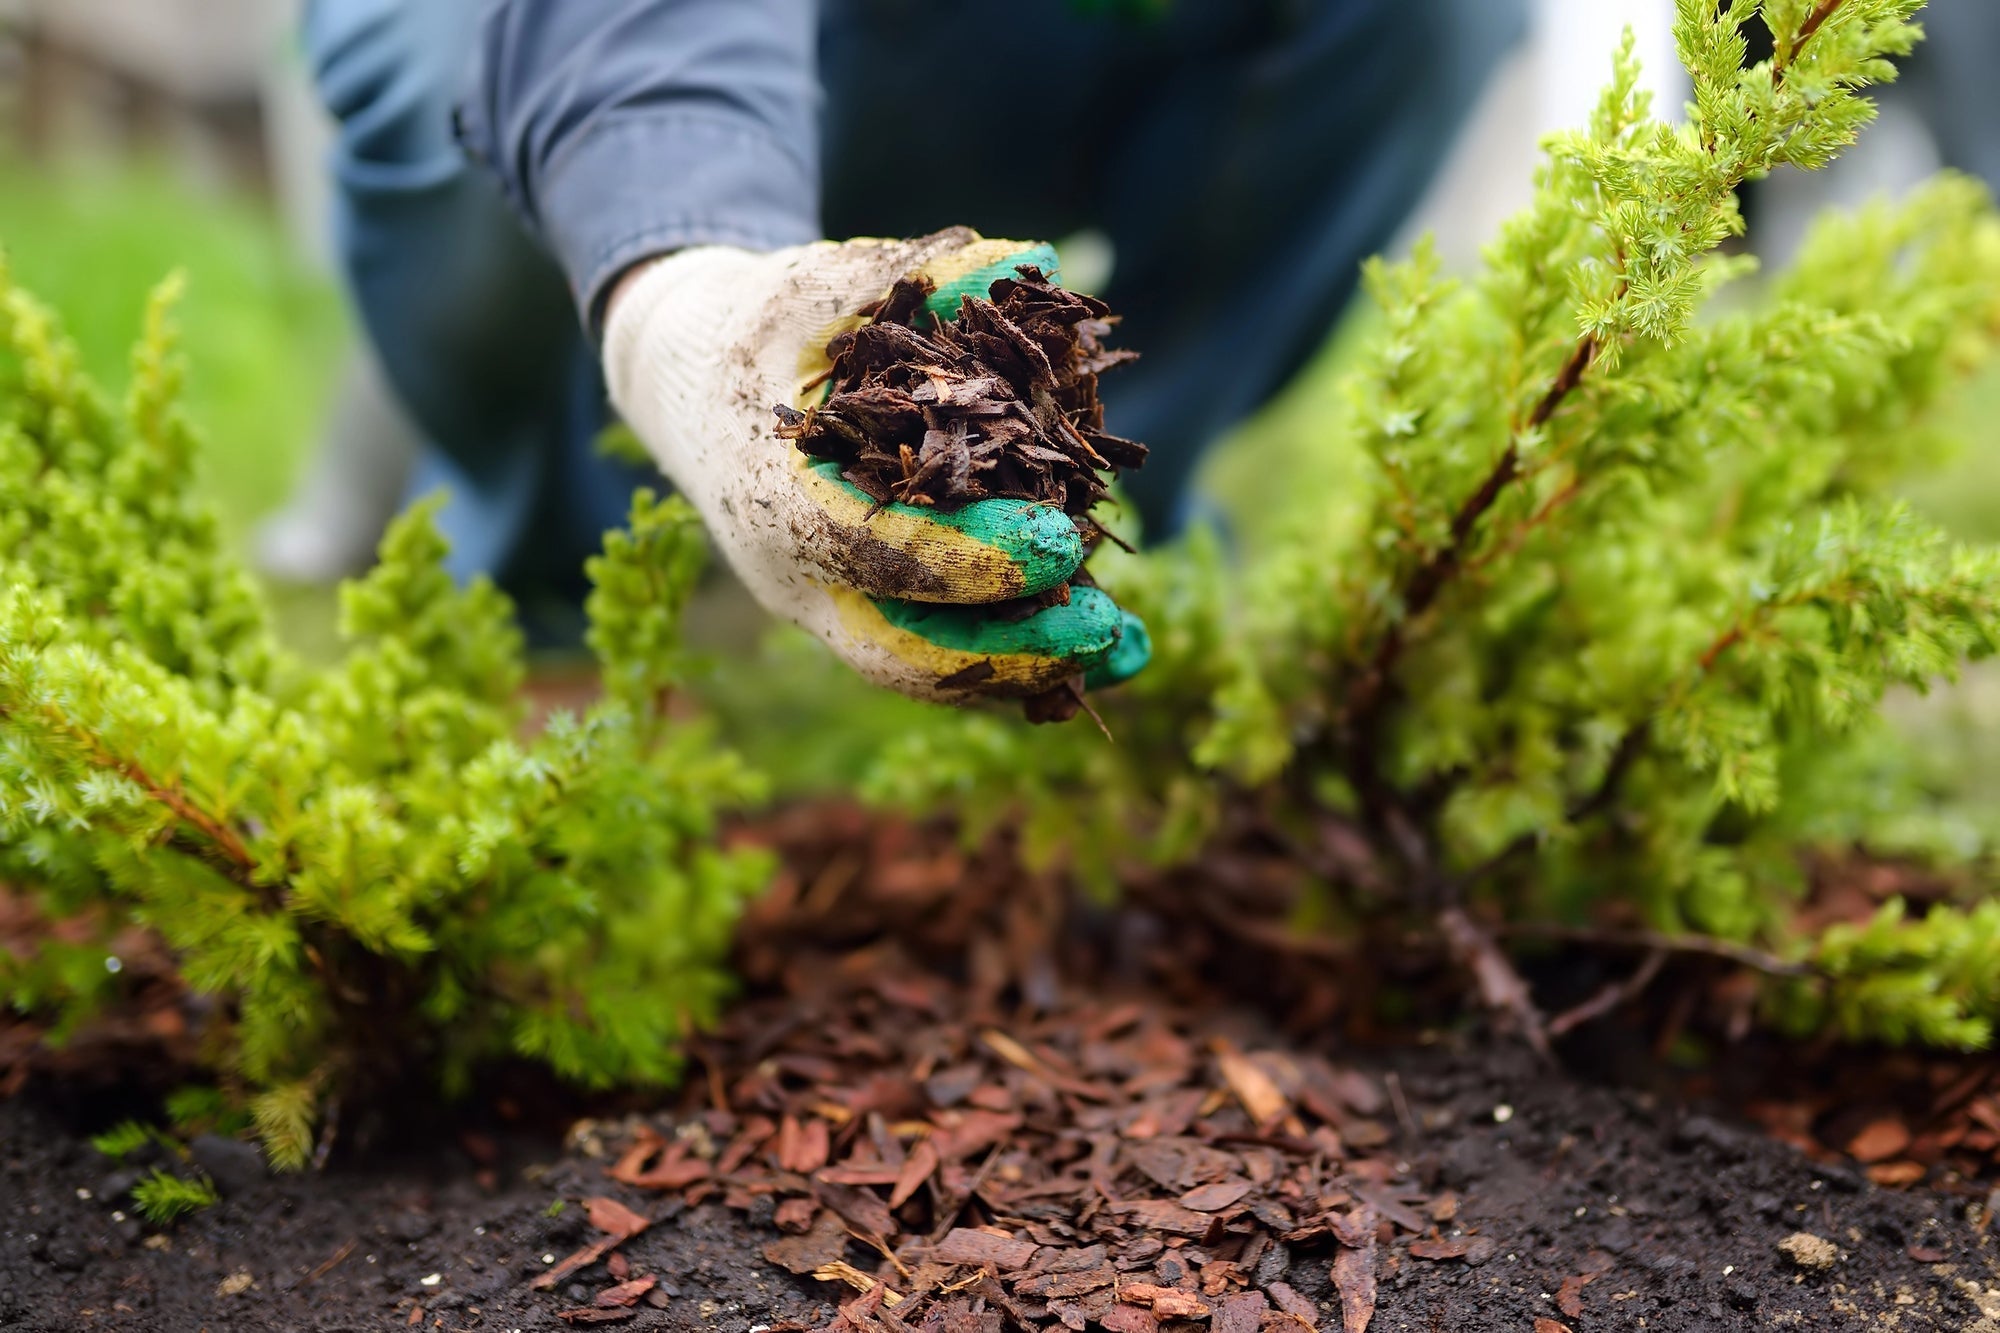
Pine Bark Mulch: The Complete Gardening Guide
Mulching with pine bark is one of the most effective methods in modern gardening and sustainable horticulture. A layer of mulch material is applied to the soil surface to protect and improve the so...
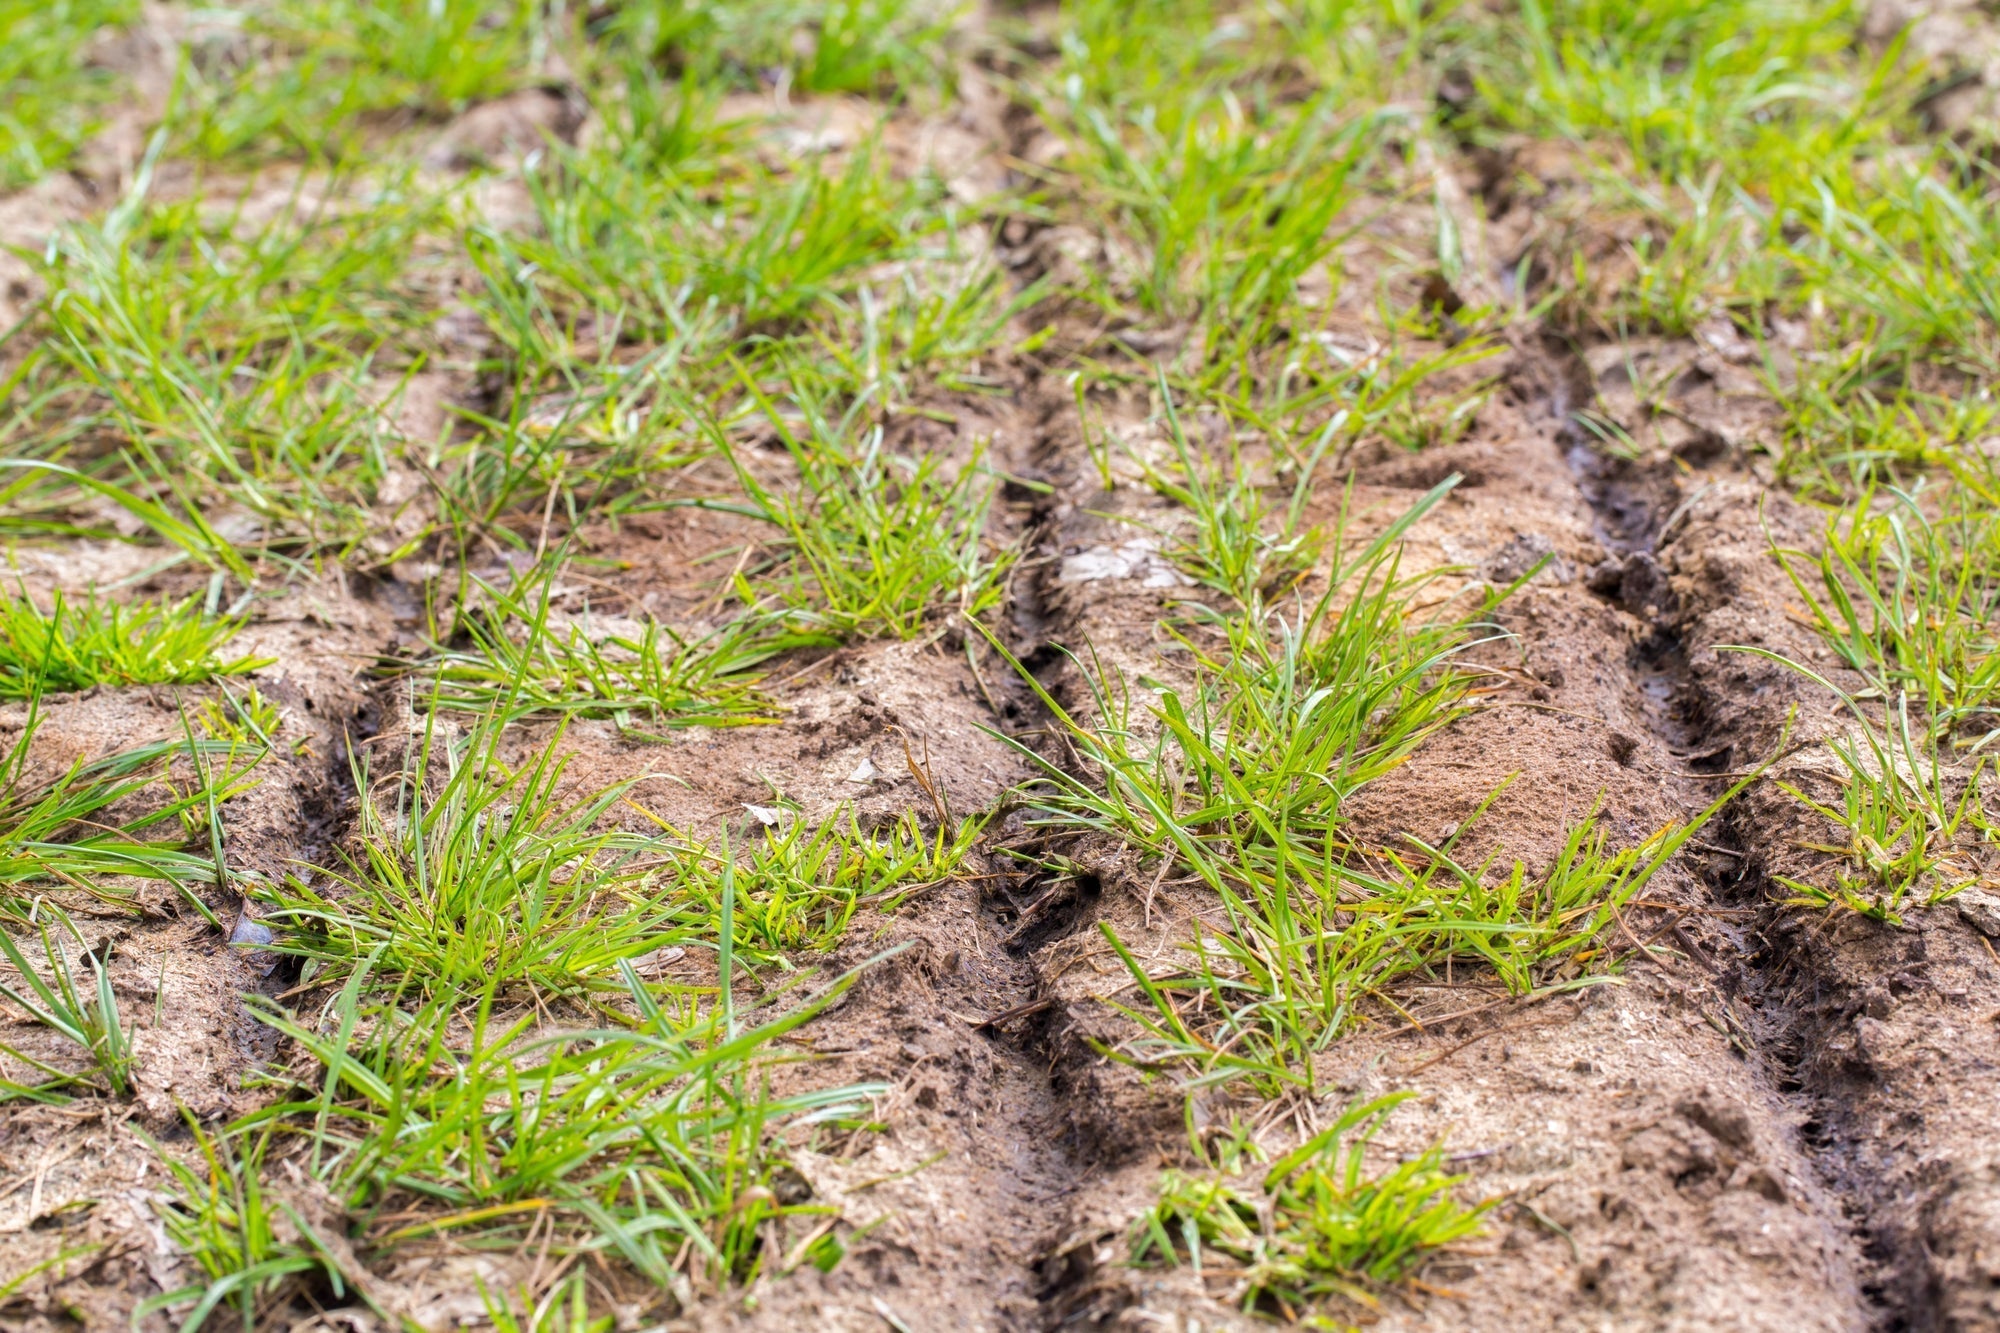
Spring Soil Improvement: Prepare Your Garden Soil
Inhaltsverzeichnis Warum Bodenverbesserung im Garten im Frühjahr so wichtig für einen gesunden Gartenboden ist Gartenboden nach dem Winter prüfen: Bodenstruktur, Verdichtung und Bodenart erke...


