

How to Remove Bindweed – Effectively & for Good
Removing Bindweed – Effectively and Permanently
Field bindweed belongs to the convolvulus family and is widespread throughout Europe. As the name suggests, it is commonly found on agricultural land, where it twines itself around cultivated crops. Whilst it does not destroy them outright, it significantly hampers their growth and development. This makes bindweed a troublesome weed that many farmers and gardeners are determined to tackle.
Bindweed – Delicate Beauty with a Tenacious Root System
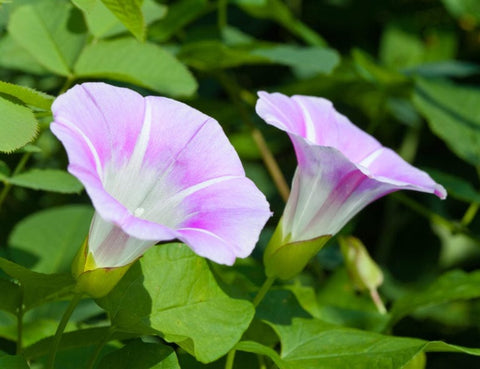
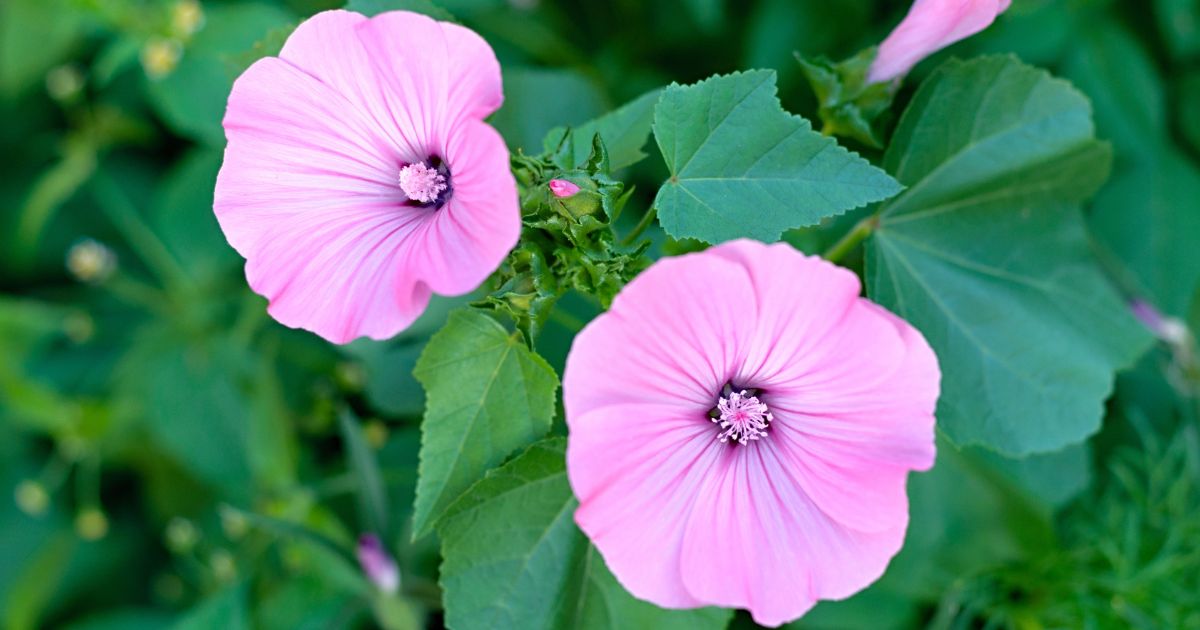
On the surface, bindweed stems appear rather fragile, which is why this perennial herbaceous plant relies heavily on other, sturdier plants to support its upward growth. The stems perform a circling motion as they grow and reliably wind themselves around neighbouring plants, climbing upwards as they go. With their funnel-shaped pale pink or slightly lilac flowers, bindweed is an important food source for bees and other insects. However, the plant reproduces primarily not via seed but through its extensive root system. As the roots can reach depths of up to two metres, the plant is exceptionally well adapted to dry spells and weathers them with ease. At the same time, new shoots can regenerate from the roots at any time. Even the tiniest root fragment of around one centimetre is enough to eventually grow into a full plant. Digging or hoeing the soil can therefore easily lead to unintentional spreading of bindweed. The root system can extend by up to three metres in a single growing season. Thanks to its resilience, bindweed is now found across the globe, growing not only on farmland but also along paths, in meadows, and on waste ground. If it cannot find suitable plants to climb, it simply creeps along the ground. As a widespread arable weed, bindweed goes by many regional names, including field bindweed, cornbind, lesser bindweed, and bellbind.
Tackling Bindweed
Bindweed is such an unwelcome visitor in the garden primarily because it is extremely difficult to get rid of. There are indeed a number of effective methods for dealing with this resilient plant. However, all of them require above all a great deal of patience and perseverance to eradicate bindweed completely. The vigorous roots repeatedly send up new growth and can only be slowly starved out over a prolonged period of time.
Persistent Weeding Will Eventually Pay Off
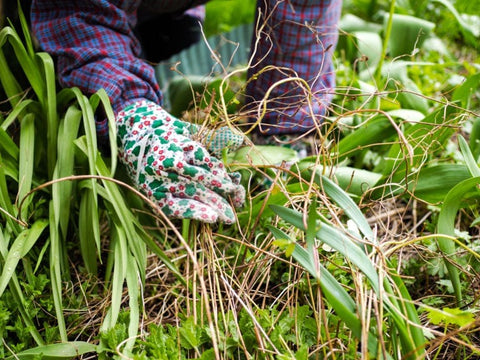
The tried-and-tested method of simply pulling weeds out by the root unfortunately does not work with bindweed. The root system is far too deep and branching, and the slender stems snap almost immediately if you pull even slightly too hard. Fortunately, it is mainly the roots that are exceptionally robust – not the above-ground parts of the plant. If you sever the plant at ground level, it quickly dies back due to lack of water and nutrients. The dried-out stems will eventually fall away on their own from the plants they have twined around, saving you the laborious task of removing them by hand. If you want to eliminate bindweed for good rather than merely keeping it in check, you must repeat this process throughout the entire growing season. It is best to check the affected areas every two to three weeks to see whether the bindweed has resprouted and snip off the fresh shoots. Over time, the reserves stored in the roots will be depleted and the root system itself will die off. Do be careful not to let the intervals between weeding sessions stretch too long, however. Otherwise, the weed will be able to replenish its reserves through newly grown leaves and the battle will drag on. Getting rid of bindweed through weeding alone typically takes at least a year and, if the root system is already well established, it may take considerably longer.
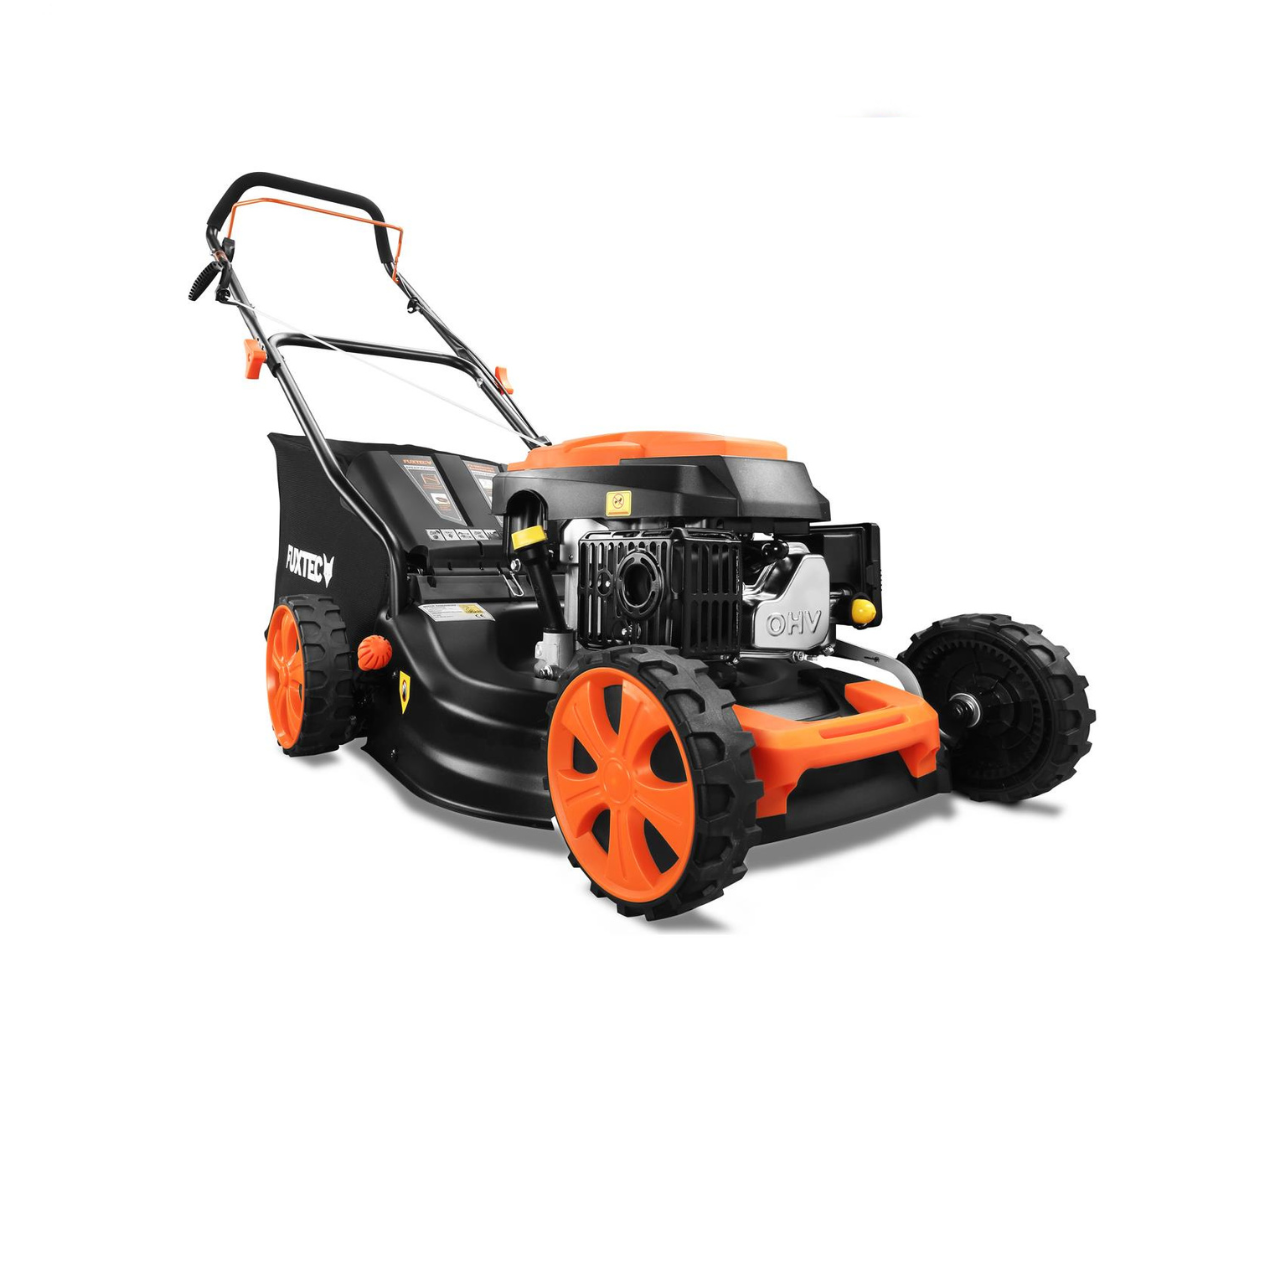
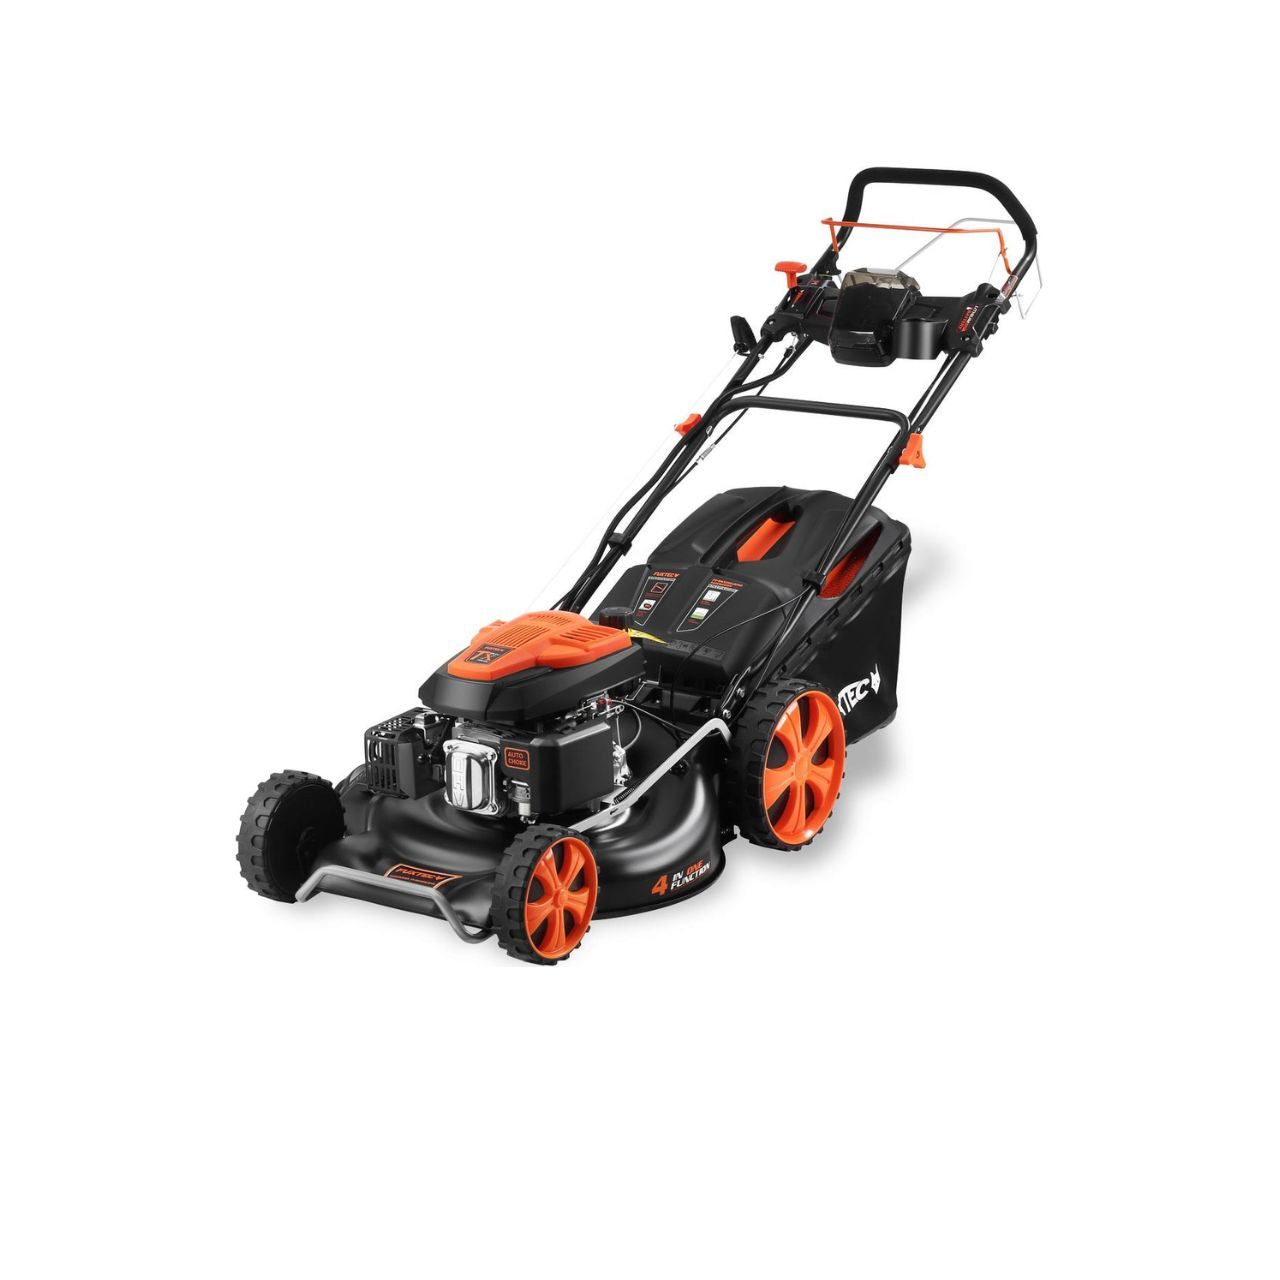
If bindweed has spread across your lawn, you do not actually need to take any special measures. If you mow your lawn regularly – once a week is generally recommended – the weed will have no chance of establishing itself, as its stems will be repeatedly cut back. It will gradually disappear on its own as long as the plant cannot regenerate by climbing beyond the lawn's boundary. Simply ensure that you set your mower's cutting height low enough to catch the bindweed shoots when mowing.
Smothering Bindweed with a Cover
If you find repeatedly cutting back new bindweed growth too time-consuming, you can cover the root system with black weed-suppressant membrane. First, cut back all existing above-ground growth and establish how far the root system spreads. Cover the entire affected area with dark weed-control fabric. This prevents bindweed from resprouting and the root system will eventually die off due to nutrient starvation. To be on the safe side, leave the membrane in place for at least a year. Only then can you be confident that the root reserves are truly exhausted. In the meantime, it is worth covering the membrane with some bark chippings. If you then place a few container plants or pots on top, the temporary arrangement can actually look quite presentable. The one drawback of this method is that any bindweed seeds present in the soil can remain viable for up to twenty years. Even if you reliably kill off the existing plants using this technique, seeds may still germinate once the cover is removed.

Digging Everything Out and Starting Again? Those suffering from a serious bindweed problem are often advised to remove all the soil and completely replant the bed from scratch in order to see off the unwanted intruder. Whilst this approach certainly has merit – especially considering how persistent bindweed can be – it is of course also enormously labour-intensive, particularly when you bear in mind that bindweed roots can extend two metres deep and spread many metres in diameter. Since the plant can regenerate from even the tiniest root fragment, extreme care and thoroughness are essential with this method. If even a small piece of root is left behind, all that effort may well have been in vain. Tempting as it may seem to defeat bindweed once and for all in one big effort, the plan often does not work out in the end. Be aware of this risk before deciding to try this approach.
If you do decide to dig out bindweed, you should on no account use a spade. A spade will slice through the fine roots without you noticing, and smaller runners are easily missed. To be successful, every last piece of root must be removed. First clear all above-ground growth, then use a garden fork to lift the soil beneath the affected area to a depth of roughly two to three spade-lengths. Sift through the excavated soil using a fine-mesh riddle to locate and remove any remaining root fragments. For complete peace of mind, sieve all the soil twice before returning it to the bed. If you have genuinely not missed the smallest root piece, you should have a respite from the ever-resprouting bindweed once the job is done.
Chemical Controls for Bindweed Removal
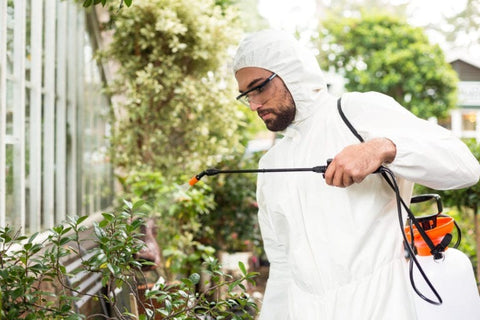
If you have been battling bindweed for some time and have already tried several of the methods described without success, you may be looking for more robust, effective measures. Chemical controls should, however, only be used where it is possible to apply the herbicide directly to the bindweed without affecting surrounding plants. You should never treat an entire bed just to eliminate a single weed. Cut the bindweed back to around 30 cm in height and paint the leaves with a specifically approved systemic herbicide. Take care that the product contacts only the bindweed and not adjacent plants, as these could also be damaged. Herbicide application should therefore only take place when no rain is forecast for the following few days. The more of the bindweed's foliage you treat, the more effective the result. However, since this weed is a true survivor, success is not guaranteed even with chemical treatment. The plant may in time develop resistance to the product used, making it even harder to eradicate subsequently. If one or two applications of a chemical control prove unsuccessful, you should revert to other methods. Bear in mind that in the UK, certain herbicide products approved for professional use are not available to home gardeners; always check the product label and use only products approved for amateur garden use. Be aware also that herbicide use can harm soil-dwelling micro-organisms and may have a lasting detrimental effect on overall soil health.
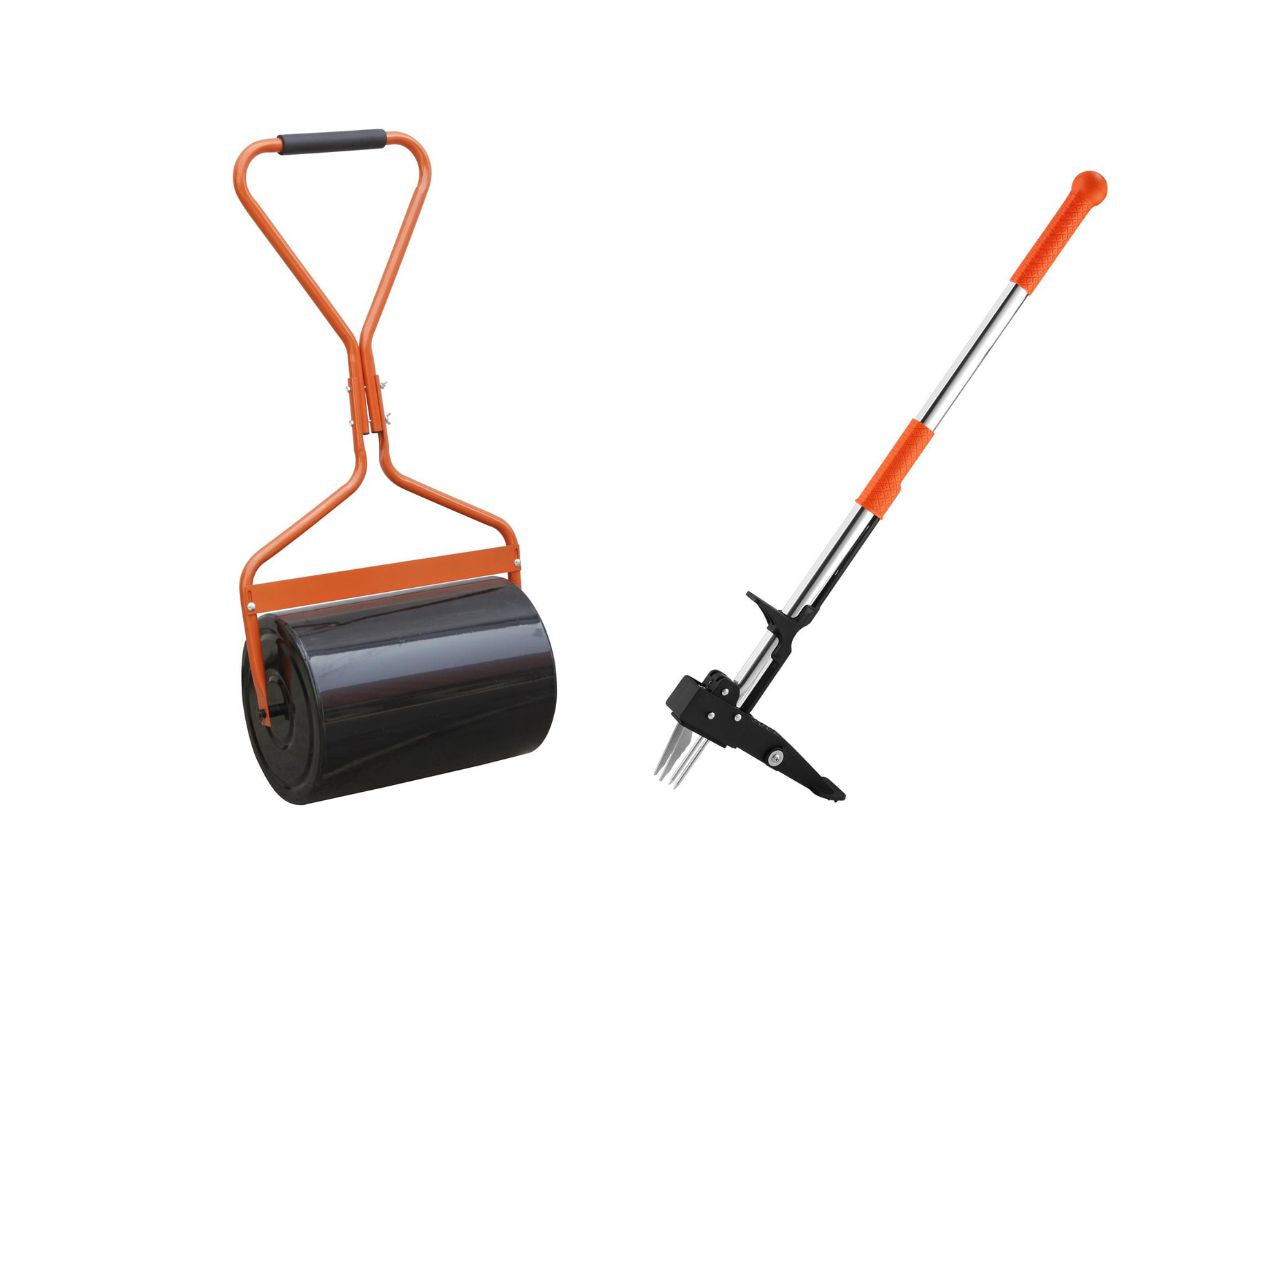
Useful tools for garden care and weed removal

More articles about removing weeds
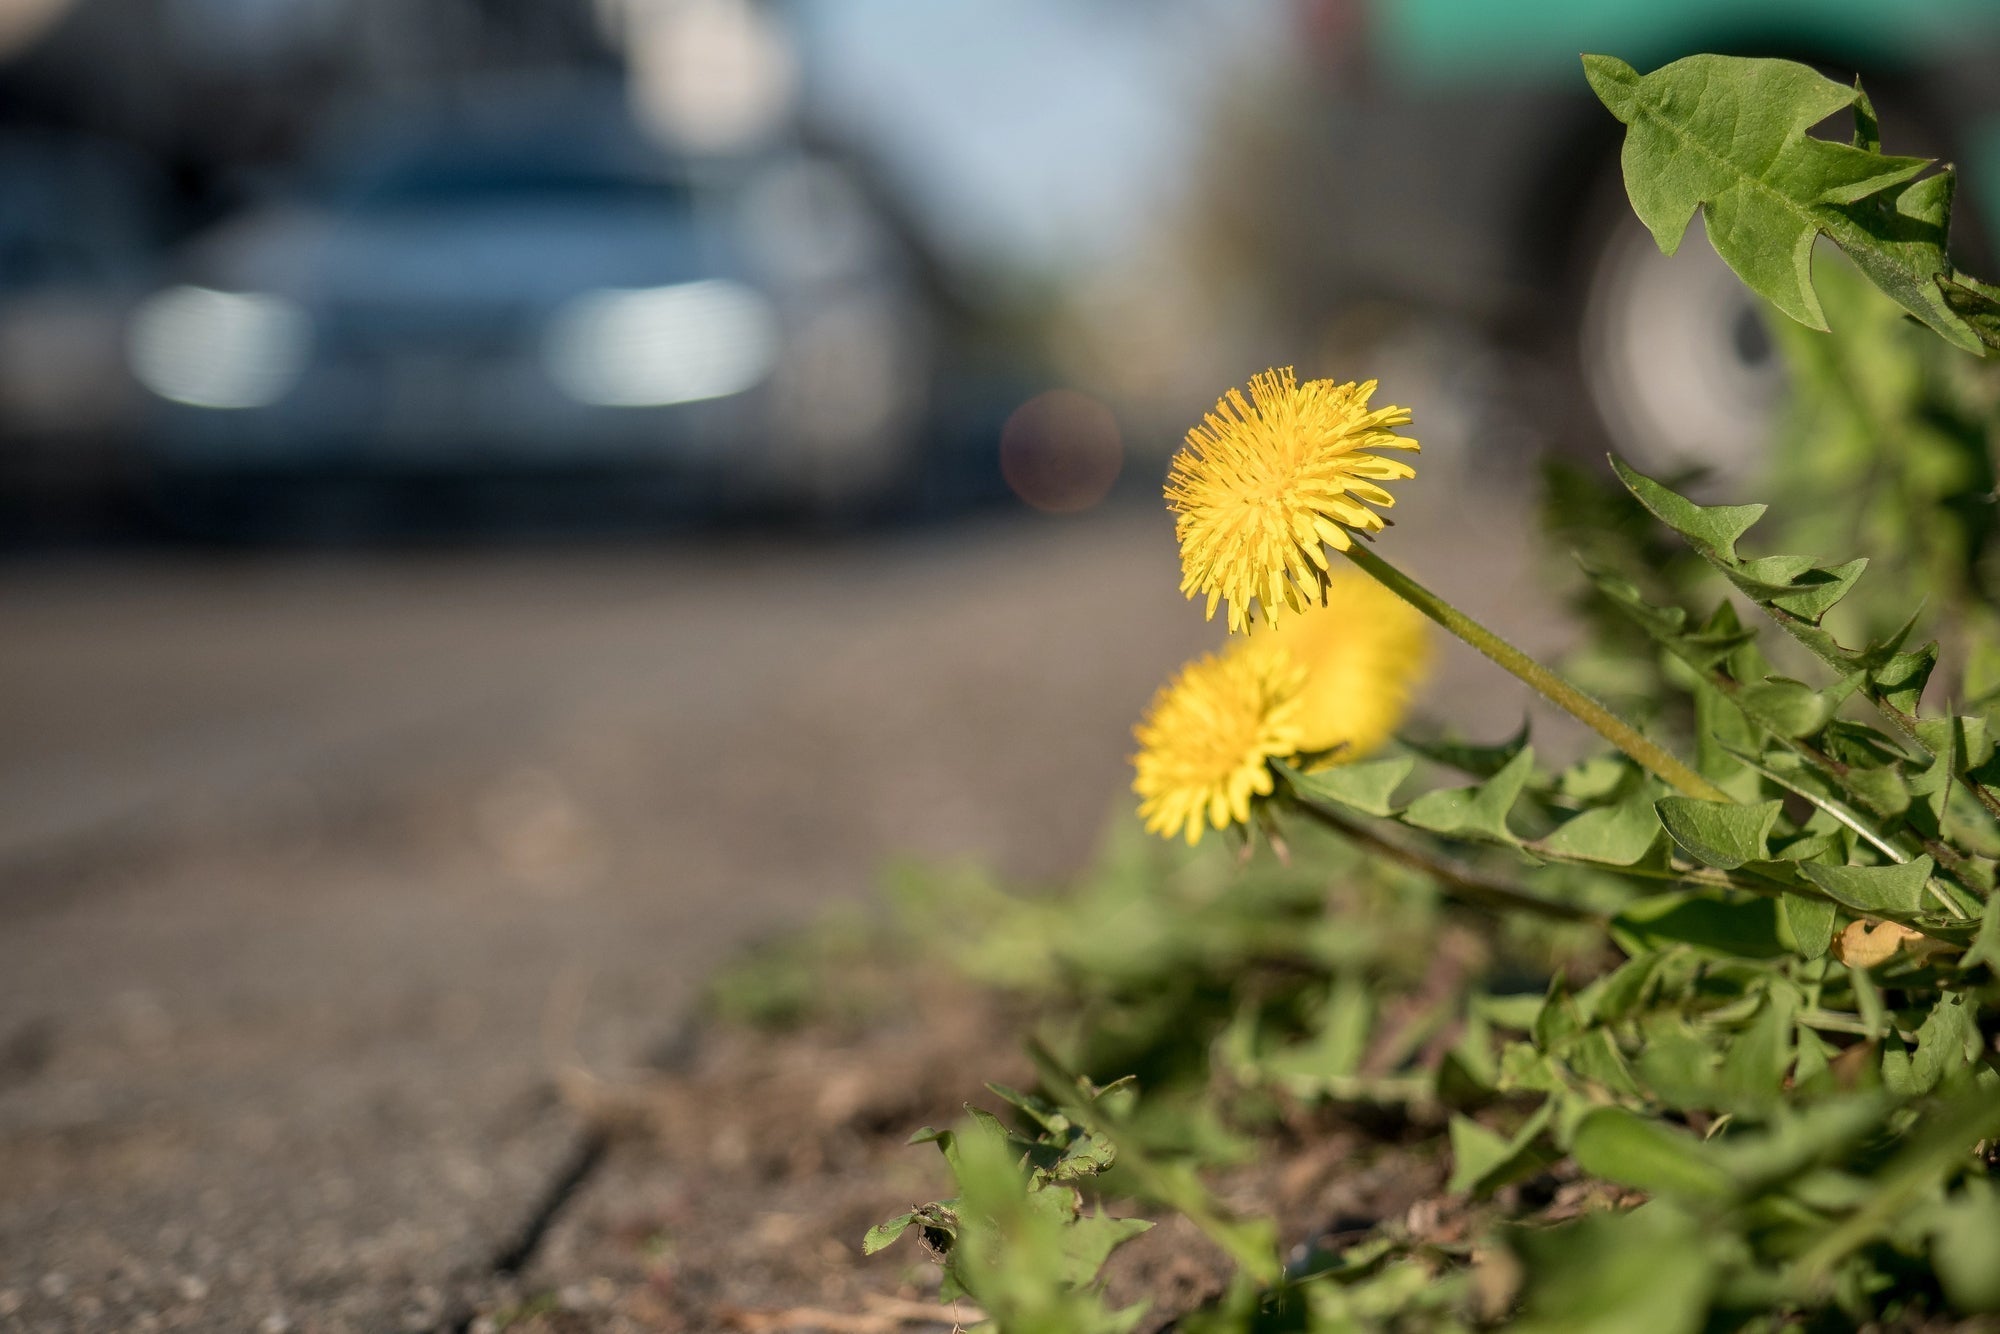
Remove Weeds from Paving Joints | Methods & Tips
Removing weeds from paving joints is one of those garden tasks that can quickly become a real chore. Whether it's the driveway, a footpath, or between patio slabs — once dandelions and oth...
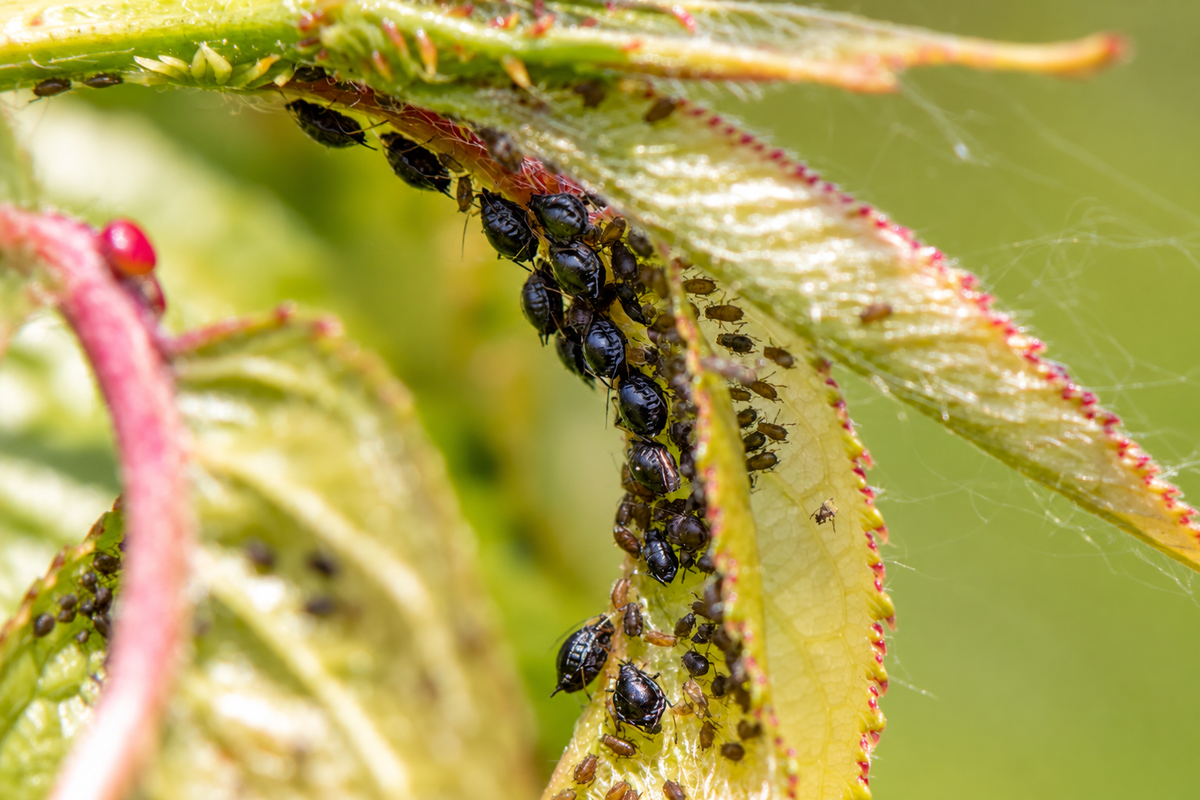
How to Get Rid of Aphids – Tips & Home Remedies
Inhaltsverzeichnis Blattläuse erkennen: So findest Du den Schädling an Deinen Pflanzen Hausmittel gegen Blattläuse: Von Spülmittel bis Kaffeesatz Blattläuse biologisch bekämpfen: Mit Rapsöl, Nüt...
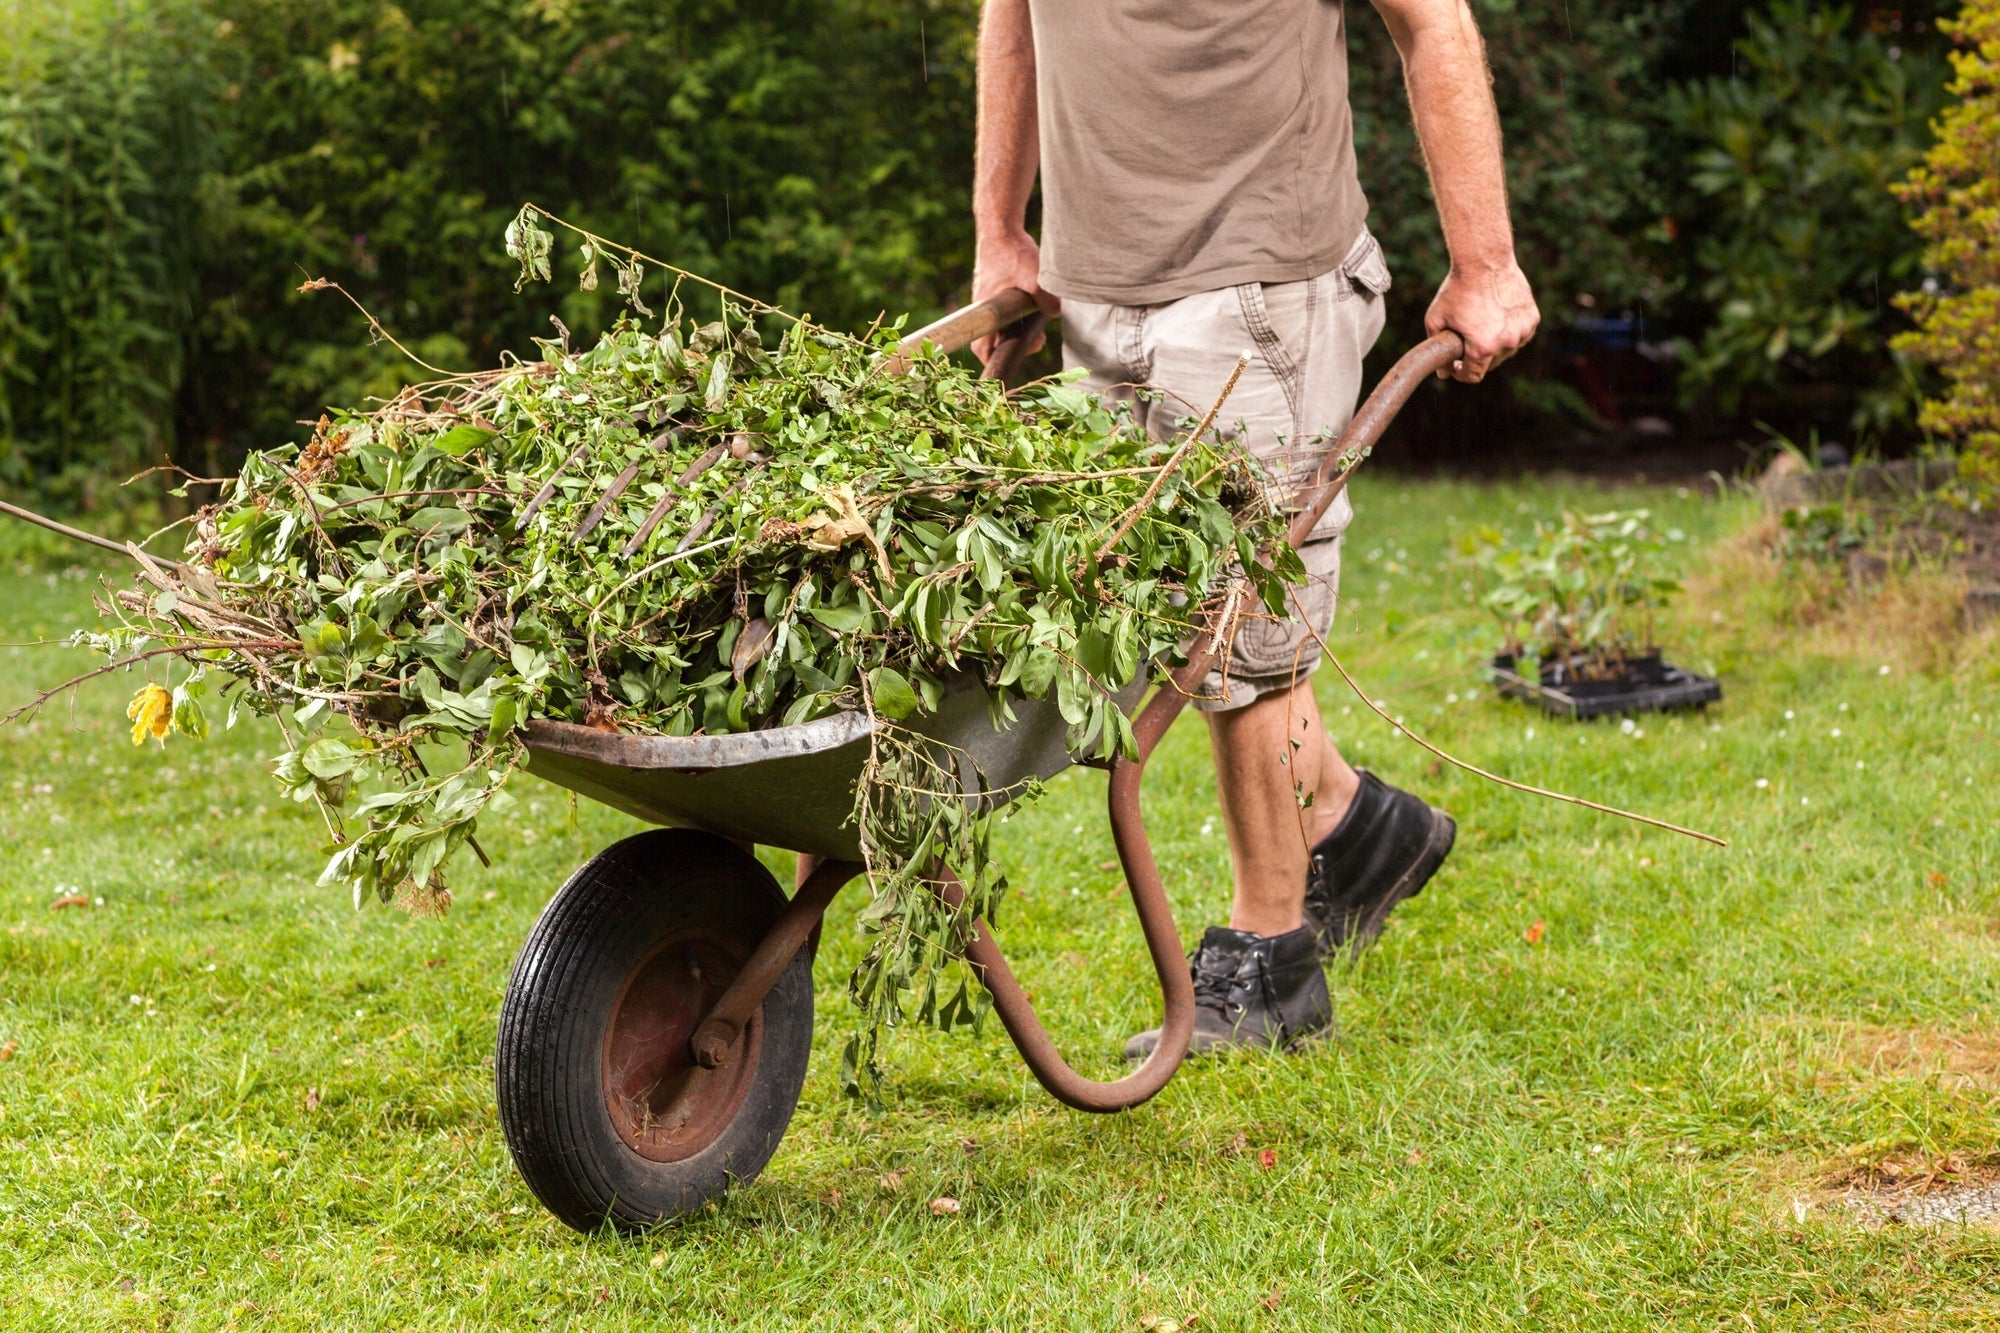
How to Dispose of Garden Waste Properly – UK Guide
Inhaltsverzeichnis Welche Arten von Gartenabfällen gibt es überhaupt? Wohin mit dem Grünschnitt? Diese Entsorgungsmethoden gibt es Gartenabfälle kompostieren: So funktioniert die ökologische Ver...


