



Build Your Own Chicken Coop – DIY Step-by-Step Guide
Inhaltsverzeichnis
-
Planung vor dem Hühnerstall bauen – So legst du die Basis für den perfekten Hühnerstall
-
Material- und Werkzeugliste für den Hühnerstall – DIY-Check vor Baubeginn
-
Hühnerstall bauen – Schritt-für-Schritt-Anleitung für deinen DIY-Hühnerstall
-
Außengehege für den Hühnerstall selber bauen – Schutz und Bewegungsfreiheit
-
Wetter- und Raubtierschutz beachten, wenn du den Hühnerstall selber baust
-
Pflege, Reinigung und Wartung – So bleibt dein Hühnerstall lange in Topform
-
Kostenübersicht & Spartipps – Hühnerstall selber bauen und Geld sparen
-
Gängige Fehler beim Hühnerstall bauen vermeiden
-
Fazit: Warum sich ein selbst gebauter Hühnerstall lohnt
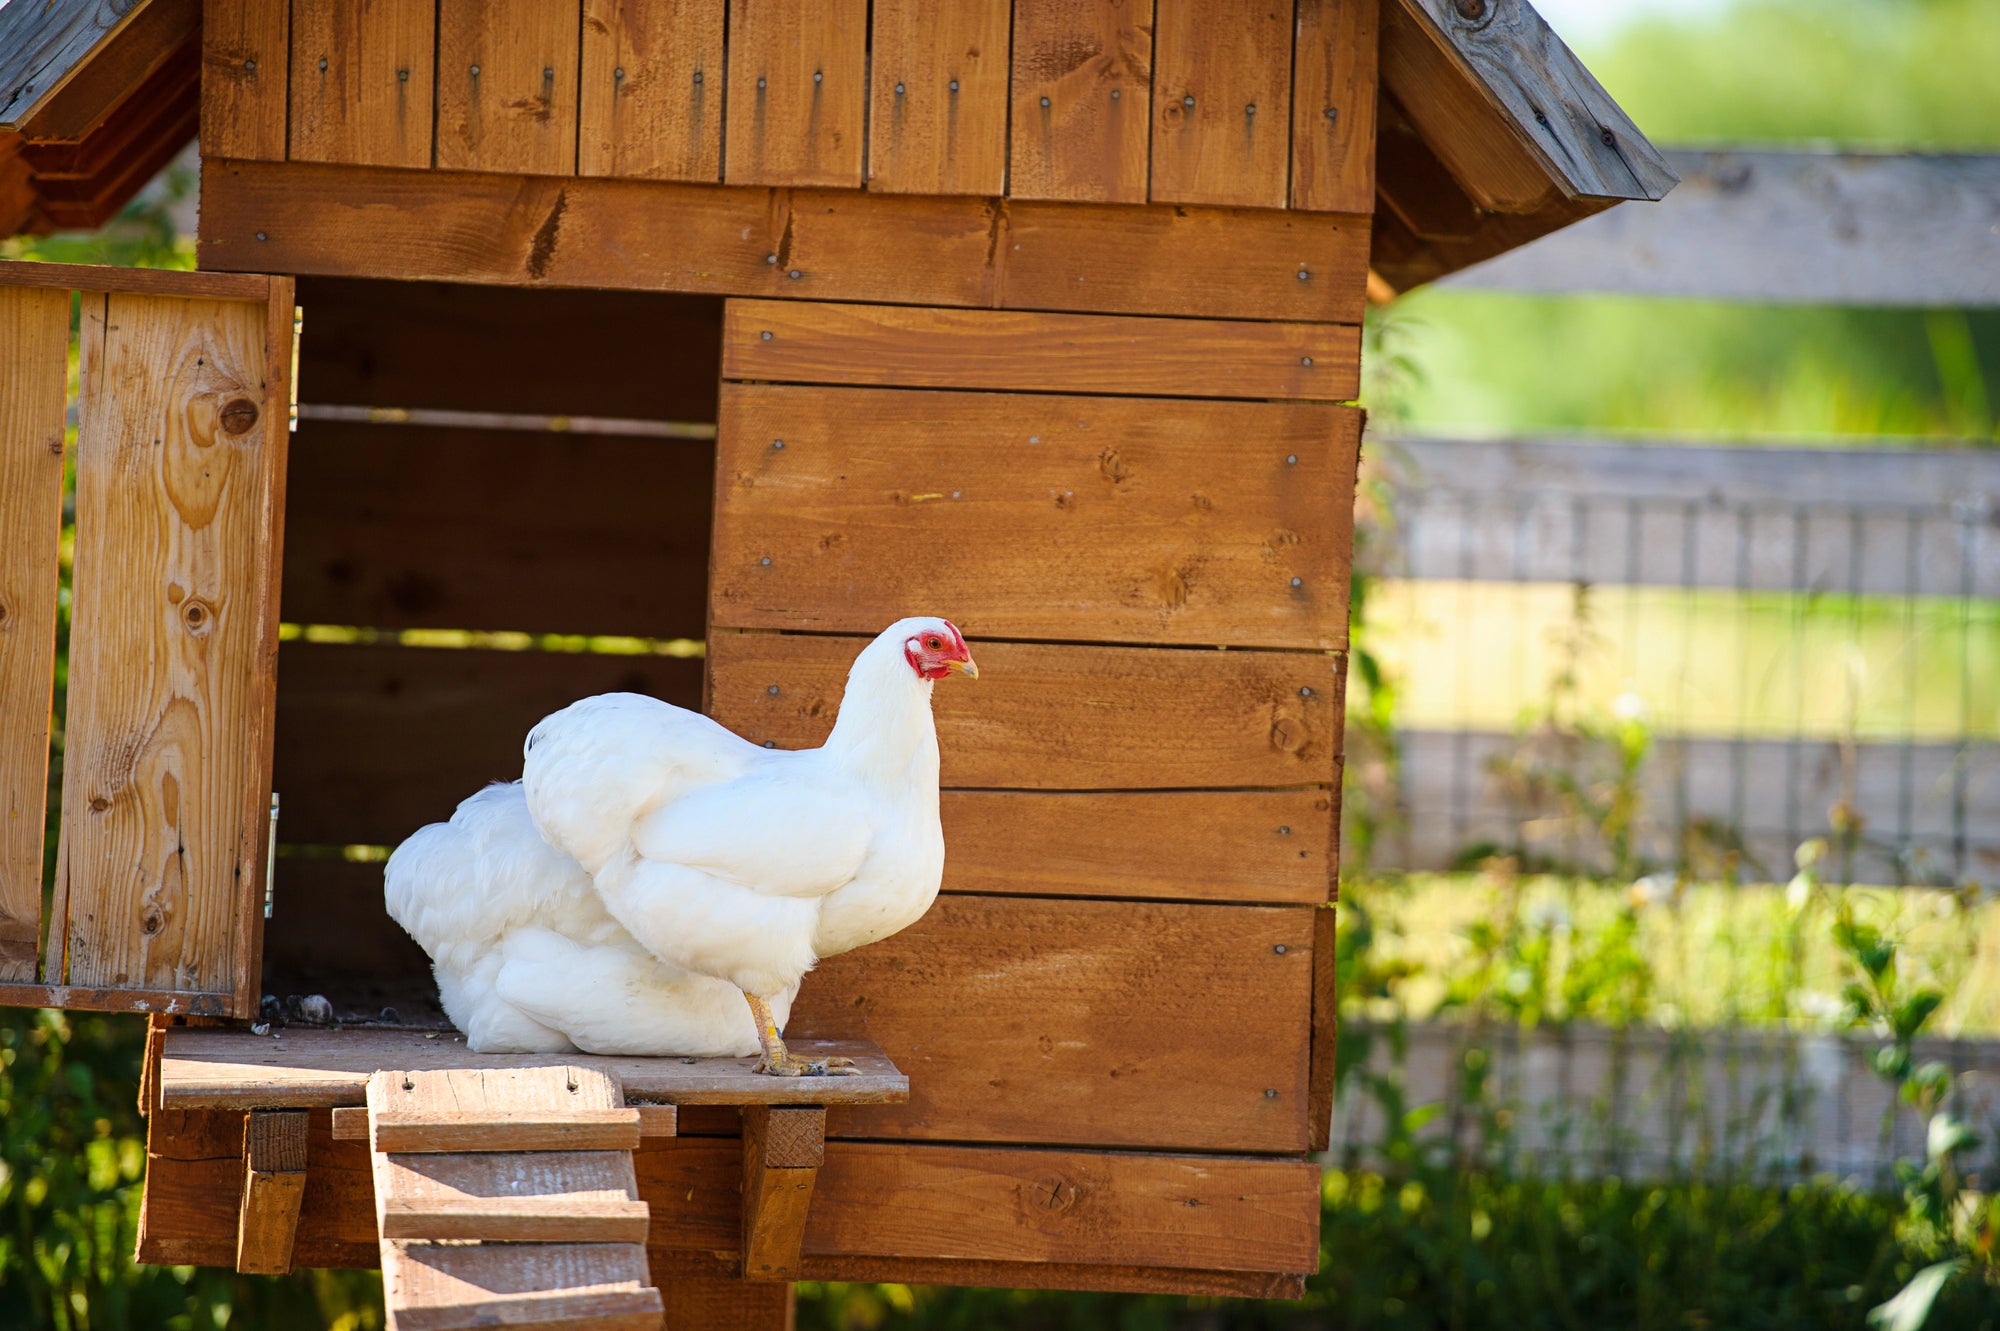
Building your own chicken coop means you can tailor the setup perfectly to your circumstances and the needs of your hens. Unlike many ready-made models, you decide how large the coop should be, which materials to use, and what extras to include. Whether it's a classic timber chicken coop or a mobile coop for flexible positioning – with a DIY build, you're in control. At the same time, you can design practical elements such as a pop hole door, droppings board, or well-positioned nesting boxes so that they're easy to clean. This improves comfort for both the hens and the keeper alike. What's more, clever material choices and your own labour can significantly reduce the cost of a self-built coop. With a sturdy design and the right tools from the FUXTEC range, you can create a long-lasting and functional coop that guarantees healthy, happy hens.
Planning Before Building Your Chicken Coop – Laying the Foundations for the Perfect Hen House
A well-planned coop is the foundation of successful chicken keeping. First, consider whether you want to build a permanent or a mobile chicken coop. Mobile coops are particularly practical if you want to rotate the outdoor run regularly to rest the ground. The number of hens is also key: providing chickens with adequate space is essential to prevent stress and disease. Also plan where feeders, drinkers, perches, and nesting boxes will be positioned. The orientation of the coop affects light and ventilation – hens need plenty of light to lay eggs consistently. The climate inside the coop also matters: in summer, adequate ventilation is essential; in winter, insulation against the cold is important. Take time to plan carefully and think about how to make caring for your hens as straightforward as possible.
Choosing the Right Location for Your Chicken Coop in the Garden
The location should be sunny but not prone to overheating. Morning sun has a positive effect on laying performance, while shaded areas prevent the coop from getting too hot. The coop should be raised at least 25 cm off the ground to protect it from damp and predators such as foxes and rats. For a permanent coop, a concrete base is a good idea to prevent subsidence and stop rodents from burrowing underneath. Make sure the run is securely fenced and gives hens access to food, water, and shade at all times. Being close to the house has its advantages: you can check on the coop more easily, securely shut the hens in at night, and keep cleaning trips short. Good access for a wheelbarrow or garden tools also makes daily tasks much easier.
Size and Capacity – How Big Does a Chicken Coop Need to Be?
A good rule of thumb is: approximately three hens per square metre of floor space inside the coop. This means around 2 m² is sufficient for 5 bantams or 5 standard hens, while at least 7 m² is needed for 20 hens. In addition to the indoor floor space, the outdoor run is also important. The bigger the better: at least 10 m² per bird is ideal. The size of the breed also matters, as larger breeds require more room. Make sure perches, nesting boxes, and feeders are arranged so that birds don't crowd each other. More space promotes natural social behaviour, prevents feather pecking, and reduces the risk of disease. Also plan space for a dust bath, which every hen should have regular access to in order to keep parasites such as red mite at bay.

Legal Considerations Before You Start Building Your Chicken Coop
Before keeping chickens, it's worth checking the relevant local rules and regulations. In many areas of the UK, you may need to notify your local council, and in some cases planning permission may be required depending on the size and placement of the structure. In densely populated residential areas, keeping cockerels can cause problems due to noise. Permitted development rules may affect the size, height, and proximity of the coop to boundaries – particularly if it resembles a garden outbuilding. Check whether there are minimum distances to neighbouring properties that must be observed. Addressing these points early avoids disputes and costly alterations. If you plan to keep larger flocks, additional biosecurity requirements may apply. Careful planning means you can enjoy your coop long-term without falling foul of the council or your neighbours.
Materials and Tools for Your Chicken Coop – DIY Checklist Before You Begin
For a sturdy chicken coop, weather-resistant timber, rust-proof fixings, and close-mesh wire are essential. The roof can be covered with roofing felt or corrugated sheets to keep out the rain. For the interior you'll need materials for the perches, droppings board, nesting boxes, and bedding.
Suitable FUXTEC tools to help with the build:
-
FUXTEC Cordless Screwdriver – for quickly and easily securing components
-
FUXTEC Cordless Saw – for cutting timber parts to precise measurements, whether for a wooden chicken coop or a mobile coop
-
FUXTEC Cordless Sander – for smoothing all surfaces so no hen can injure herself
You'll also need a spirit level, tape measure, clamps, and possibly a brush for applying wood preservative. For applying wood preservative, you can also use a cordless sprayer.
Building a Chicken Coop – Step-by-Step Guide for Your DIY Hen House
Building your own chicken coop is a rewarding project that, with the right planning and tools, is achievable even without professional experience. Below you'll find a step-by-step guide taking you from the base through to the interior fittings. FUXTEC tools are used throughout to make the build not only easier, but more precise and efficient.
Laying the Base: A Solid Start When Building Your Own Chicken Coop
A solid base provides stability and protects against damp. For a permanent coop, a concrete base is recommended, raised at least 25 cm off the ground. Alternatively, for a mobile coop, you can use a sturdy timber frame that can be moved later. Before building, level the ground and remove any weeds. If you want to place the coop directly on the ground, a close-mesh wire panel beneath the floor is essential – this prevents foxes, rats, and other predators from burrowing in.
Building the Frame & Basic Structure of the Chicken Coop
The basic frame is usually made from solid timber battens joined with weather-resistant screws. The FUXTEC Cordless Screwdriver makes it quick and easy to fasten all the components together. Make sure all joints are sturdy and square. The frame determines the final size of the coop and supports the walls, roof, and interior fittings. For larger coops, it's worth adding cross-bracing to increase rigidity.
Walls, Floor & Insulation for Your DIY Chicken Coop

The walls should be made from weather-resistant timber, treated on the outside with wood preservative paint. On the inside, smooth boards make the coop easy to clean. The floor should be constructed so that it stays clean and can be removed if necessary. Good insulation protects against cold in winter and heat in summer – particularly important if you want to shield your hens from temperature extremes. The FUXTEC Cordless Sander is ideal for smoothing edges and surfaces cleanly.
Roof Construction and Rain Protection When Building a Chicken Coop
The roof can be built as a mono-pitch (pent) or an apex (ridge) roof. Roofing felt or corrugated sheets protect against rain. Include an overhang so that rainwater doesn't run straight down the walls. Make sure the roof is strong enough to bear the weight of snow. With a FUXTEC Cordless Saw, you can cut the timber elements to exact measurements so the roof sits perfectly in place.
Planning Doors and the Hen Ladder Correctly
A large access door makes cleaning and changing bedding much easier. The pop hole door should be securely closable to protect hens from predators such as foxes and rats. The hen ladder (ramp) should be non-slip and set at a gentle angle to the entrance, so that even younger or heavier birds can use it without difficulty.
Windows, Ventilation, and Light When Building Your Own Chicken Coop
Fresh air is vital for chicken keeping, but draughts must be avoided. Windows or ventilation slots are best positioned at different heights to encourage air circulation. Hens need plenty of light, so windows should be placed to let in the morning sun. Close-mesh wire ensures that no predators can get in.
Interior Fittings: Perches, Nesting Boxes, and Bedding for the Perfect Chicken Coop
-
Perches: Allow approximately 30 cm of perch space per bird, with the perch about 40 cm from the wall.
-
Nesting boxes: One nest per 5 hens. Each nesting box should be darkened and lined with straw.
-
Droppings board: Fitted beneath the perches, it catches droppings and is easy to clean.
-
Dust bath: A must for every hen to help prevent parasites such as red mite.
With this setup, the coop will be not only functional but also comfortable – and that is the best foundation for healthy, happy hens.
Outdoor Run for Your DIY Chicken Coop – Security and Freedom of Movement
A secure, spacious outdoor run is essential for keeping chickens. Hens need room to scratch, peck, and dust-bathe. There should be at least 10 m² of run space per bird so that hens have enough room and don't pester one another. The run should offer both sunny and shaded areas. Fruit trees or a shade sail provide cooling in summer.

The fence must be tall enough – at least 1.8 m – to prevent escapes. Use close-mesh, predator-proof wire netting that is buried at least 30 cm into the ground around the perimeter to prevent digging.
For a flexible solution, you can use a mobile chicken coop with an integrated run. This allows the whole setup to be moved regularly so the ground can recover and stay fresh – a real bonus for the health of your flock.
Weather and Predator Protection When Building Your Own Chicken Coop
Building a sturdy chicken coop is the best protection against harsh weather. Use robust, weather-resistant materials such as planed hardwood and treat external surfaces with wood preservative paint. Roofing felt or corrugated sheets protect the roof from rain and snow, while a sufficient roof pitch ensures water drains away reliably.
To protect against predators such as foxes, rats, and birds of prey, close-mesh wire is essential. Make sure ventilation openings are also secured. A sturdy pop hole door should always be closed at night – ideally automatically – to keep your hens safe without any effort on your part.
With mobile coops, it's worth fitting the floor area with additional wire mesh to prevent predators from digging underneath. This keeps your hens safe from predators while still allowing them to enjoy their run.
Care, Cleaning, and Maintenance – Keeping Your Chicken Coop in Top Condition
Regular upkeep ensures your DIY coop stays hygienic and your hens are better protected. Remove leftover feed daily and change dirty water. Bedding should be completely replaced once a week. The droppings board beneath the perches is especially important as it is easy to clean and prevents the coop from becoming too soiled.
Every two to three months you should carry out a thorough clean: scrub down walls, floors, and nesting boxes with a pressure washer. Make sure the coop is left to dry thoroughly to prevent mould. A well-maintained coop environment extends the life of your hen house and ensures clean, welfare-friendly conditions.
Cost Overview & Money-Saving Tips – Build Your Own Chicken Coop and Save
When you build your own chicken coop, costs vary considerably depending on size, materials, and the fittings you want. For a small coop for 3 hens, you can expect to spend around £130–£260; a larger coop for 20 hens can quickly cost £500 or more.
Money-saving tips:
Make use of leftover timber from other projects, buy screws and fixings in bulk packs, or opt for a flat-pack chicken coop kit that you can customise with FUXTEC tools. Second-hand windows and doors can often be incorporated as well.
Building it yourself not only saves money but also gives you the freedom to use high-quality materials that make a chicken coop sturdy and long-lasting. With good planning, you can create a coop that lasts for many years and is perfectly tailored to the needs of your flock.
Avoiding Common Mistakes When Building a Chicken Coop
Coops that are too small, poor ventilation, and inadequate predator protection are among the most common mistakes. The pop hole door is often overlooked or not made secure enough. Another frequent issue is insufficient insulation, which can lead to the coop becoming too cold in winter or overheating in summer.
The outdoor run is also often made too small, which causes stress and feather pecking. Avoid building the coop directly on the ground – damp and pests will find it much easier to get in.
Another typical mistake is failing to plan the coop so that it's easy to clean.
Conclusion: Why Building Your Own Chicken Coop Is Worth It
Building your own timber chicken coop or mobile hen house is rewarding in more ways than one: you can tailor the size, fittings, and design precisely to your flock, make day-to-day care easier, and give your hens the best possible protection from predators.
With quality materials, good insulation, and clever details such as a droppings board, perches, and dust bath, you ensure the comfort of your birds. Using FUXTEC tools means the build is efficient, precise, and built to last.
In the end, you'll have not just a coop that houses healthy, happy hens, but also a project you can be genuinely proud of. A well-built coop is an investment in the wellbeing of your birds and in the joy of collecting fresh eggs every day from hens that live exactly as they should.
Discover our range of garden tools

How much space do chickens need inside a coop?
A good rule of thumb is approximately three hens per square metre of floor space inside the coop. For example, around 2 m² is sufficient for 5 bantams or 5 standard hens, while at least 7 m² is needed for 20 hens.
Do I need planning permission to build a chicken coop in the UK?
It's worth checking with your local council before building, as in many areas you may need to notify them and in some cases planning permission may be required depending on the size and placement of the structure. Permitted development rules may affect the size, height, and proximity of the coop to boundaries.
What is the best location for a chicken coop in my garden?
The location should be sunny but not prone to overheating, with morning sun having a positive effect on laying performance. The coop should be raised at least 25 cm off the ground to protect it from damp and predators, and being close to the house makes checking and cleaning much easier.
How do I protect my chickens from foxes and rats?
Use close-mesh, predator-proof wire netting buried at least 30 cm into the ground around the perimeter of the run. A sturdy pop hole door that is securely closed at night is essential, and a concrete base or wire mesh beneath the floor prevents predators from burrowing underneath.
What materials do I need to build a sturdy chicken coop?
You'll need weather-resistant timber, rust-proof fixings, and close-mesh wire for security. The roof can be covered with roofing felt or corrugated sheets, and you'll also need materials for perches, nesting boxes, a droppings board, and bedding.
How much does it cost to build your own chicken coop?
For a small coop for 3 hens, you can expect to spend around £130–£260, while a larger coop for 20 hens can cost £500 or more. Using leftover timber, buying fixings in bulk, or opting for a flat-pack kit can help reduce costs.
Why is ventilation important in a chicken coop?
Fresh air is vital for chicken keeping, and windows or ventilation slots positioned at different heights encourage good air circulation. This helps prevent disease and heat buildup whilst avoiding draughts that can harm the birds.
More articles about garden care

Trockenheit im Garten: Boden lockern, richtig gießen und mit Mulch Wasser sparen
Du gießt das Beet, doch das Wasser bleibt auf der harten Erdoberfläche stehen oder läuft zur Seite ab. Schon nach kurzer Zeit wirkt der Boden wieder trocken, obwohl Du gerade erst zur Gießkanne g...

Pine Bark Mulch: The Complete Gardening Guide
Mulching with pine bark is one of the most effective methods in modern gardening and sustainable horticulture. A layer of mulch material is applied to the soil surface to protect and improve the so...

Spring Soil Improvement: Prepare Your Garden Soil
Inhaltsverzeichnis Warum Bodenverbesserung im Garten im Frühjahr so wichtig für einen gesunden Gartenboden ist Gartenboden nach dem Winter prüfen: Bodenstruktur, Verdichtung und Bodenart erke...


