
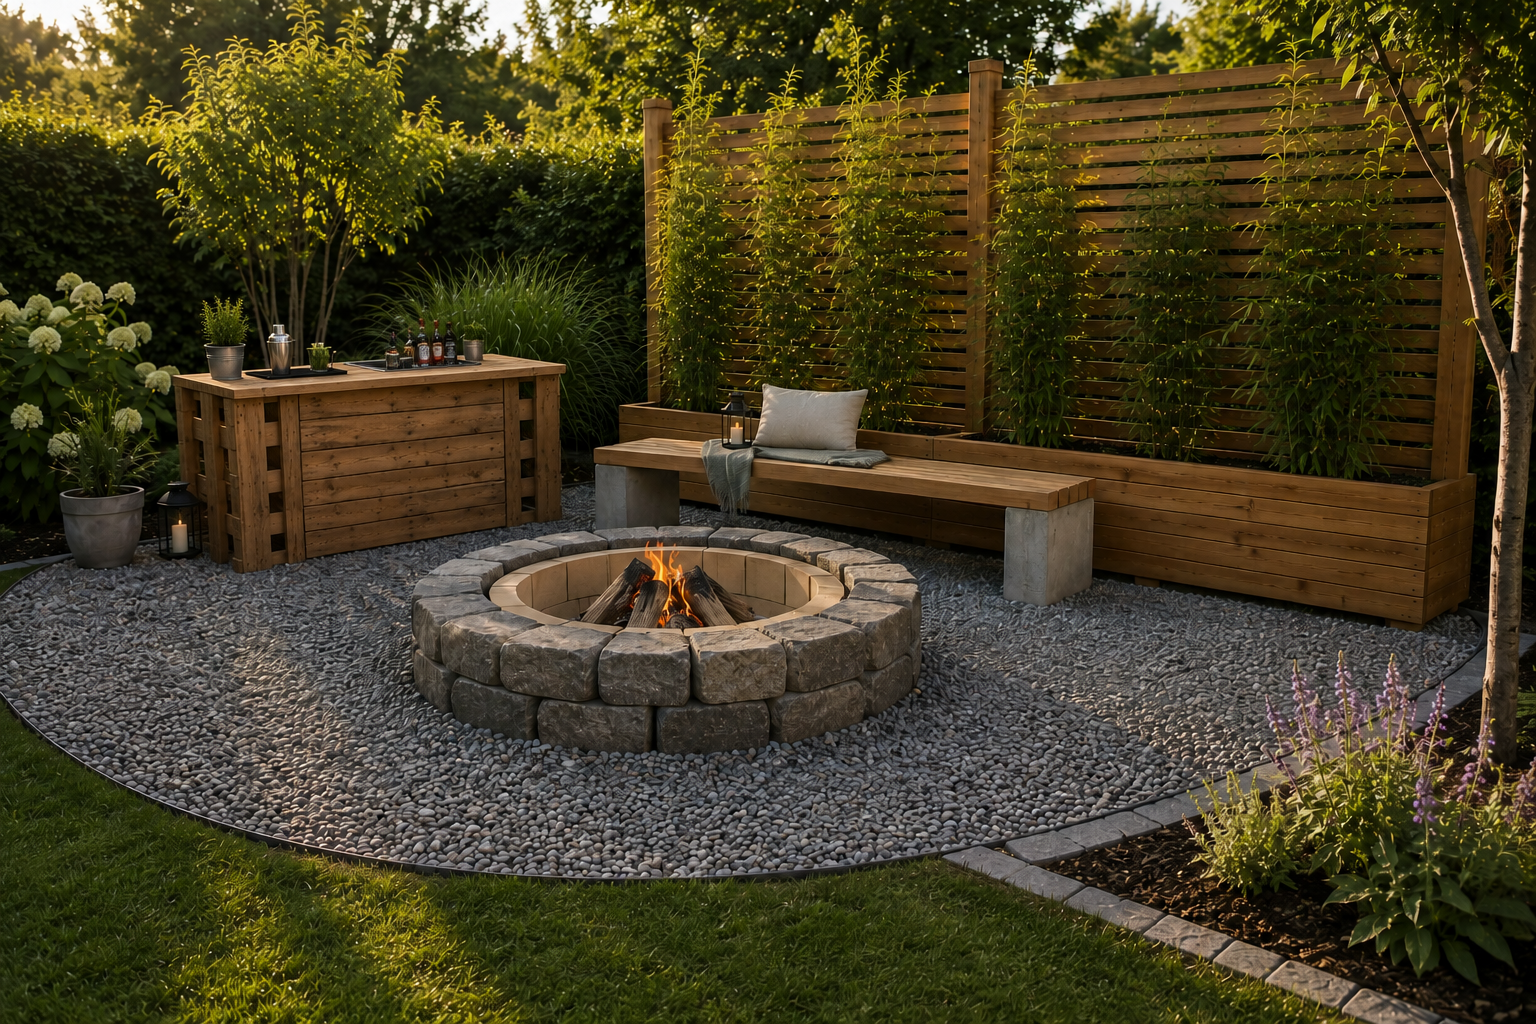
Build a Garden Bar Yourself: DIY Guide & Tools
Building a bar turns your outdoor space into a proper gathering spot for summer evenings, guests and cold drinks. Instead of buying a ready-made piece of furniture, you can build your own garden bar that fits your space perfectly and doesn't look like an improvised standing table.
Our version is a compact wooden construction with a sturdy counter, open shelving and a removable cooler tub. It's built roughly 160 cm wide, 60 cm deep and 108 cm tall. That makes it a great fit for a patio or balcony, a barbecue area, or a sheltered corner of the garden. This gives you a solution with far more function than a purely decorative piece of furniture.
In this FUXTEC garden guide, we'll show you how to plan, build and weatherproof your outdoor bar step by step. It's not just about getting the construction right, but also about clean cuts, solid fixings and a surface that stays looking good outdoors for years. With the right FUXTEC cordless tools, you can handle many of the steps right there in the garden — from sawing and drilling to sanding and applying wood protection.
The idea: which DIY bar are we building?
The idea is a practical bar counter that does more than just hold bottles. The carcass is built from a sturdy frame, clad on the outside with boards and used as shelving on the inside. On top there's a worktop with an optional tub for ice, ice packs or cans.
Building a bar from pallets is quick, but the height, surface and storage rarely line up properly. That's why we're going with a custom build here instead. The result is a bar that's been properly planned, built to last, and still simple to put together.
Choosing a spot for the bar in the garden
Before you start this DIY bar project, decide on a location. Ideally, the unit should stand on paving, concrete or a solid deck. On grass, lay down slabs underneath so the feet don't sink in and moisture drains away more quickly — and of course to protect your lawn too.
Leave at least 80 cm of free space in front of the counter. If the build sits close to the barbecue or seating area, journeys stay short and guests can help themselves directly. Without a power supply you can simply use the tub with ice; if you have a weatherproof outdoor socket nearby, you can add lighting or music later on.
Materials and tools
Douglas fir, larch or other weather-treated timber are all suitable for the frame. You'll need four posts, frame timber, cladding boards, a panel for the inner shelf, and a sturdy board for the top surface. On top of that, you'll need stainless steel screws, angle brackets, exterior oil or paint, sandpaper, and a stainless steel or galvanised tub.
The right tools for your outdoor bar
A sturdy outdoor bar needs clean cuts, solid fixings and smooth edges. These FUXTEC tools make building the frame, counter, cladding and cooler tub cut-out much easier.

Cordless screwdriver
Ideal for fixing timber battens, the frame, cladding boards and the countertop of your self-built outdoor bar.

Rotary hammer drill
Handy if you want to additionally anchor or fix your garden bar to paving, concrete or a solid patio at certain points.

Cordless jigsaw
Perfect for cutting out the cooler tub opening, making small adjustments to the countertop, and neat detail work on the wood.

Cordless circular saw
For straight cuts on frame timber, boards, the inner shelf and the worktop when building your outdoor bar.

Cordless sander
For smoothing cut edges, rounding off the counter edge, and preparing the wood surface before oiling or painting.

Cordless sprayer
Ideal for applying an even coat of wood stain or protective treatment to the frame, cladding and hard-to-reach inner surfaces.
As tools, a tape measure, square, spirit level, clamps, a cordless drill/driver, a saw, a sander and a jigsaw for the cut-out are all you need. When drilling, pilot holes should be prepared carefully so the boards don't split. FUXTEC cordless tools are handy here because you can work without being tied to a power cable.
Building the basic frame
Start by cutting all the parts to size. Double-check every measurement, as a wrongly cut piece will make the whole frame unstable. Then build two side panels, each from two posts and two crossbars. The top crossbar sits flush with the edge of the post, the bottom one about 12 cm above the ground.
Join the two side panels together at the front and back with long braces. Check the diagonals to make sure the carcass stays square. An extra piece of timber in the middle helps stabilise the front. Prepare the timber pieces and then screw everything together firmly.
Fitting the inner shelf and storage
The inner shelf is what makes the unit genuinely useful day to day. It rests on small support battens or brackets and gives you space for bottles, glasses, napkins and accessories. A height of around 45 to 55 cm works well, since taller bottles can still stand underneath.
Drill a clean pilot hole at every fixing point. Then fit the shelf and check that it sits securely. If you want more organisation, split the interior into two sections with a narrow batten. That gives you extra storage without complicating the build.
Building the counter with a cooler tub
Lay the top panel onto the frame and mark the overhang. At the front, 15 to 20 cm is comfortable, as it gives guests somewhere to rest their arms. For the tub, mark out the inner cut-out. The opening needs to stay smaller than the rim so the tub can later sit securely in place.
Cut the opening out slowly and sand the edges smooth. Then seal the cut surface thoroughly. The panel is fixed from underneath so no screw heads are visible on top. Once everything is built, drop the tub into place. After the garden party, you can simply tip out any melted water.
Protecting the surface
For the build to last, it needs proper protection. Start by sanding all visible edges and surfaces. Then remove any dust and apply exterior oil, wood stain or a coat of paint. If you want a bit of colour, you could paint the front and leave the worktop natural.
Cut edges, the feet and the tub cut-out need the most attention, as these are where the material absorbs moisture fastest. Over winter, it's best to store the unit somewhere dry or under a breathable cover.
Adding a rustic touch
Now it's time to give the build its final look. The front can be clad horizontally or vertically. Small gaps between the boards help moisture dry out. For a rustic accent, add a single pallet as a back panel.
Two pallets can also work as side decoration without making the whole project look too rough. Just make sure the edges are clean, the fixing is secure, and the material is untreated. Only use standard pallets if they're clean and free of chemical residue.
A matching handmade garden bench, a simple side table or a small planter all work well alongside it. That way, the bar becomes part of a connected outdoor area rather than just a single standalone unit.
Styling, lighting and atmosphere
Finally, bring the outdoor bar into your overall garden layout. If you've already built the wooden privacy screen, the garden bench and the fire pit from our other guides, you now have a complete DIY area that becomes a real focal point for long summer evenings: the privacy screen frames the corner, the handmade wooden garden bench provides comfortable seating, the fire pit forms the warm centrepiece, and the outdoor cocktail bar adds a practical station for drinks, snacks and accessories.
It's best to position the bar to the side of the fire pit or slightly offset behind the bench. That keeps the area open and safe to use, while drinks, glasses and small snacks remain quick to reach. Fill the cooler tub with ice, ice packs or a small cool box. Shatterproof glasses, a bottle opener, a small board, napkins and fresh herbs can all sit on the counter or in the inner shelf. A small chalkboard on the front can later show the drink of the evening.
It's also worth thinking about lighting as part of the overall look. String lights on the privacy screen, solar lights around the garden bench, and subtle lighting under the countertop visually tie the individual DIY projects together. That way, the outdoor bar doesn't feel like an extra piece of furniture bolted on, but like the final piece of a well-thought-out garden corner: sheltered by the privacy screen, made cosy by the bench, given atmosphere by the fire pit, and made practical by the bar.
Conclusion: build a bar and get more out of your outdoor space
This build is a space-saving, robust alternative to a shop-bought piece of furniture. What matters most is a sturdy frame, a well-protected surface, sensible storage, and a height that suits how you'll use it. Once you've built this bar counter yourself, you can easily adjust the dimensions later on.
With FUXTEC tools, clean cuts and a bit of patience, this is a project that's built to last. Once the build is finished, all that's missing is ice, glasses and guests.
Discover our range of garden tools
What wood is best for building an outdoor bar?
Douglas fir, larch or other weather-treated timber work well for the frame and cladding. Make sure to choose materials that can handle outdoor conditions and apply exterior oil, wood stain or paint for long-term protection.
How much space do I need in front of a garden bar?
Leave at least 80 cm of free space in front of the counter so guests have room to move comfortably and help themselves to drinks. This distance keeps the area functional and easy to use.
Can I build a garden bar on grass?
It's best to place the bar on paving, concrete or a solid deck. If you must use grass, lay down slabs underneath the feet to prevent them sinking in, improve drainage and protect your lawn.
What are the typical dimensions for a DIY garden bar?
A compact and practical size is roughly 160 cm wide, 60 cm deep and 108 cm tall. This fits well on a patio, balcony or in a garden corner whilst remaining easy to build and functional for serving drinks.
Do I need a power socket to use the cooler tub?
No, the cooler tub works fine with just ice or ice packs, so you don't need electricity. However, if you have a weatherproof outdoor socket nearby, you can add lighting or music to enhance the atmosphere.
How should I protect the wooden surfaces from the weather?
Start by sanding all visible edges and surfaces, then apply exterior oil, wood stain or paint. Pay extra attention to cut edges, feet and the tub opening, as these absorb moisture fastest, and consider storing the bar under a breathable cover during winter.
What's a comfortable overhang for the bar counter?
An overhang of 15 to 20 cm at the front is ideal, as it gives guests somewhere comfortable to rest their arms whilst they're getting a drink. This makes the bar more practical and welcoming to use.
More articles about garden care
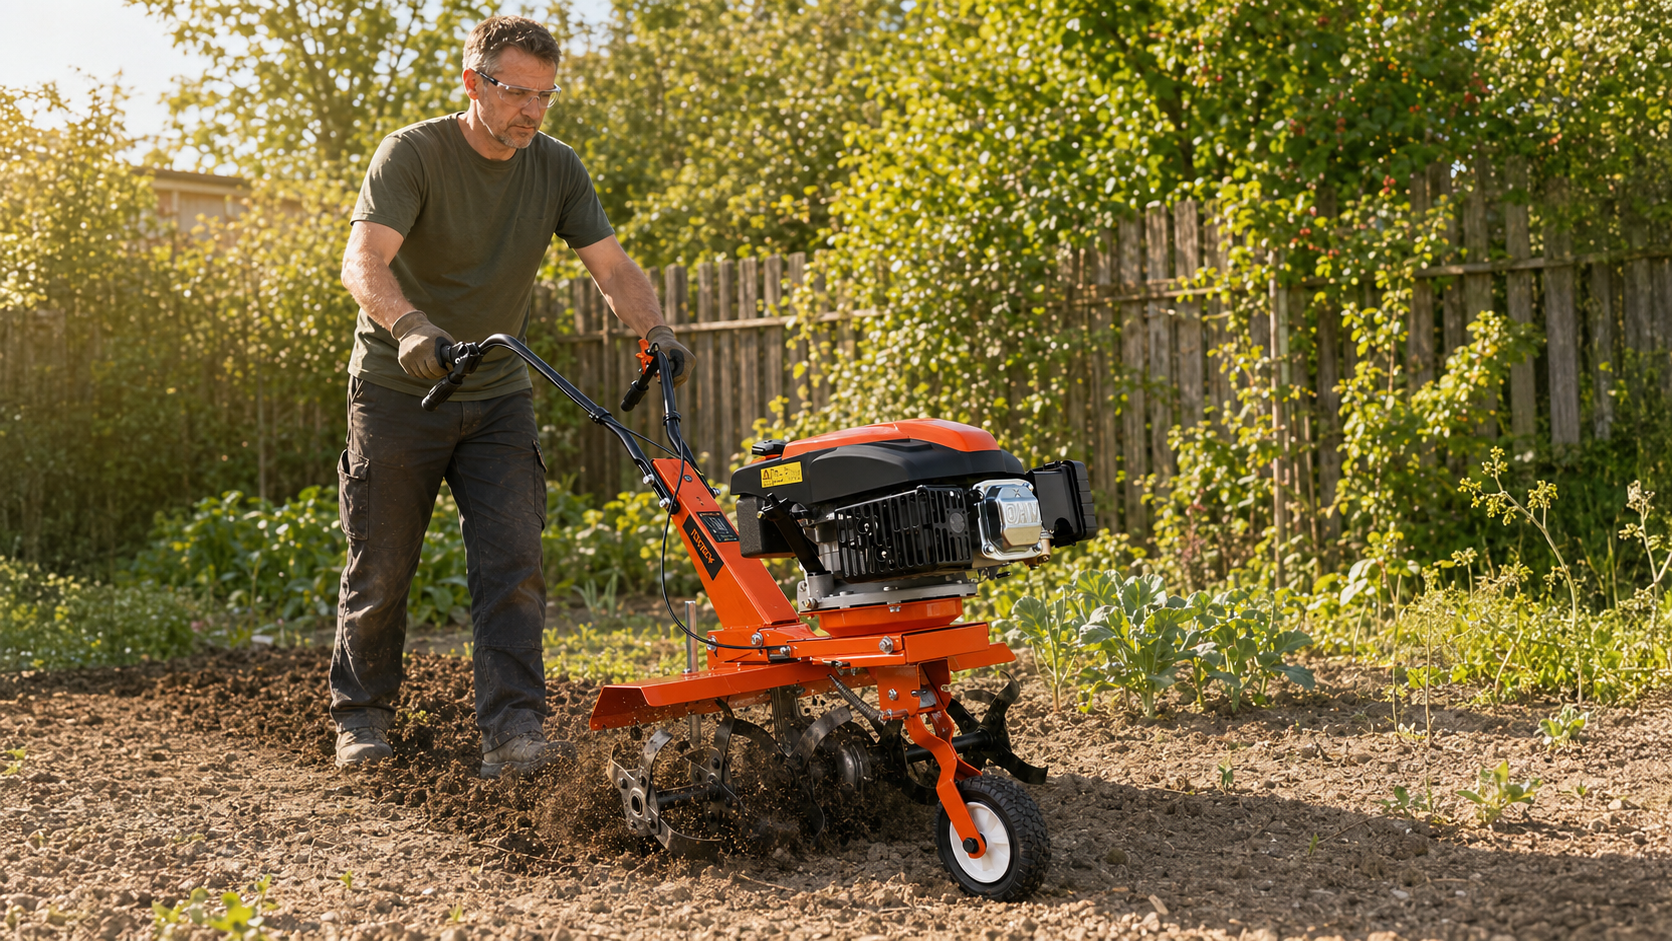
Trockenheit im Garten: Boden lockern, richtig gießen und mit Mulch Wasser sparen
Du gießt das Beet, doch das Wasser bleibt auf der harten Erdoberfläche stehen oder läuft zur Seite ab. Schon nach kurzer Zeit wirkt der Boden wieder trocken, obwohl Du gerade erst zur Gießkanne g...
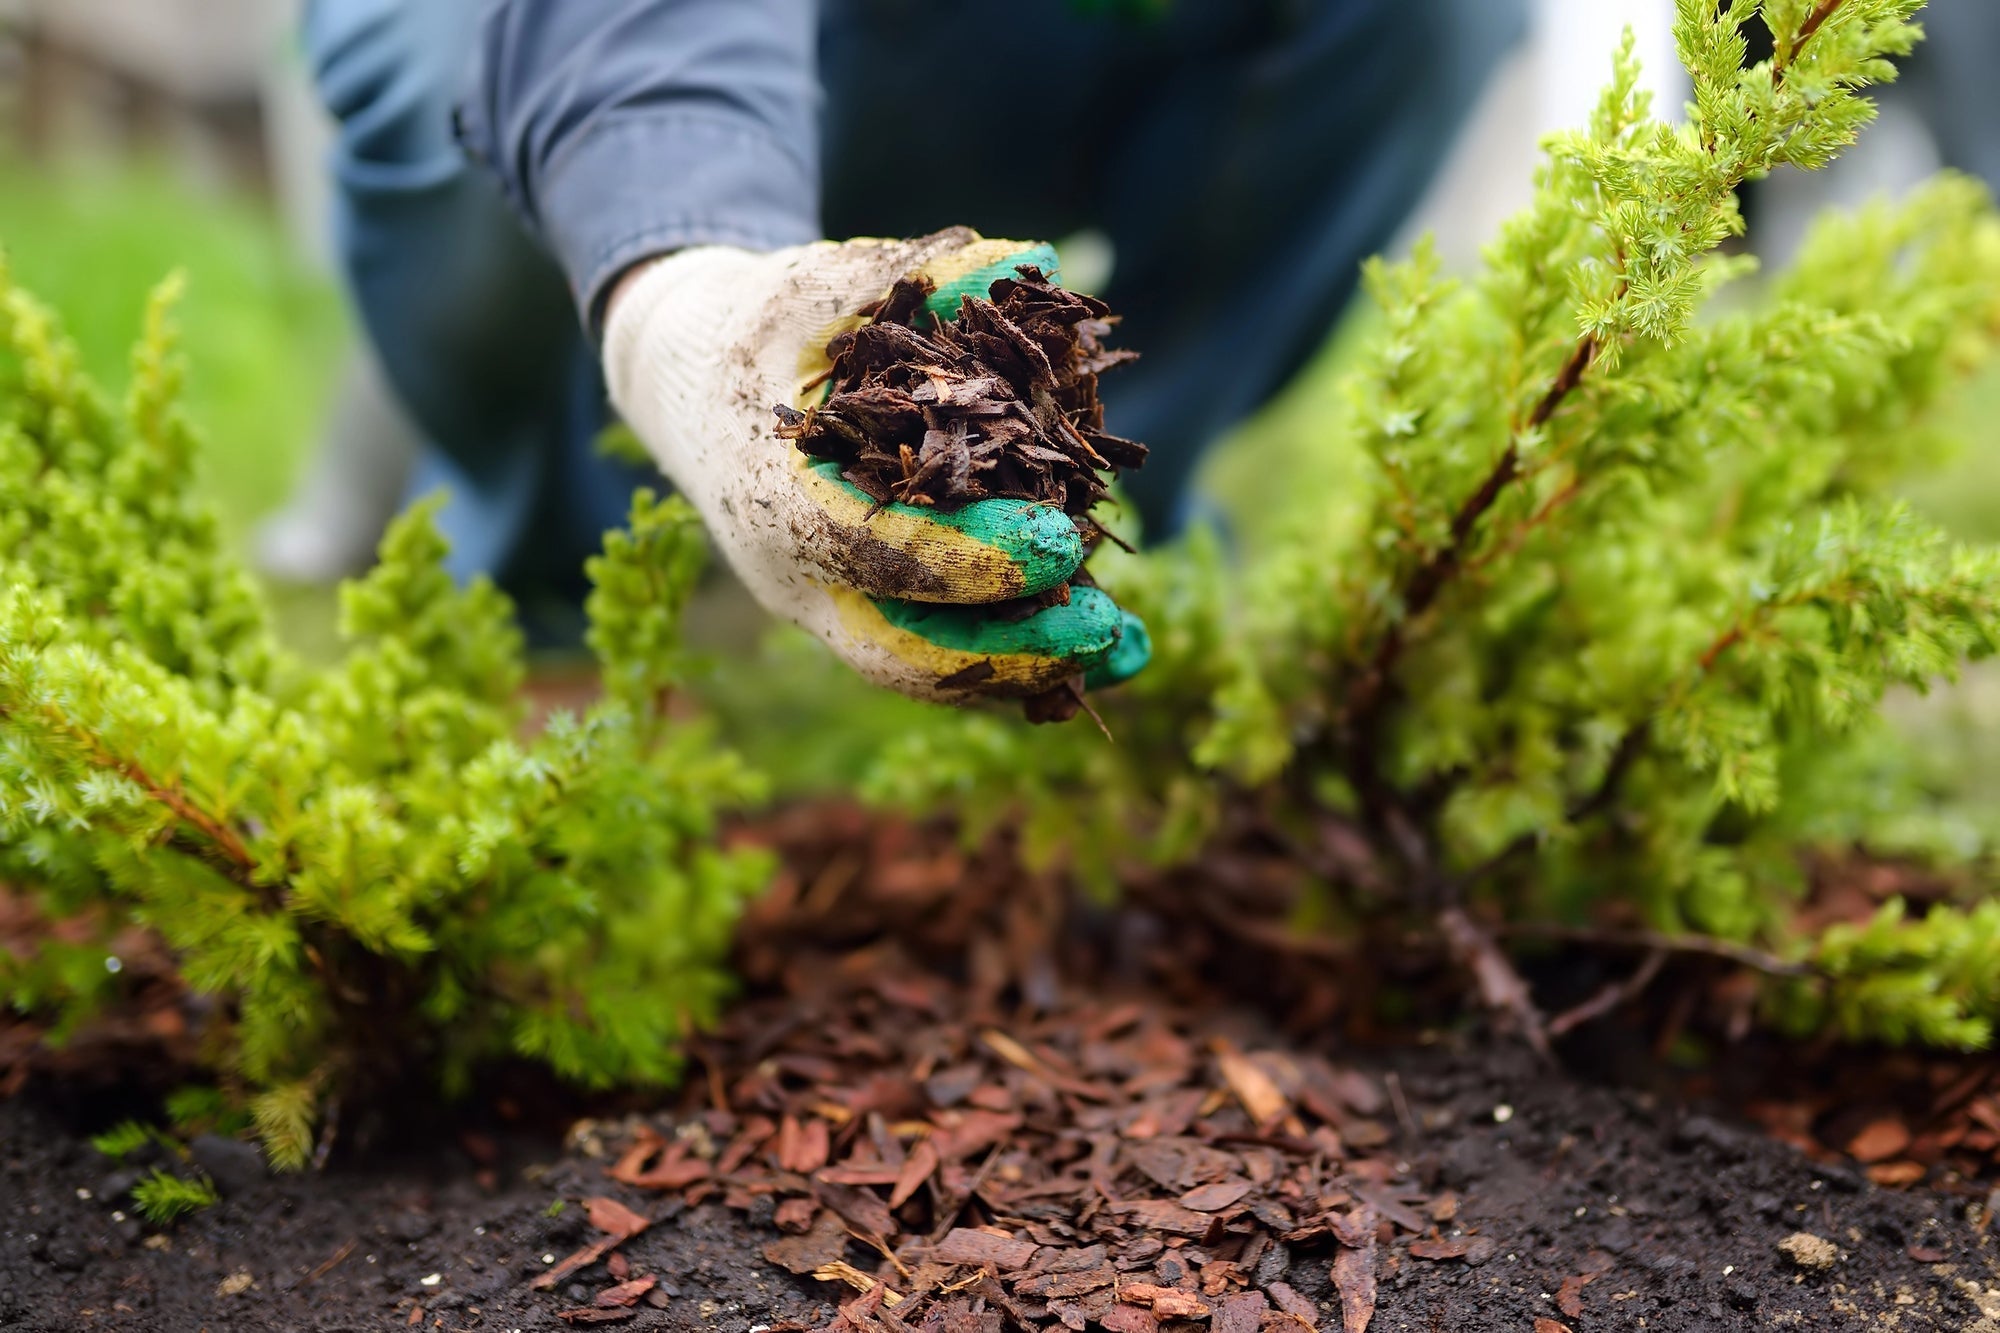
Pine Bark Mulch: The Complete Gardening Guide
Mulching with pine bark is one of the most effective methods in modern gardening and sustainable horticulture. A layer of mulch material is applied to the soil surface to protect and improve the so...
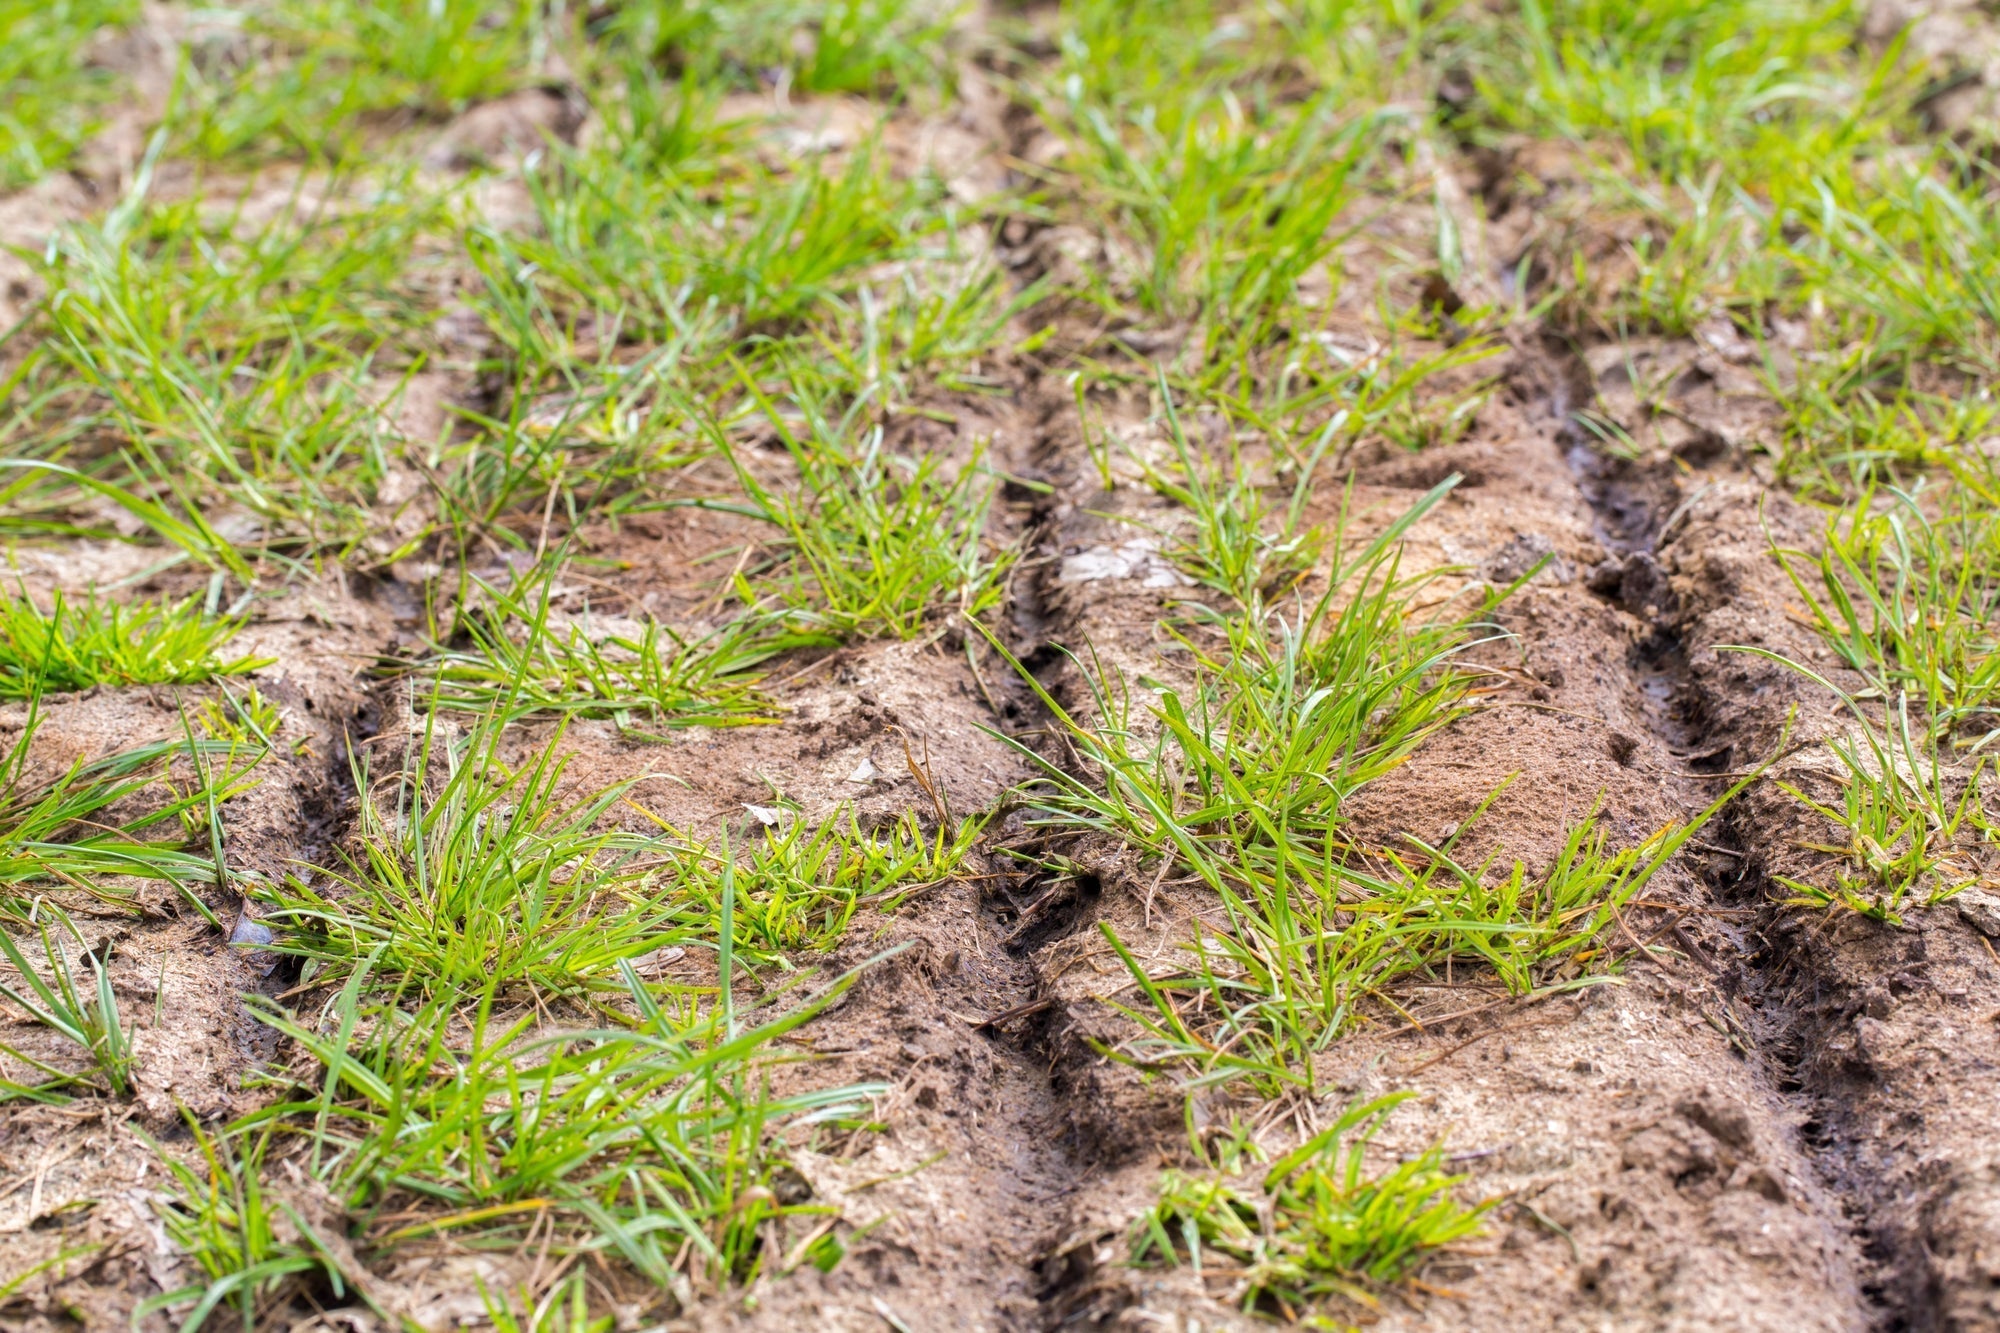
Spring Soil Improvement: Prepare Your Garden Soil
Inhaltsverzeichnis Warum Bodenverbesserung im Garten im Frühjahr so wichtig für einen gesunden Gartenboden ist Gartenboden nach dem Winter prüfen: Bodenstruktur, Verdichtung und Bodenart erke...


