Wild brambles can turn an overlooked corner of the garden into an almost impenetrable thicket within just a few years. The long, thorny canes creep across beds, fences and paths, take root wherever they touch the ground, and crowd out other plants for light and space. On a neglected garden plot, brambles can even spread across a large area.
If you want to remove wild brambles, you need a clear plan. Simply cutting back the canes above ground isn't enough. Brambles will readily resprout from any roots and runners left behind. Effective, long-term control therefore involves several steps: clearing the thicket, removing the cuttings, digging out the roots, and then checking the area regularly afterwards.
With the right protective clothing, a powerful brushcutter and a bit of persistence, you can get the problem under control. In this FUXTEC garden guide, we'll show you how to tackle bramble removal systematically and prevent new growth in the long run.
Why wild brambles become a nuisance in the garden
The bramble is a tough plant that spreads in several ways. Its canes can arch over and touch the ground, rooting at the tips. At the same time, the plant spreads further via underground runners.
If left undisturbed for a while, a dense mat of roots forms. At the same time, old and new bramble canes tangle together, making it almost impossible to pull individual stems cleanly out of the thicket.
The thorns make the job even harder. They catch on clothing and can cause painful injuries if you work without protection. Removing brambles is therefore hard work, but perfectly manageable if you follow a sensible order of steps.
Remove wild brambles entirely, or just cut them back?
Before you start tackling the problem, decide whether the whole plant needs to go, or whether it simply needs bringing back under control.
A cultivated blackberry growing on a support frame doesn't need to be removed. Here, regular pruning is enough. Spent canes are cut out at the base, young canes are tied in neatly, and long side shoots are shortened. This keeps the plant manageable and makes harvesting in summer much easier.
Wild brambles, on the other hand, are best removed completely if they:
- are overrunning beds, paths or lawns,
- are crowding out other garden plants,
- are creeping in from a neighbouring property,
- have formed a barely accessible thicket,
- are spreading over walls, fences or buildings.
Cutting back the canes alone only slows the plant down temporarily. As long as the rootstock and strong root sections remain in the soil, new shoots can appear.
When is the best time to remove brambles?
In principle, you can remove wild brambles during much of the year. It's particularly practical to work when the soil is slightly moist but not frozen or completely waterlogged, as roots and runners come out of the ground more easily then.
Before cutting, check the thicket carefully. Dense bramble patches provide shelter for birds and other wildlife. If you find active nests, postpone the work.
Different rules apply to simply pruning cultivated blackberries. Old canes are cut out at ground level after harvest or in winter. Young, fruit-bearing canes are left in place and tied in neatly to the support frame.
Good protective clothing is essential when removing brambles
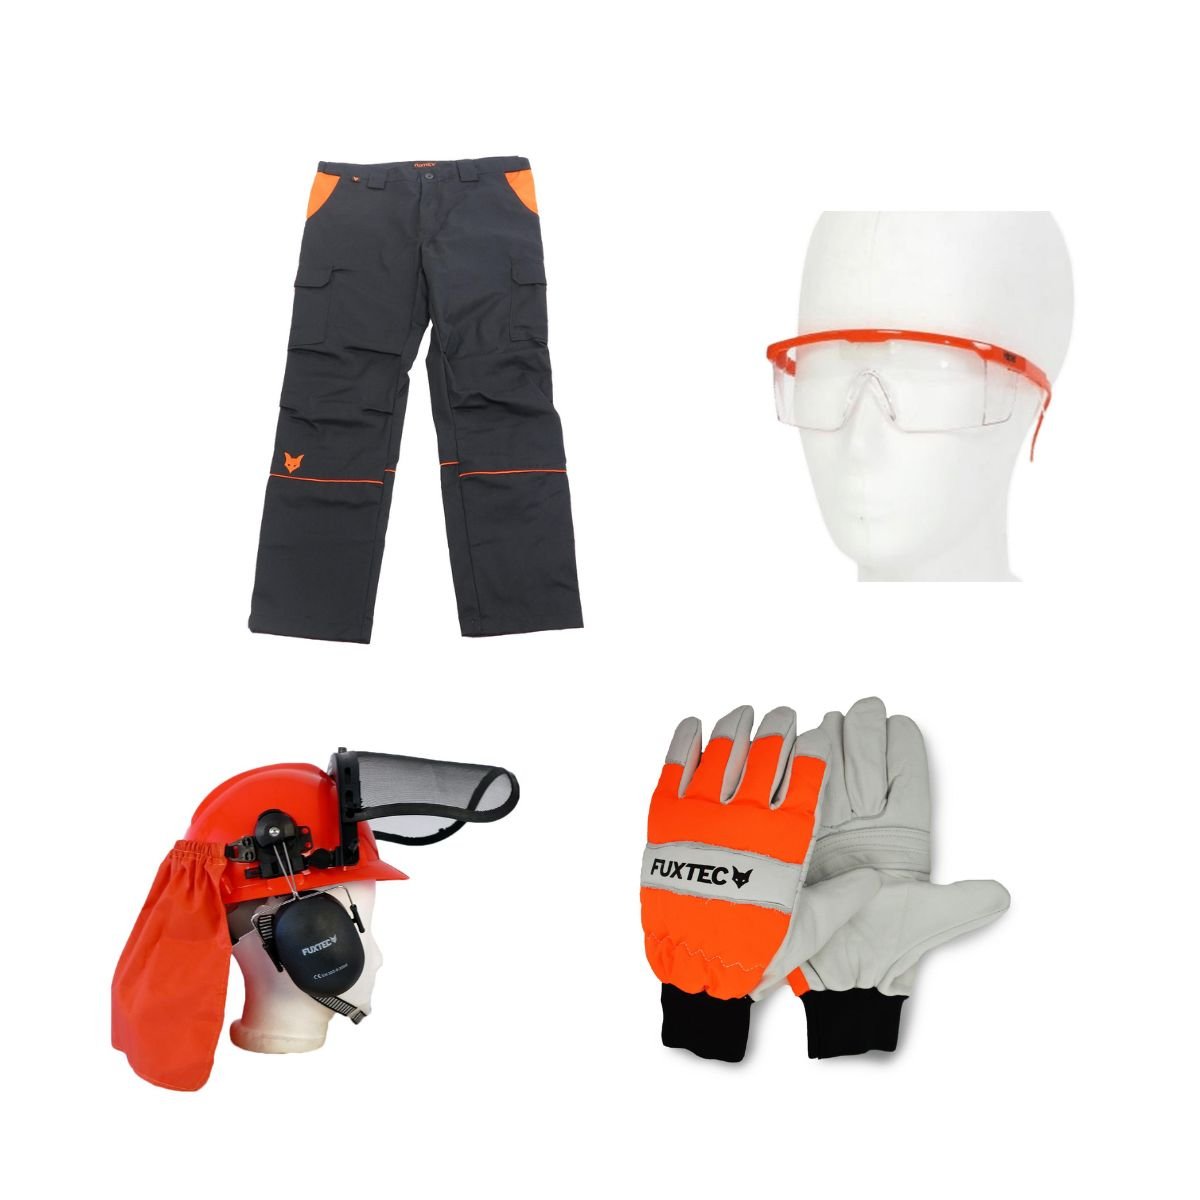
Before cutting into the first bramble patch, put on sturdy protective clothing. Thin gardening gloves often aren't enough against tough thorns.
It's worth wearing:
- heavy-duty work gloves made from leather or thick coated fabric,
- long rose gloves to protect your forearms,
- sturdy, long-sleeved work clothing,
- sturdy work boots,
- safety glasses,
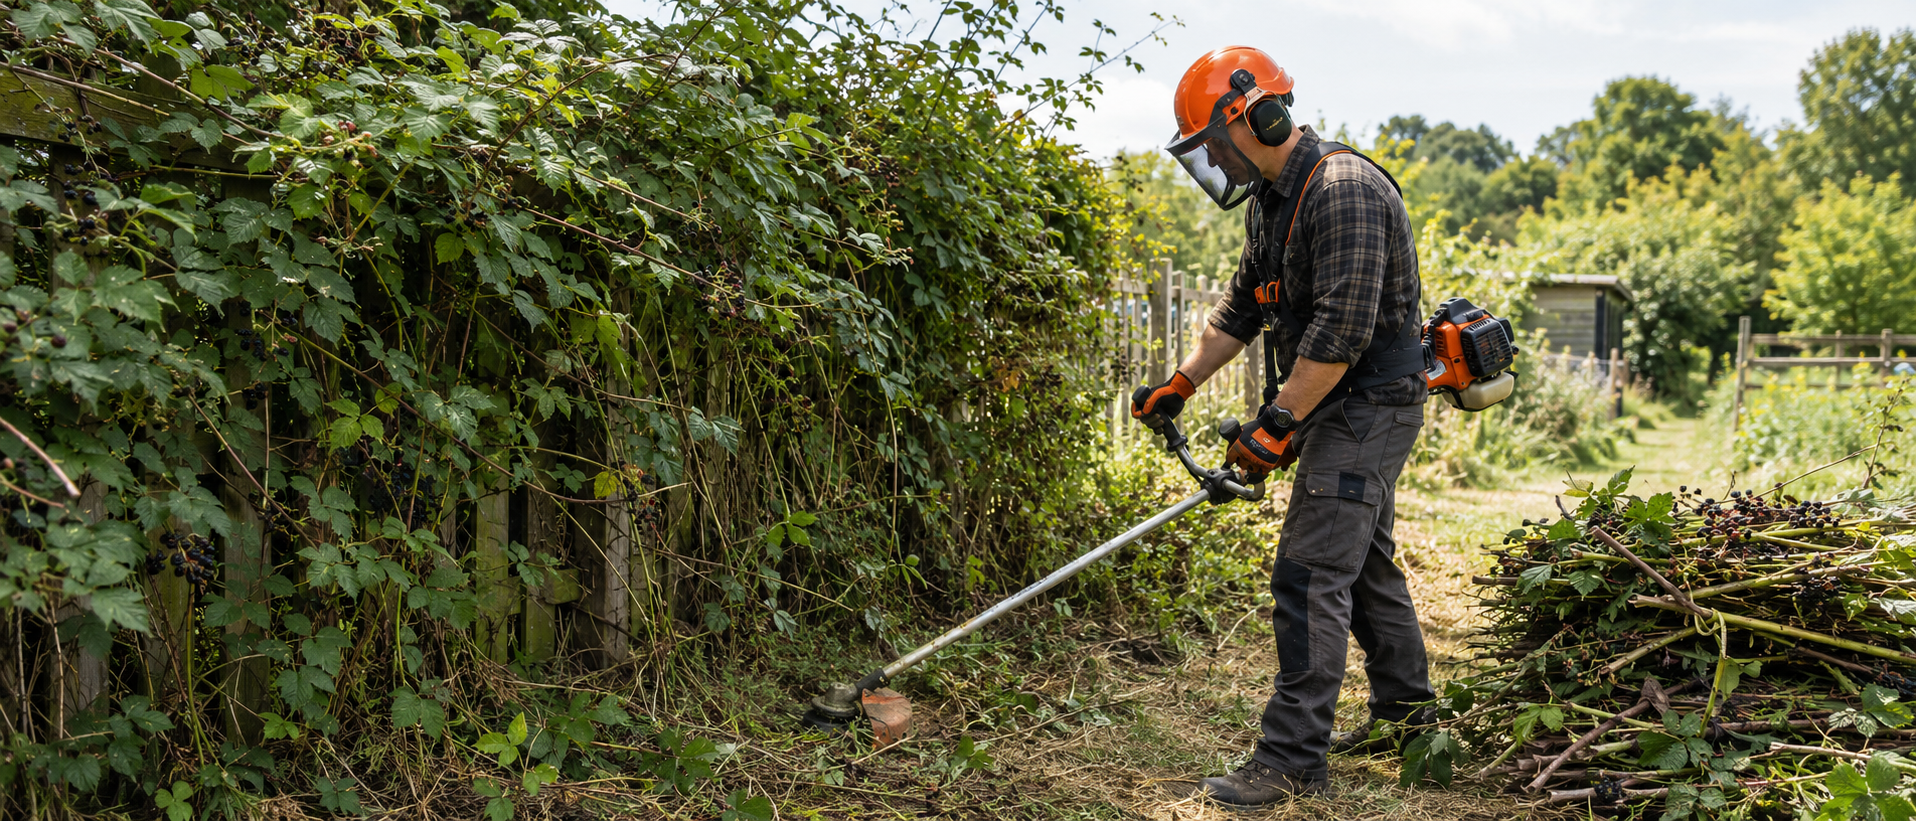
- and, when using powered equipment, a visor and hearing protection as well.
If you're working with a brushcutter fitted with a brush blade, small branches, soil and stones can be thrown up. Keep other people and animals well away from the work area and stick to the safety distances given in the instruction manual.
Removing brambles: step by step
1. Assess the work area and clear access
Start by getting an overview of the whole area. Check where the bramble patch begins, how far it extends, and whether there are fences, wire, stones or other obstacles hidden underneath.
Begin at the edge and work slowly into the thicket. This keeps you on stable footing and lets you clear away cut material as you go.
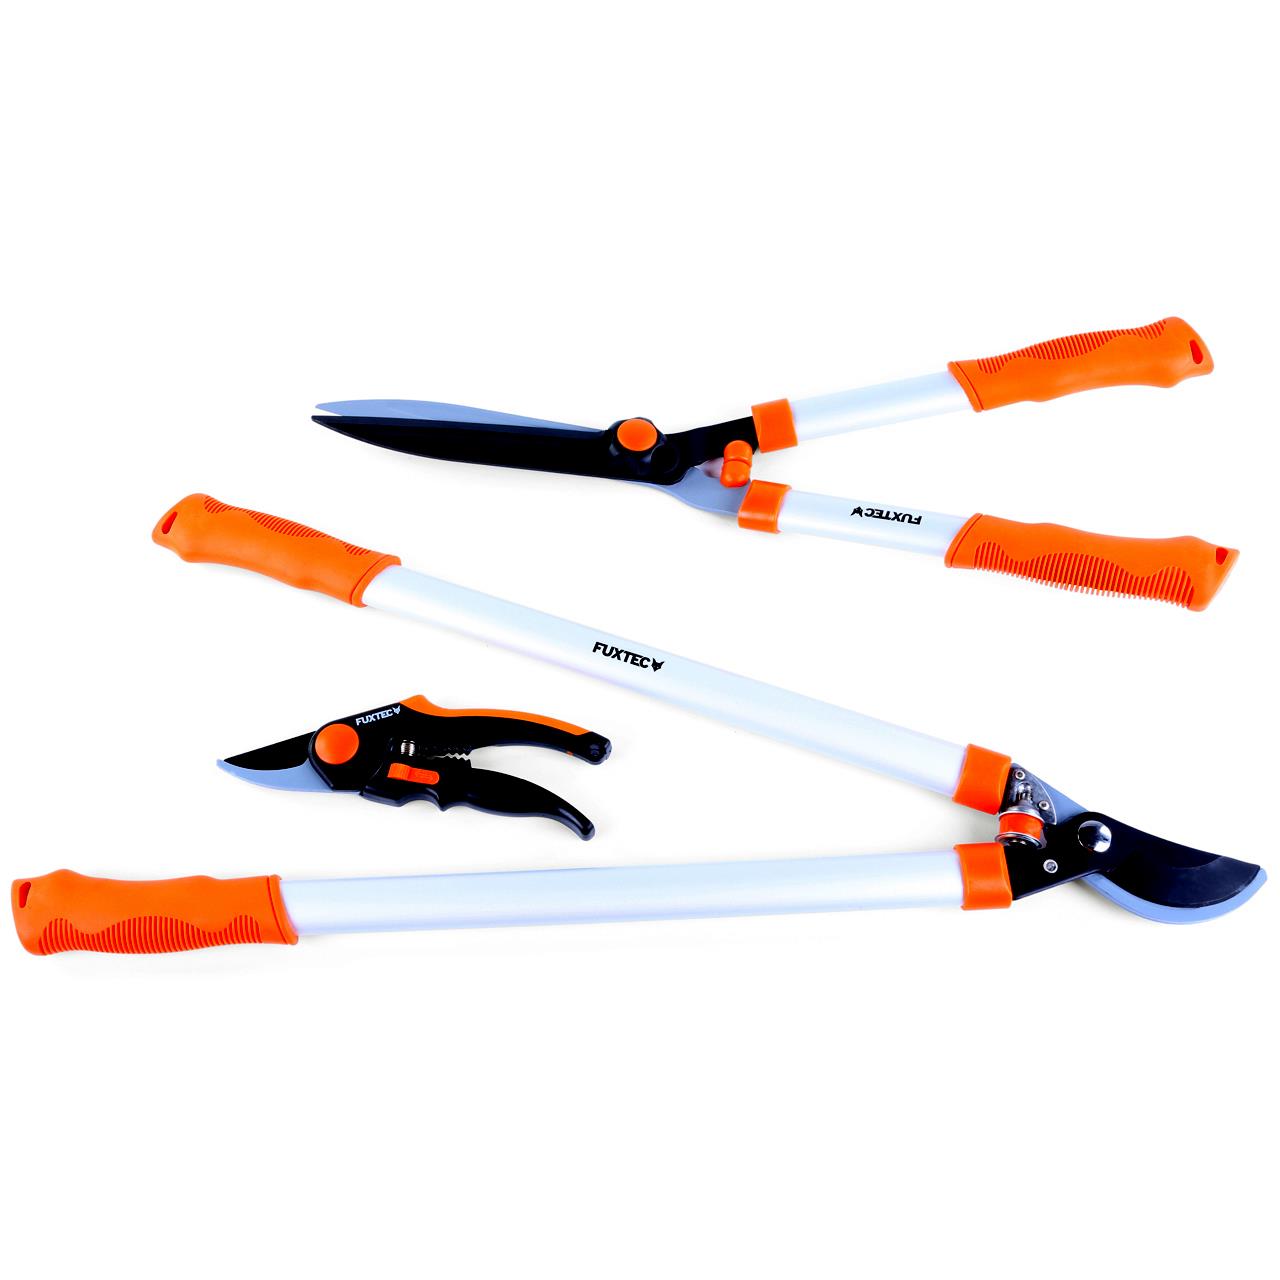
For a small plant, a sturdy pair of loppers is often enough. Long-handled loppers or a "swing and cut" tool let you cut through individual canes from a safe distance.
2. Cut bramble canes back to around 20 cm
Cut the above-ground canes about 15 to 20 cm above the soil. The short stubs will help you later to locate each rootstock and pull it out of the ground.
Don't try to yank the whole thicket apart before cutting it. The thorny canes are tangled together and can snap back unpredictably if pulled.
Work section by section:
- Cut through the canes.
- Pull out the cut material.
- Bundle the cuttings straight away.
- Move on to clear the next section.
This keeps the area manageable throughout.
3. Tackle large areas with a brushcutter
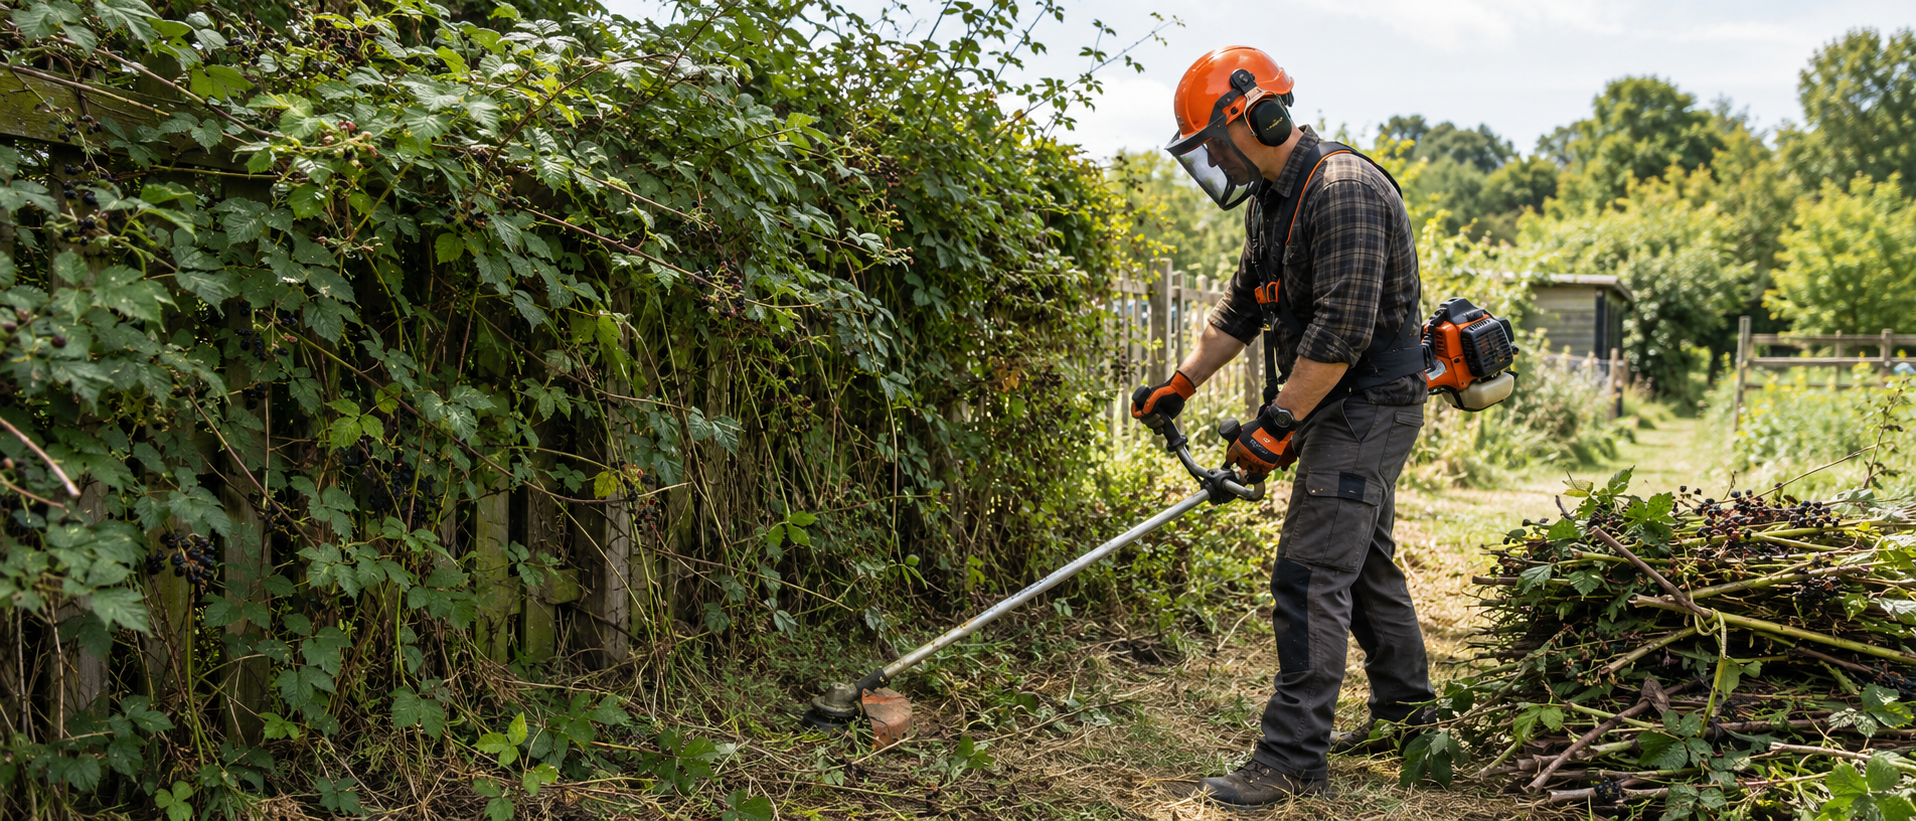
Once brambles have taken over a large area, cutting with loppers alone quickly becomes a real test of patience. A powerful brushcutter can speed the job up considerably.
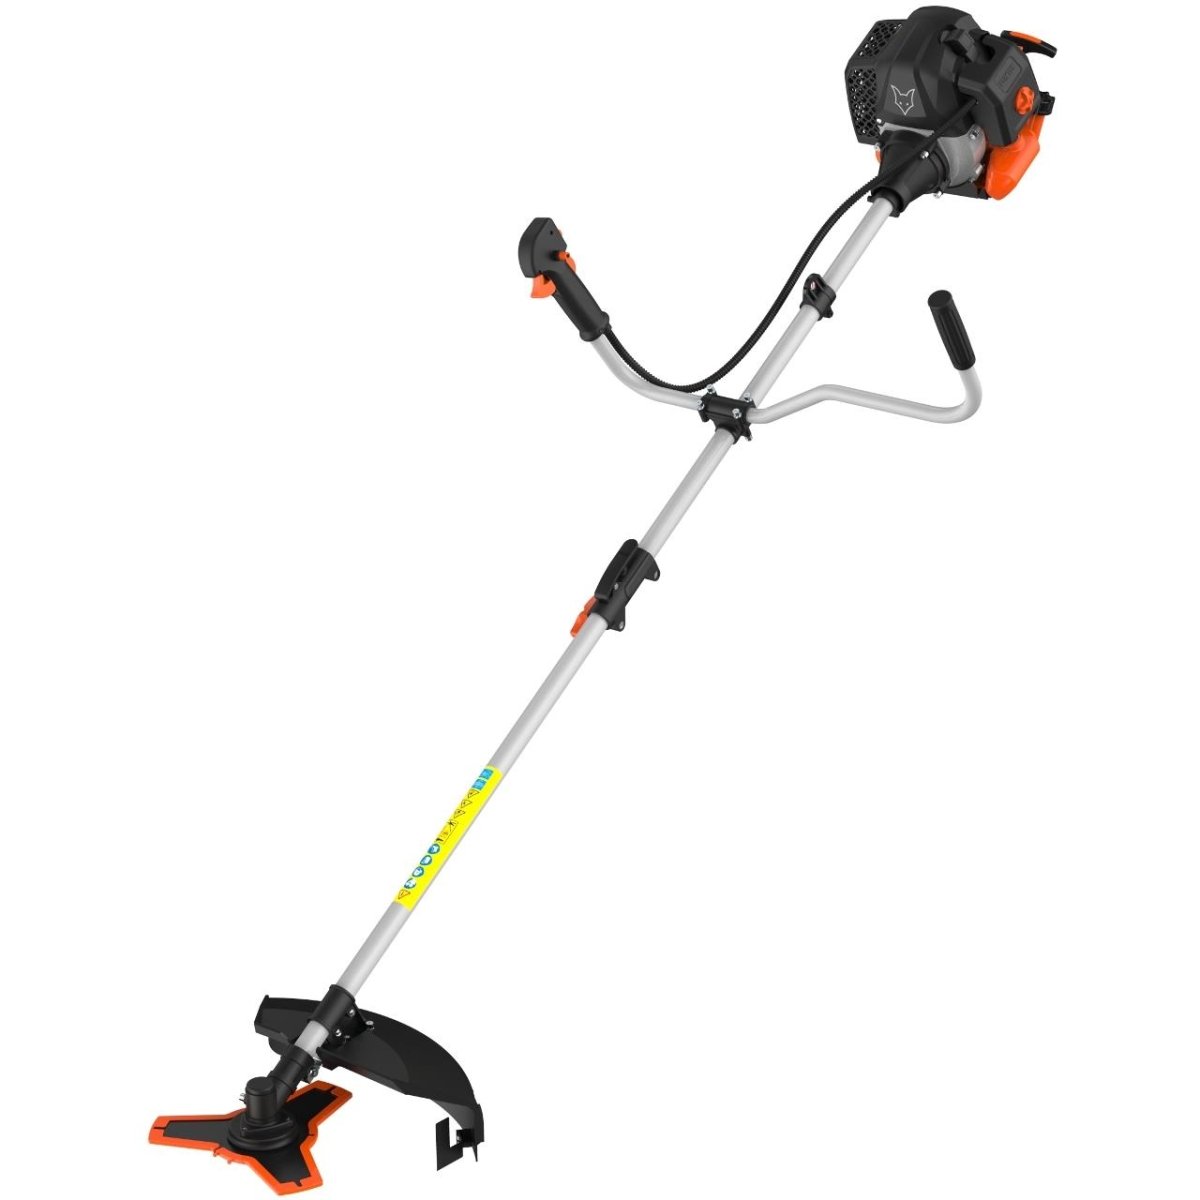
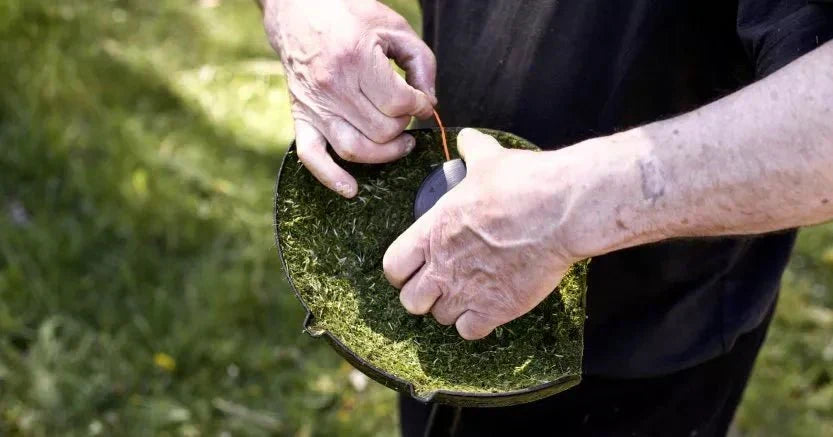
For thick, woody bramble canes you'll need a suitable cutting attachment. A simple trimmer line isn't designed for tough canes. Depending on the machine, an approved brush blade or scrub blade is the right choice.
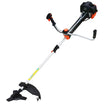
The FUXTEC FX-MS152 petrol brushcutter, with its powerful engine and included metal blade, is well suited to more demanding garden work. The FUXTEC professional brushcutters FX-PS152 and FX-PS162 are also designed for dense growth and larger areas.
Guide the cutting attachment carefully, just above ground level. Contact with the soil, stones or hidden metal parts can be dangerous and may damage the tool.
4. Remove the cuttings from the garden
Once you've cleared the area, you're often left with a large amount of thorny cut material lying about. Wearing gloves, pull the bramble canes out of the work area and bundle them up.
Longer canes can be cut down further with loppers. A suitable garden shredder can reduce woody plant material to a much more manageable volume. Check beforehand what maximum branch diameter the machine can handle.
Electric Garden Shredder FX-EGH2800B
The robust version with a fixed collection box, ideal for larger amounts of shrub and hedge trimmings.
- 2,800 watts of power
- Handles branches up to 44 mm
- 60-litre collection box
- Automatic feed
Electric Garden Shredder FX-EGH2800T
The more compact and lighter option with a large collection bag, ideal for the average home garden.
- 2,800 watts of power
- Handles branches up to 44 mm
- 60-litre collection bag
- Roller feed with reverse function
Important: Fresh, soft bramble canes can wrap around the roller or feed mechanism. Where possible, let the cuttings dry out first, shorten very long canes before feeding them in, and always observe the shredder's maximum branch diameter and instruction manual.
Take care when composting. Fresh shoot tips and other rootable plant parts can take root again under the right conditions. Let the material dry out completely, or take problematic plant material to your local council's garden waste collection point instead. If you don't yet have a compost heap at home, our FUXTEC garden guide "Starting a compost heap: how to make good compost in your garden" explains how easy it is to set one up.
Removing bramble roots: the most important part of the job
Once all the above-ground canes have been cut and cleared away, the crucial step begins. To stop the bramble regrowing, you need to dig the rootstock, strong roots and any accessible runners out of the ground.
5. Loosen the soil around the plant
Position a sharp spade around the remaining stubs. Work the soil in sections, loosening it as you go.
Brambles are shallow-rooted. A large proportion of their roots run relatively close to the surface. In loose, sandy soil, they're often easier to dig out than you'd expect. In heavy or badly compacted soil, the job can be considerably harder work.
6. Dig out the rootstock and runners
Grip the remaining stub and gently rock it back and forth. At the same time, use the spade to lever up the loosened soil.
Try to pull the rootstock out in one piece if possible. Follow any visible runners underground and dig these out too. If strong pieces of root are left in the soil, new shoots can grow from them.
With a dense root mat, work the area in small sections. Mark off areas you've already cleared so you don't miss any spots.
7. Level the area and keep it open
Remove any loose bits of root from the soil and level the ground roughly for now. Don't replant the area densely straight away.
If you leave the soil open for a few weeks, you'll spot any new bramble shoots more quickly. These young plants are much easier to dig out than an established thicket that's had time to rebuild itself.
Why glyphosate weedkillers aren't a good solution
Garden forums sometimes recommend glyphosate-based weedkillers (such as Roundup) or other herbicides to tackle wild brambles. For garden use, though, this approach is problematic.
A weedkiller can damage the above-ground growth while leaving strong roots and underground plant parts intact. The bramble can then simply resprout. At the same time, misused products can harm neighbouring garden plants and soil life.
Using a higher concentration than stated on the product label is never a sensible shortcut. Pesticides and herbicides must only be used strictly according to their approved label instructions.
For lasting removal, the mechanical approach remains the more reliable option: cut the canes, remove the roots, and consistently deal with any new shoots.
Can you smother brambles with pond liner?
A light-blocking pond liner or sheet of plastic can suppress new above-ground growth. However, it's not a reliable substitute for digging out the roots.
Roots and runners can spread sideways beyond the covered area. What's more, the sheeting needs to stay in place for a long time and be fixed down so it's completely light-proof.
As a supplementary measure, covering can work on a clearly defined area. For a permanent solution, you should still remove as many roots as possible beforehand.
Preventing brambles: keeping a cleared area bramble-free
After the initial big clearing job, the area usually isn't completely bramble-free straight away. Small root fragments may have been missed and can produce new shoots later in the season.
Check the area regularly. Pull up young plants, roots and all, from the loosened soil as early as possible. The longer you wait, the stronger the new root system becomes.
Dense, suitable replanting later on reduces the amount of open soil. Before that, though, it's worth observing the area over a longer period.
Root barriers against new brambles from a neighbouring property
If brambles are creeping in from a piece of waste ground or a neighbouring property, a root barrier can be a sensible solution.
Dig a narrow trench along the affected boundary and insert a sturdy plastic barrier vertically into it. A stable pond liner may also work, depending on the situation. The barrier should be installed without gaps and should protrude slightly above the soil surface.
Also check the boundary regularly. Canes growing above ground can simply grow over the barrier and take root again on your side.
Before carrying out major work near the boundary, talk to your neighbours. You shouldn't work on roots or canes on someone else's property without agreeing it with them first.
Cutting back brambles and keeping them as a fruiting plant
Not every bramble has to disappear from the garden. If you'd like to keep a contained patch for fruit and wildlife, you can keep the plant in check with a support frame and regular pruning.
After harvest, cut out the spent canes at ground level. Blackberries mainly fruit on canes produced the previous year, so young canes should be tied in separately from the old ones.
You can shorten long side shoots to a few leaves in summer. In late winter, cut back strong side shoots to short spurs with around two buds.
Clearly separating the canes on the support frame makes the following easier:
- harvesting,
- winter pruning,
- keeping an eye on new shoots,
- accessing the plant,
- keeping the canes contained.
Remove any runners that appear outside the intended area straight away.
Removing wild brambles: mistakes to avoid
The most common mistake is removing only the above-ground canes. The area may look tidy in the short term, but the roots stay active underground.
Other problems include:
- working without protective clothing,
- pulling on uncut, tangled canes,
- using a brushcutter without proper control,
- clearing an area without first checking for wire and stones,
- replanting too soon,
- leaving rootable plant material lying around,
- failing to check the area after clearance.
It's better to plan several manageable work sessions rather than one big push. This lets you work more thoroughly and avoids losing energy halfway through the bramble thicket.
Conclusion: with brambles, consistent hands-on work wins out
Removing wild brambles from the garden is far from an easy gardening job. The thorny thicket first needs cutting back, then clearing away, and finally digging out completely, rootstock and runners included.
Over a large area, a suitable FUXTEC brushcutter makes clearing the growth much easier. A safety helmet, visor, hearing protection and sturdy work gloves should all be part of your basic kit.
Once the area has been cleared, follow-up checks determine long-term success. If you remove every new shoot early and protect vulnerable garden boundaries with a root barrier, even the most stubborn bramble will gradually lose its foothold in the garden.