

Yew Hedge Guide: Planting, Pruning & Care Tips
Everything About Yew: Planting, Feeding, Pruning & Pest Control
Few hedging plants cause as much uncertainty among gardeners as the yew. On one hand, it has all the qualities a good hedge should possess: it is evergreen, low-maintenance, tolerates clipping well, and is fully hardy. On the other hand, yew is toxic, which often puts off families with young children from choosing this hedging plant.
What You Need to Know About Yew
The yew genus is found predominantly in the Northern Hemisphere. Of the approximately ten species, only one is native to Europe – the English yew, Taxus baccata. However, cultivars of other species are also used as hedging plants. In terms of appearance, the yew is a typical conifer that tends to grow more as a shrub than a tree. Its flowers are inconspicuous, but the red berries in autumn are all the more striking.
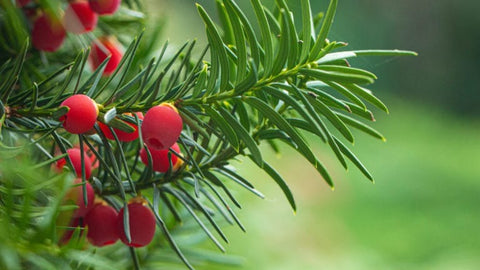
Almost all parts of the yew — bark, needles, and seeds — are toxic. Only the red fleshy aril surrounding the seed is non-toxic and is a popular food source for birds. In this way, birds contribute to the spread of the plant, as they pass the actual seed through their digestive system unharmed.
The Different Yew Species
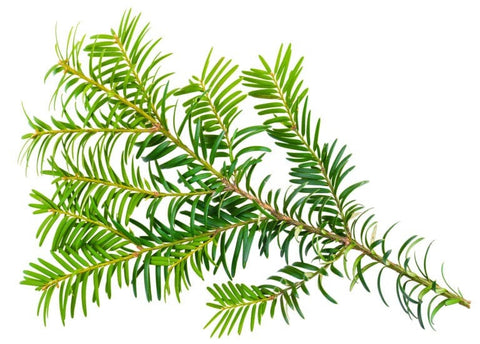
Both different species of yew and various cultivars, known as varieties, are used as hedging plants.
Taxus baccata
The English yew is the species native to the British Isles, well known for its distinctive red berries. However, it typically does not produce berries until it is around 20 to 30 years old. It is relatively undemanding in terms of its growing conditions, produces vigorous new growth, and therefore responds very well to clipping. This makes for quick, dense screening, though it does mean regular trimming is required. This hardy species can live for an extraordinarily long time — a well-maintained yew hedge can outlast several generations. Cold winters and frost are no problem for Taxus baccata, which is native to northern regions and is generally very affordable to buy.
Taxus baccata 'Fastigiata Robusta'
The columnar Irish yew grows less in width and more in height. Thanks to its more upright branching habit, it is particularly well suited to narrow hedges without requiring more frequent trimming. Individual nurseries may stock their own especially narrow cultivars. If you ask for a columnar yew, most good nurseries should be able to assist you.
Taxus baccata 'Semperaurea'
The golden yew is a real eye-catcher with its golden-yellow needles. As these contain less chlorophyll than the common yew, it grows slowly — around ten to twenty centimetres per year. As the plant matures, the needles may take on a slightly greenish hue, but will turn at most a yellow-green and never a deep green.
Taxus media hillii
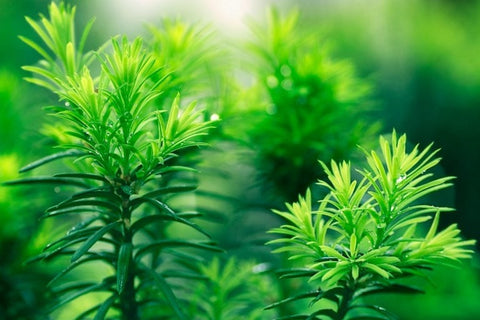
The male form of the Hicks yew has the advantage of producing no berries, so there is no risk of young children being tempted to eat them. It also reaches a more modest height of three to five metres compared to the English yew and grows a little more slowly, making it easier to maintain. As a hedge, it should be kept to no more than two metres in height, as it may struggle to bear the weight of heavy snow beyond this point. Much like Taxus baccata, this yew is fully hardy, long-lived, robust, and undemanding.
Taxus media hicksii
The female form of the Hicks yew shares the same growing characteristics as the male form. The only difference is that, like the English yew, it produces red berries in autumn.
Planting a Yew Hedge
If you follow a few important guidelines from the very start, there is nothing to stop you achieving a magnificent yew hedge.
Choosing the Right Position
Yew is one of the most shade-tolerant hedging plants available. It thrives in semi-shaded to fully shaded spots and, unlike most other plants, can actually struggle in full sun. In winter particularly, bright sunshine combined with strong winds can cause the evergreen yew to dry out quickly. It also prefers a humid atmosphere over dry urban conditions.
When it comes to soil, yews are not particularly fussy. They prefer alkaline to slightly clay-rich soils but can also cope with sandy, mildly acidic ground. Whilst they do not require a great deal of water, yews planted in dry spots are more susceptible to red spider mite.
Planting Your Yew Hedge
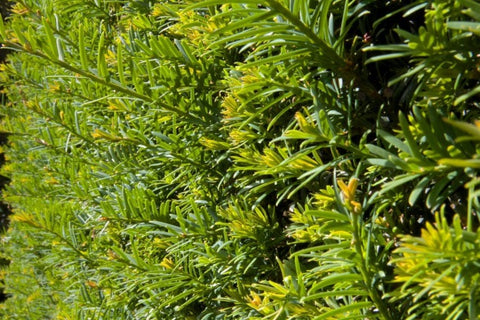
The best time to plant a yew hedge is generally in spring. This gives the plants enough time to establish a good root system so they can draw up sufficient water independently by the following winter. You can also plant yews later in the year, but you will need to keep a close eye out for signs of water stress and water accordingly.
As yews grow rather slowly, it is best to choose plants that are already a decent size. This way, you will not have to wait as long for them to provide a full screen. For plants up to about 1.5 metres in height, you will need around three plants per metre. If the plants are already taller, three plants per two metres will suffice. When in doubt, err on the side of wider spacing — this helps prevent fungal problems caused by overly dense growth.
If you need screening as quickly as possible, you can plant your yew hedge in a double row, setting the plants in a staggered zigzag pattern. This usually requires more plants and is therefore more costly, but it creates an immediate initial screen that rapidly becomes thicker and more impenetrable.
Compared to most other hedging plants, yews are set relatively shallowly in the ground. For further guidance, refer to our general hedge-planting instructions. It is advisable to wear gloves when handling yew, as the toxic compounds it contains can cause skin irritation.
Caring for Yew
Shortly after planting, yews need plenty of water to establish well. After that, you only need to water them during summer dry spells and on dry winter days. Whilst some plants struggle with hard, limey tap water, the yew is unfussy in this regard too.
When it comes to feeding, the yew makes life very easy: apply an organic slow-release fertiliser in spring before the first flush of growth, or mulch the soil surface with garden compost. On sandy soils in particular, it is worth topping up the mulch several times a year, as nutrients are leached out more rapidly.
As a plant that responds very well to cutting, yews can withstand even hard pruning back into old wood. This makes them straightforward to renovate, even if they have been neglected for some time. Heavy pruning or coppicing is best carried out in early spring before growth begins. A further shaping trim can be done from late June to early July. However, all such work should be completed by the end of August at the latest. Pruning later than this increases the risk of frost damage, as the new growth may not have time to harden off fully before winter.
Even though all parts of the yew are toxic, the clippings can safely be added to your compost heap. The bacteria responsible for decomposition will break down the toxic compounds. It is best to chop the clippings well beforehand, as yew branches and needles can take a very long time to rot down if left whole. Any diseased plant material should always be disposed of in your general household waste bin rather than composted, to avoid spreading fungi or pests around the garden.
The Most Common Problems With Yew
It is no coincidence that yew is so often described as low-maintenance — pests or demanding growing conditions rarely hinder the growth of this robust conifer.
Pests
During very dry and hot summers, there is a risk of red spider mite infestation. You can usually identify these by the fine webbing they spin between the needles. If your yew hedge is only mildly affected, regularly spraying it with water every few days is often sufficient. This dislodges the mites from the needles and also deters them through the increased humidity. If this does not help, it is best to remove the most heavily affected parts before the mites spread further. You can also introduce natural predators, most notably predatory mites.
Occasional infestations of aphids or scale insects also occur. These are often identifiable by yellowing foliage and needle drop. Parasitic wasps can again be used as a biological control. Alternatively, organic sprays such as nettle liquid feed or horticultural insecticides can help.
Diseases

If yews are planted too closely together or in waterlogged conditions, they can become susceptible to fungal diseases. These generally cannot be treated directly. Remove the affected growth generously and dispose of it in your general household waste bin. You should then ensure adequate feeding so the plants can recover well. If a large proportion of the plant is already affected, it may not be possible to save the yew. For this reason, take care from the outset to ensure that water does not pool beneath or between your yew plants.
Needle Discolouration
If a yew's needles turn yellow, this is usually a sign of pest damage or disease. Brown needles are most commonly caused by insufficient watering. Bear in mind that young yews need watering throughout the year during dry spells. Because they are evergreen and do not shed their needles, they continue to lose moisture through them even in winter. A layer of mulch can help reduce this water demand by limiting evaporation from the soil.
Brown discolouration of the needles in winter can, however, have another cause. Young plants may turn their needles bronze in response to bright winter sun and frost — a natural protective mechanism. The colour will revert to a rich green on its own in spring. As the plants mature, they become increasingly tolerant of direct sunshine and the discolouration becomes less pronounced.
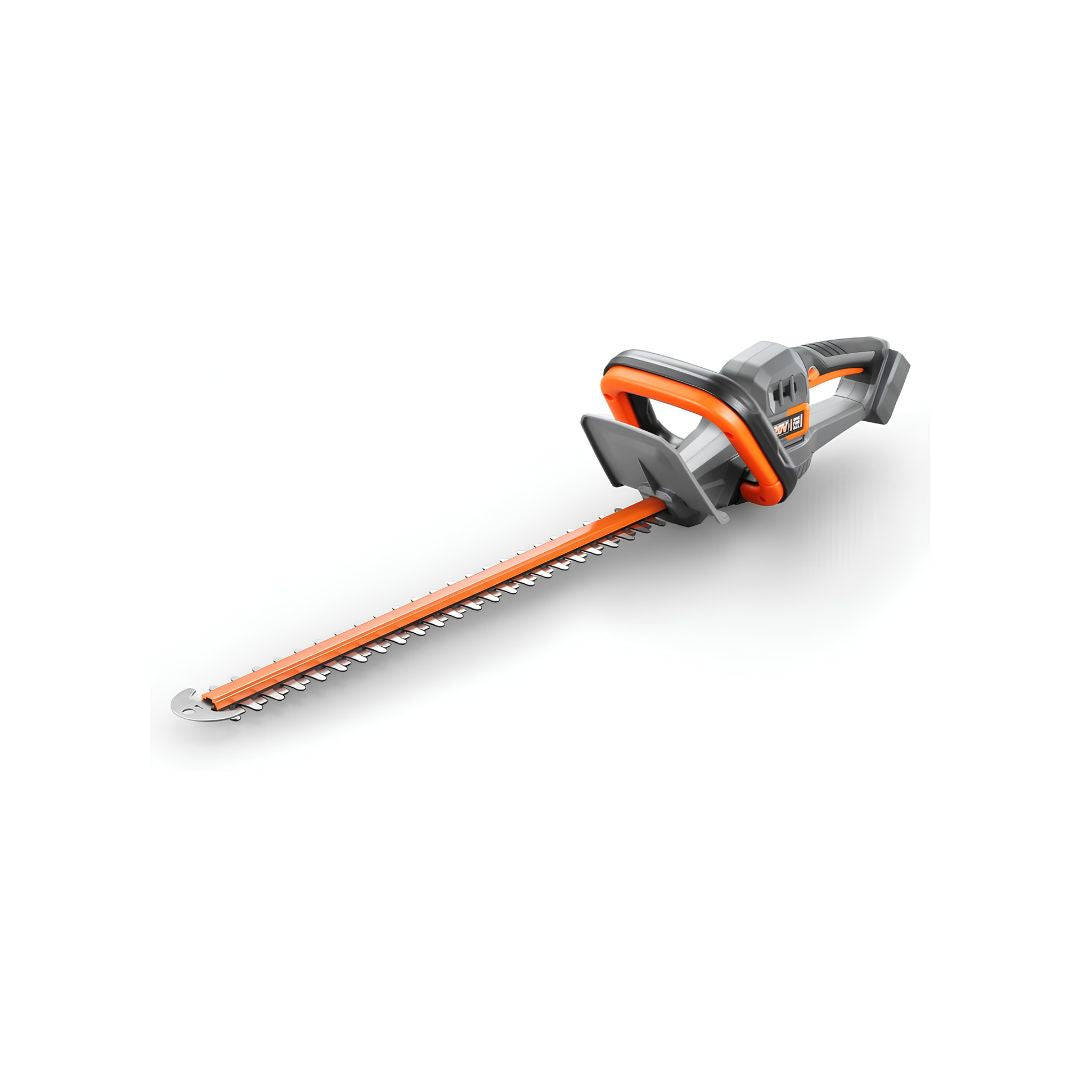
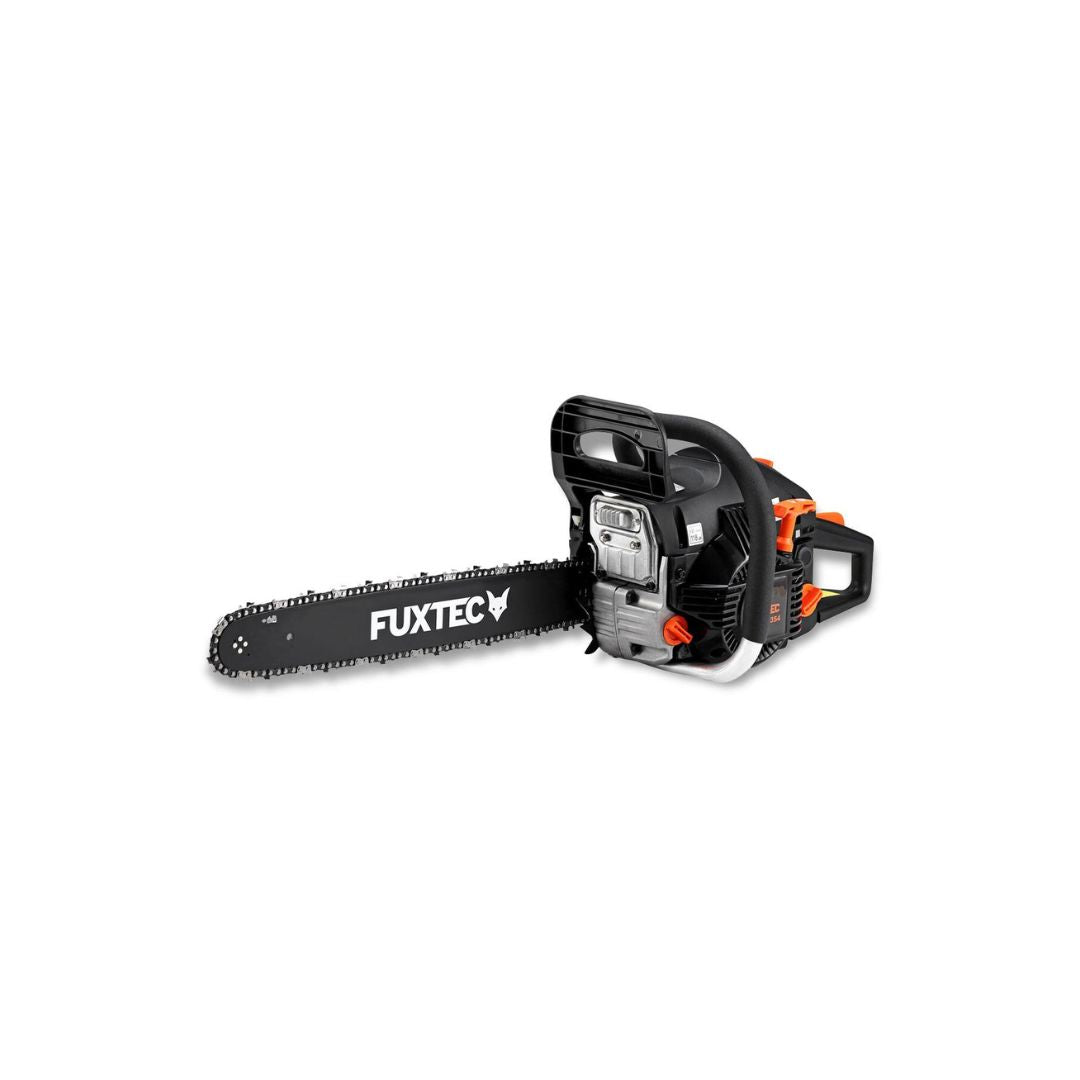
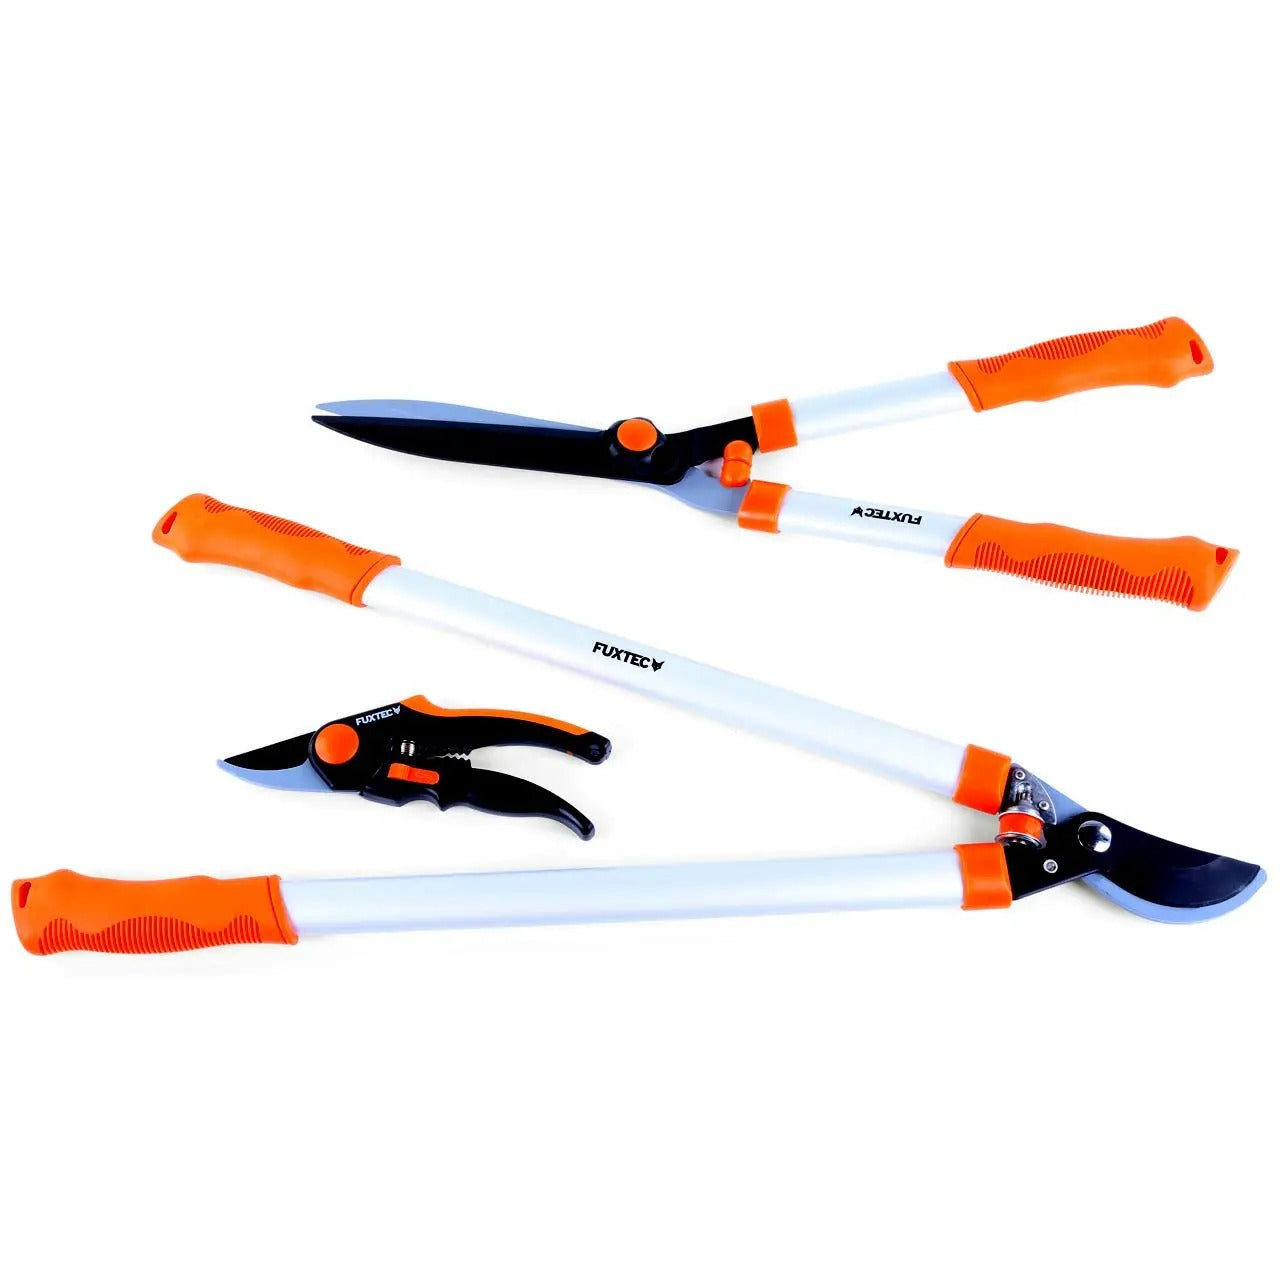
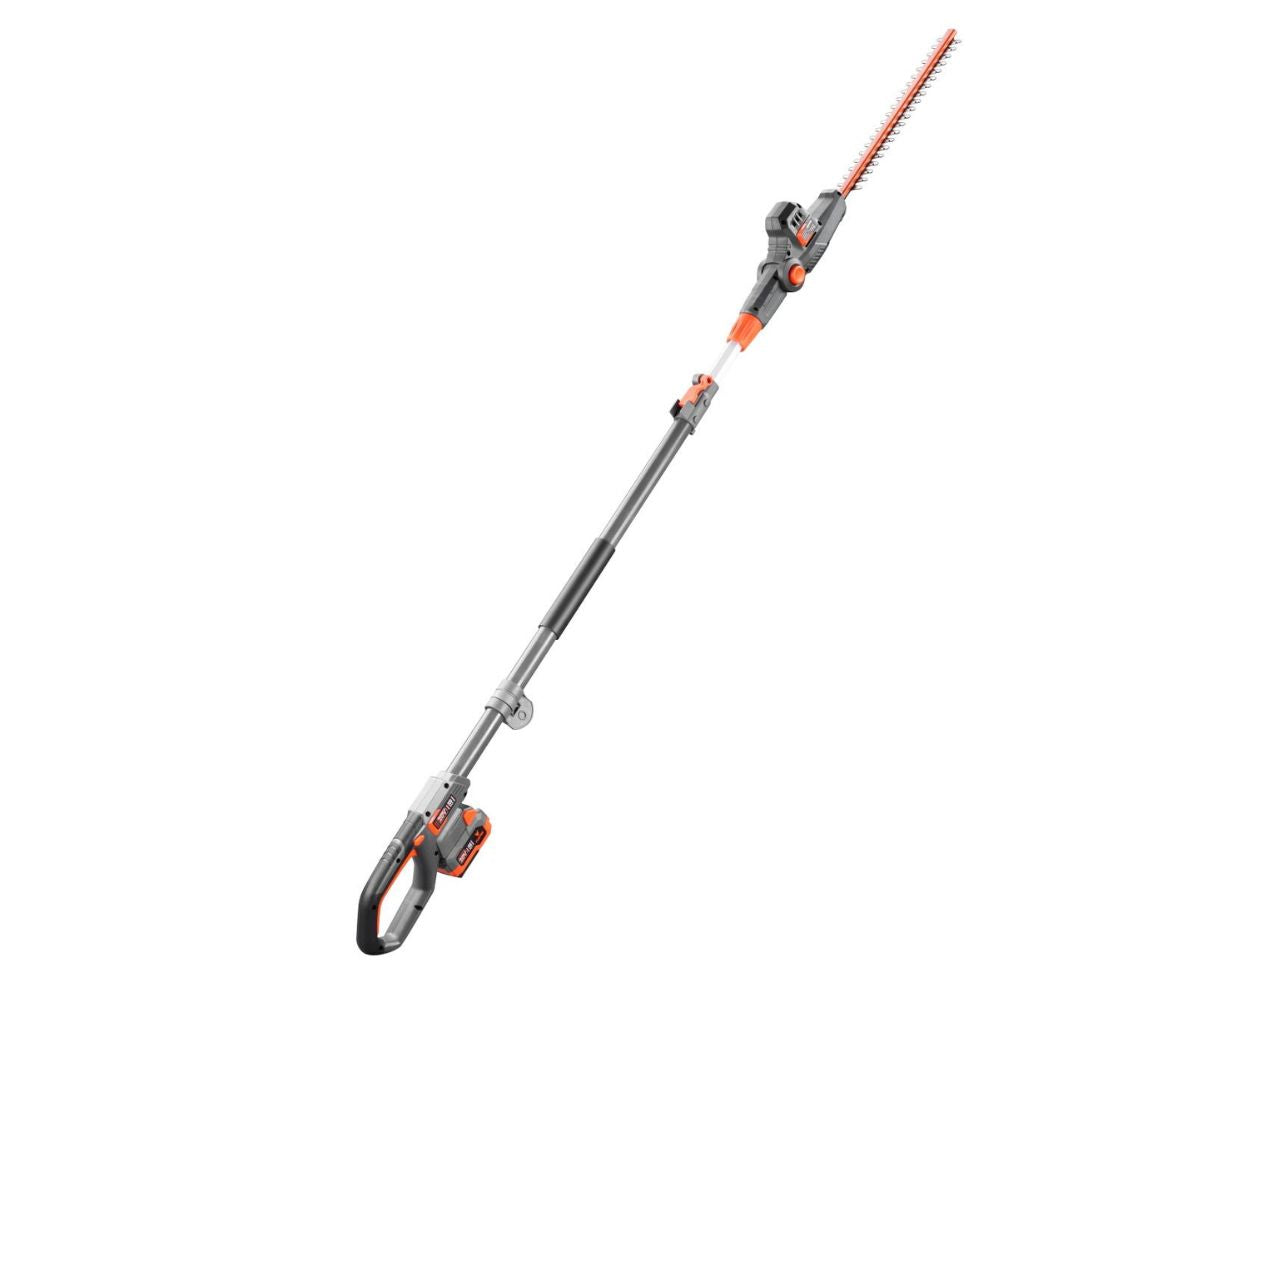
The best tools for caring for trees and hedges
More articles about tree and hedge care
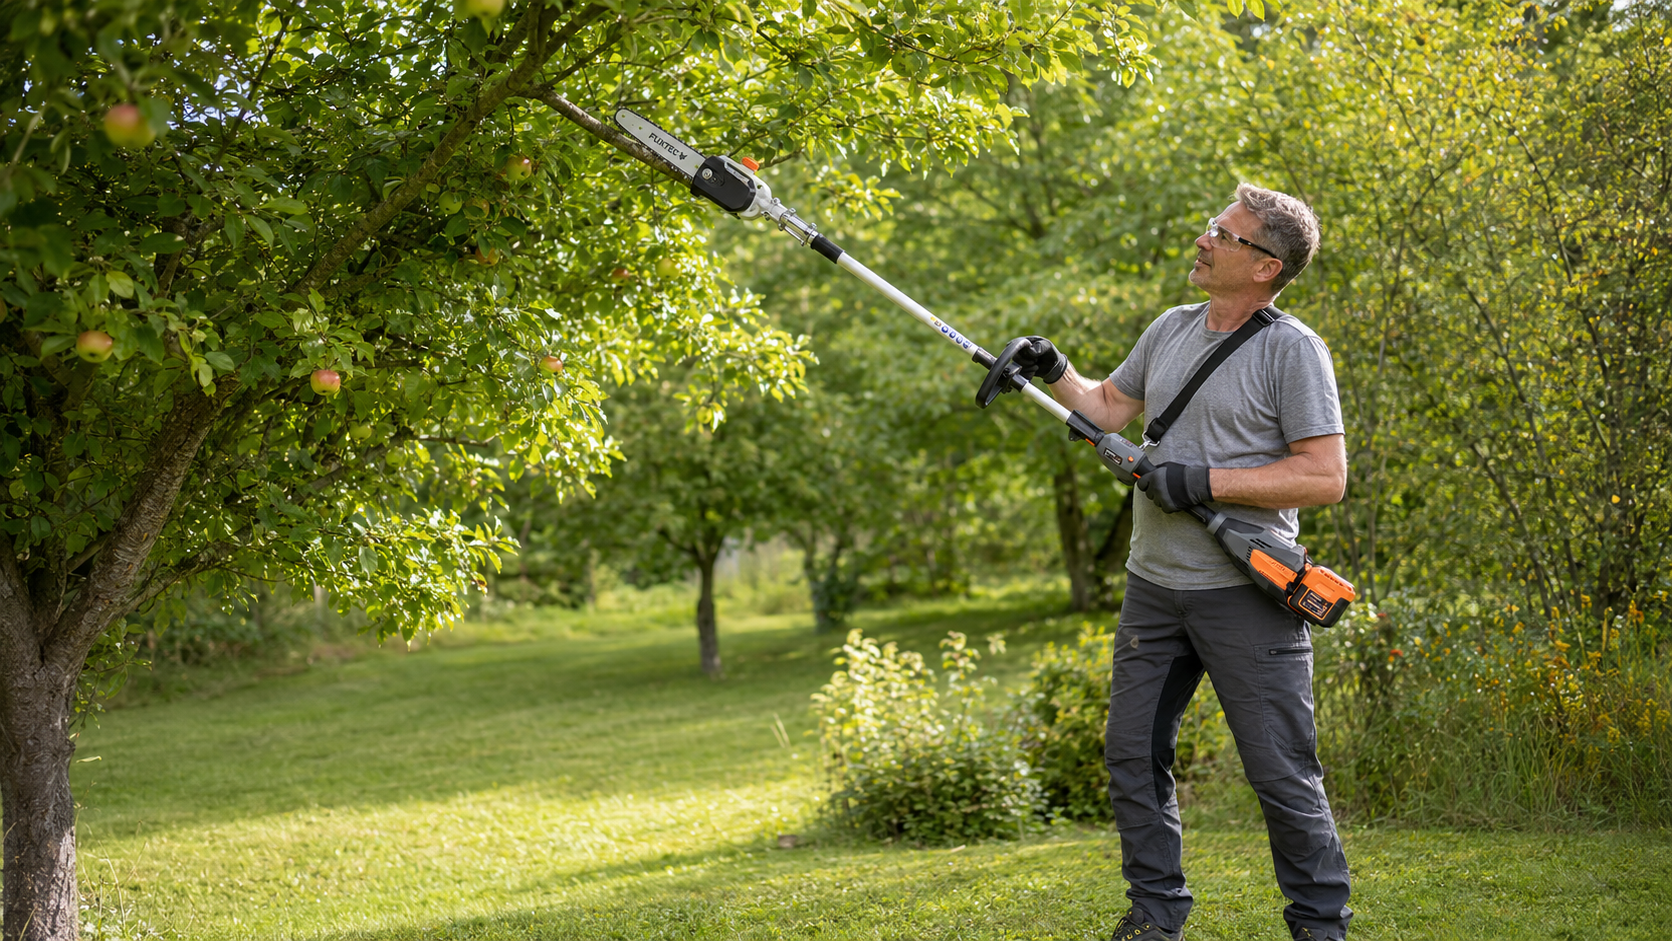
Summer Pruning Fruit Trees: The Complete UK Guide
Inhaltsverzeichnis Vorteile des Pflegeschnitts Schnittkalender für Obstgehölze So gehst Du Schritt für Schritt vor Äpfel und Birnenbäume Kirsche, Pflaume, Aprikose und Pfirsichbäume Jungbäume und ...
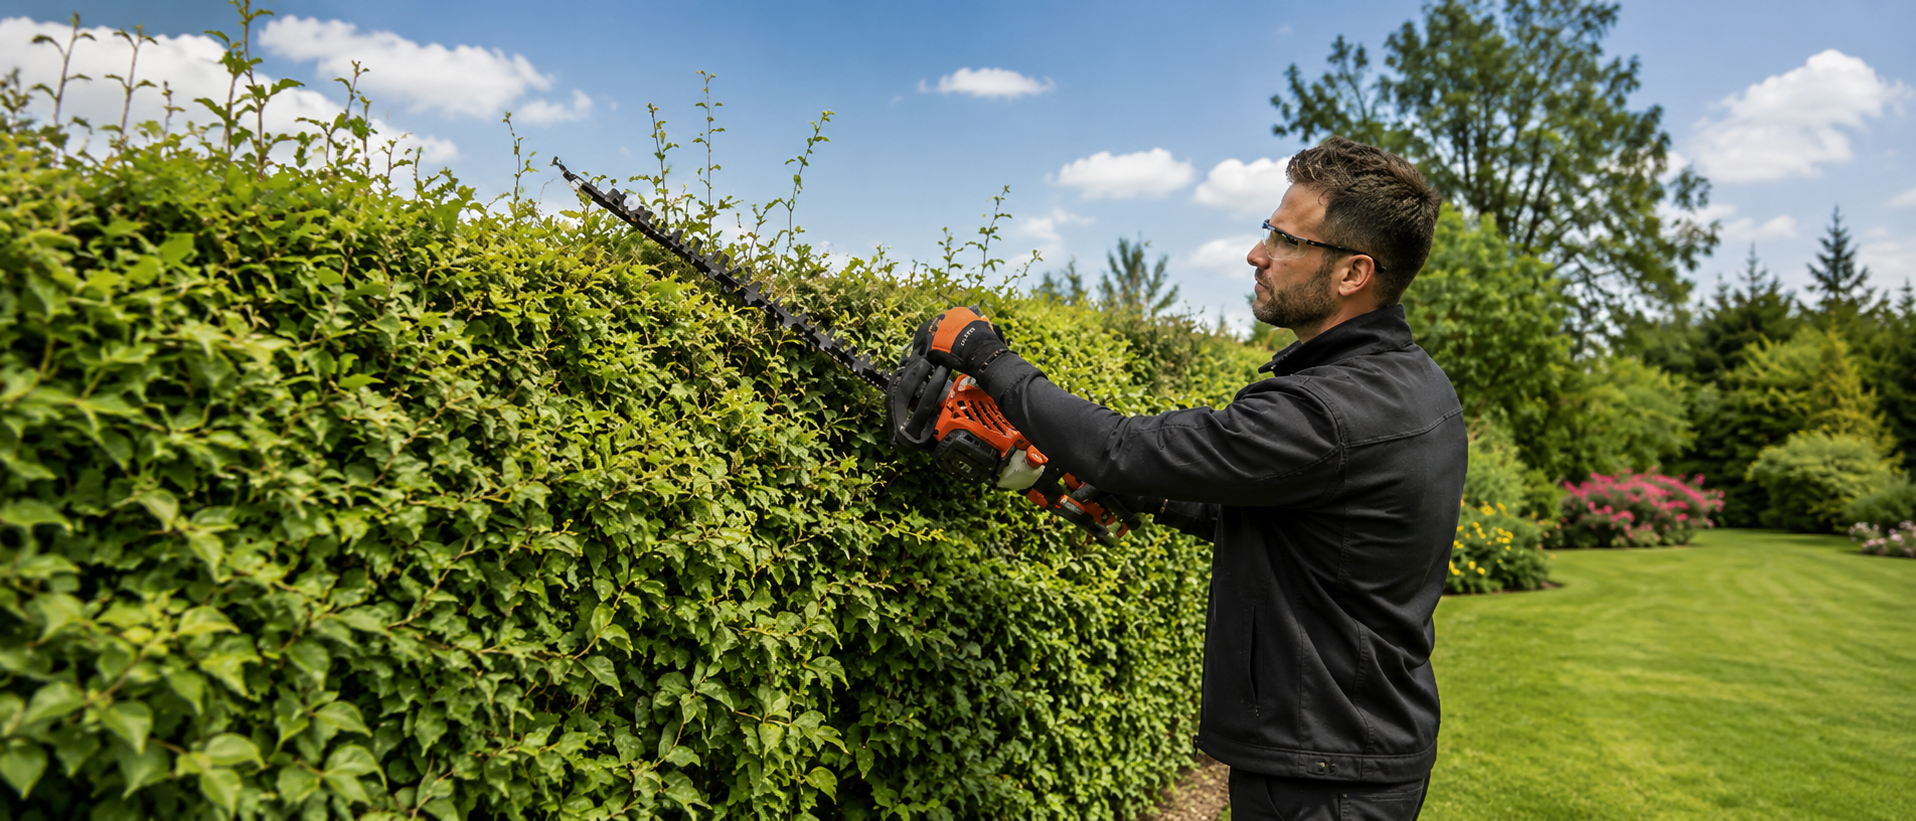
How to Cut an Overgrown or Tall Hedge | FUXTEC
An overgrown hedge can become too wide, patchy in places and riddled with thick branches. If it has also grown several metres tall, a quick trim with a standard hedge trimmer is no longer enough. ...
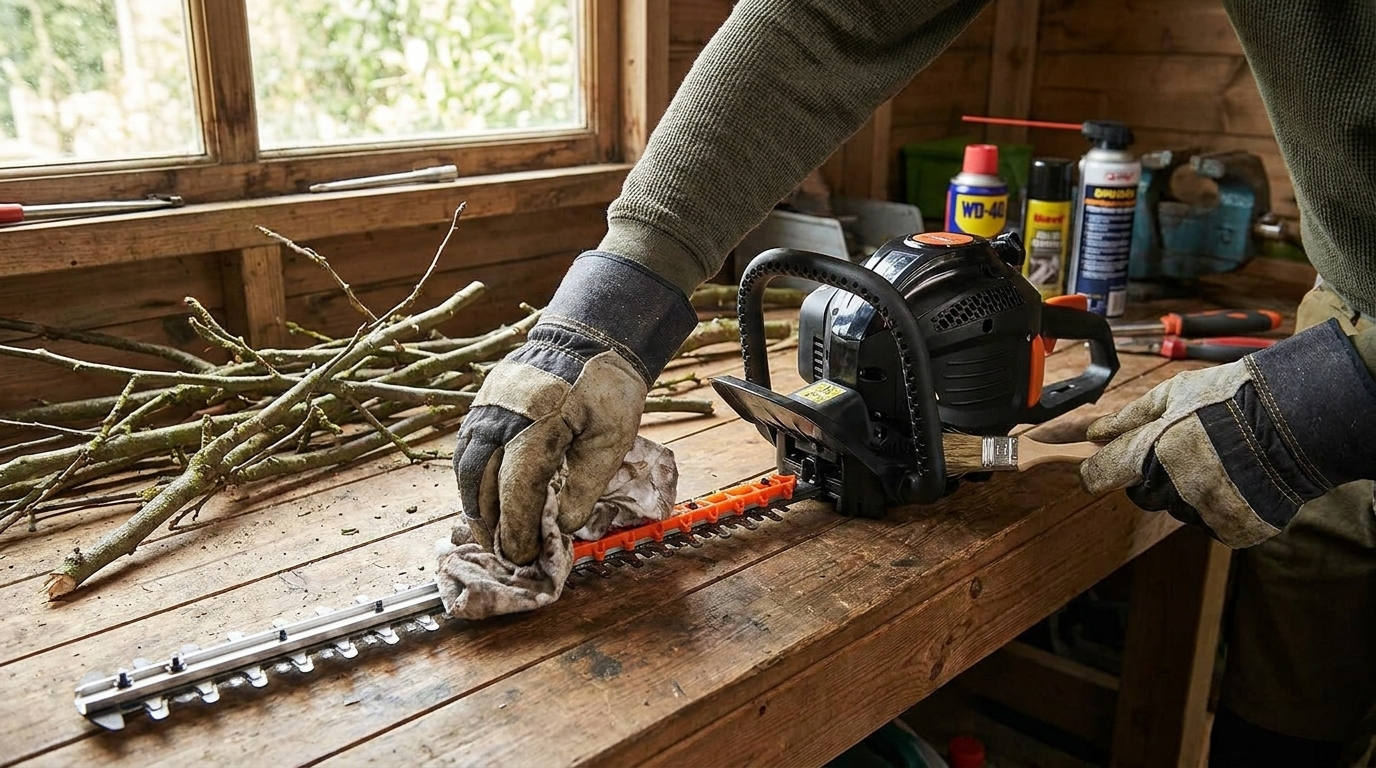
How to Clean & Maintain Your Hedge Trimmer
A well-maintained hedge trimmer is essential for a tidy garden. If you want to keep your hedges looking their best, you need a tool that works reliably – with clean, sharp blades. Yet many gardener...


