


Kinder im Sandkasten
How to Build a Sandpit: DIY Step-by-Step Guide
- Die richtige Planung: Größe, Standort und Materialien
- Welches Holz eignet sich für den Bau eines Sandkastens?
- Schritt-für-Schritt-Bauanleitung: Vom Zuschneiden bis zum Verschrauben
- Extras einplanen: Dach, Abdeckung und Sitzflächen
- Der richtige Sand für den Sandkasten
- Pflege, Sicherheit und Langlebigkeit des Sandkastens
- Fazit: Mit der passenden Bauanleitung zum eigenen Sandkasten
- FAQ
A sandpit in the garden is a real treat for children. Whether they're building castles, digging tunnels, or simply playing in the sand – little ones can stay entertained for hours.
And the best part: you can build a sandpit yourself and design it exactly how you want. Whether you're planning a small sand box or a large sandpit with a roof – with the right instructions, a few tools, and a bit of skill, you're guaranteed to pull it off!
Planning it right: size, location, and materials

Before you start building, there are a few key questions to consider:
- How big should the sandpit be?
- How many children are you building it for?
- And which spot in the garden is ideal?
As a general rule: the larger the area, the more room for digging, climbing, and building. A sandpit that is at least 150 x 150 cm provides enough space for two to three children.
If you want to build a really large sandpit, aim for 200 x 200 cm or more – that way the kids can build castles and dig tunnels without getting in each other's way.
The location is equally important. Choose a spot in the garden that is ideally in full or partial shade. Full shade protects children from too much sun, while partial shade still allows them to enjoy warmth and light.
Ideal is a spot that gets morning sun and afternoon shade. Also make sure the ground beneath the sandpit is stable and level, so the structure doesn't sink. On very soft ground, you may want to add a gravel drainage layer to prevent waterlogging.
Alongside location and size, the choice of material is also crucial. Untreated timber such as larch or Douglas fir has proven particularly effective. These wood types are robust, long-lasting, and contain natural resins that make the material weather-resistant.
Softwoods such as spruce or pine are cheaper, but require regular maintenance and should ideally be treated with a wood preservative – always ensuring it is free from harmful substances.
To keep the sand clean, we also recommend placing a specialist membrane fabric beneath the sandpit frame. This prevents weeds from growing through and stops the play sand from disappearing into the soil.
Which wood is best for building a sandpit?

If you want to build a wooden sandpit, you'll need to choose between several types of timber. Each has its pros and cons. Larch is particularly popular, as it is very weather-resistant and long-lasting. Douglas fir is also an excellent choice and looks great too.
Both options are slightly more expensive, but they last for many years and require less upkeep. Spruce is cheaper and easy to work with, but needs more care as it weathers more quickly.
Important: Use untreated timber where possible to prevent harmful substances from getting into the play sand.
Another point: The boards should be thick enough to ensure stability. Depending on the size of the sandpit, we recommend using timber posts of at least 4 x 4 cm and boards around 20 cm in height. To keep the sandpit sturdy, screw the side panels together at the corners.
Make sure there are no sharp edges sticking out – a quick pass with a cordless orbital sander will create smooth surfaces and prevent injuries during play.
A wood treatment is also important if you want your sandpit to last. However, avoid using harsh varnishes or stains – only use child-safe, non-toxic products. A light protective coating can stop the wood from weathering too quickly. Do make sure the treatment is reapplied regularly.
Step-by-step guide: from cutting to screwing together
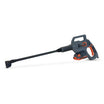
Before you can build your sandpit, gather all your materials and tools. As well as the timber boards, you'll need corner posts, screws, a robust membrane fabric, sandpaper, a saw, and a cordless drill driver.
With the right tools – such as a cordless drill driver from FUXTEC – the build will go not only faster, but more precisely as well.
Instructions for your DIY sandpit:
- Step 1: Dig out the base to a depth of around 10 cm and make sure the surface is level. A gravel drainage layer can be useful to help rainwater drain away quickly and keep the sand dry.
- Step 2: Lay the membrane fabric over the entire area. This prevents weeds from growing through and stops the play sand from sinking into the ground.
- Step 3: Cut the boards to size using a cordless saw. Bear in mind the intended size of your sandpit – smaller models suit compact gardens, while larger dimensions create more room for play and fun.
- Step 4: Screw the cut boards together to form a sturdy sandpit frame. Use robust screws and fix the side panels together at the corners.
- Step 5: Attach the corner posts to add extra stability. This is especially important if you're building a large sandpit.
- Step 6: Sand all edges thoroughly so there are no splinters or sharp corners left. A cordless orbital sander is the best tool for this.
- Step 7: Fix seating boards along the top edges of the sandpit. These seats not only make the sandpit more comfortable, but also stop children from sitting directly on the ground.
Once all the steps are complete, you can fill the sandpit with play sand. Make sure to use high-quality, clean play sand. This is washed and free from harmful substances, making it perfectly safe for children.
Optional extras: roof, cover, and seating

A sandpit becomes especially practical when you include a few extras. A cover protects the play sand from leaves, animals, and rain.
You can build a sandpit cover yourself by fitting simple wooden slats with hinges. This lets you open and close the lid like a flap.
Even more convenient are covers made from weather-resistant fabric or plastic, which can simply be placed on top and removed again easily.
A roof for the sandpit is also a worthwhile addition. It provides shade on hot days and ensures the children can play out of direct sunlight. Depending on how you build it, you can use a fixed wooden roof or a stretch canopy.
It's important that the roof is securely fixed and can withstand the weather. A roof also provides extra protection if it suddenly starts to rain, keeping the sand dry.
Don't forget the seating either. Seating boards or wide wooden slats on the side walls are not just for sitting – they also make playing easier.
Children can rest their buckets and moulds there, while adults can sit comfortably and watch. Make sure the seating surface is smooth and splinter-free. A cordless orbital sander lets you finish the boards in no time.
Remember: A roof and a cover are not just handy extras – they play a key role in keeping the sandpit long-lasting, clean, and safe.
The right sand for the sandpit
Not all sand is suitable for a sandpit – it's worth looking carefully. Regular soil or building sand are a no-go, as they are often coarse, dusty, or even contaminated with harmful substances.
Instead, you should buy specialist play sand. This is washed, free from harmful substances, and has a fine grain that is ideal for building castles, pressing shapes, or simply digging.
When working out how much you need, use the size of your sandpit as a guide. As a rule of thumb, the sand should be filled to a depth of at least 20 to 30 cm. For a sandpit measuring 150 x 150 cm, you'll need around 300 to 400 kg of play sand.
Larger sandpits naturally require more material, but the benefit is that children will enjoy it for far longer.
It's important to replace or at least refresh the sand regularly to keep it clean and safe for children to play in.
A further tip: Always lay a membrane fabric beneath the sandpit before filling it with sand. This ensures the play sand doesn't sink down into the soil and keeps weeds at bay. A gravel drainage layer can also help keep the sand dry even after a heavy downpour. This way the sandpit stays hygienic and usable for years.
Maintenance, safety, and longevity of your sandpit
A self-built sandpit will only bring long-lasting joy if you maintain it regularly. This includes loosening the play sand from time to time, checking it over, and replacing it when needed.
The cover also plays an important role, as it protects the sand from leaves, rainwater, and animals. If you want to build the cover yourself, you can use simple wooden boards or a robust tarpaulin – the main thing is that it covers the sandpit completely.
The wood itself also needs care. Treat it regularly with a child-safe wood preservative to protect it from the elements. Also check at regular intervals whether any screws have come loose or boards need sanding down.
Particularly important: Always attend to any sharp edges straight away using sandpaper or an orbital sander, so children don't injure themselves.
For extra safety, it's worth positioning the sandpit in a shaded or partially shaded spot in the garden. This helps prevent the sandpit from becoming too damp underfoot, and gives children better protection while playing.
Also make sure the sand is checked regularly to keep it clean. Only then is long-term play and fun guaranteed.
Summary: building your own sandpit with the right guide

Building a sandpit yourself isn't as difficult as it might seem – especially when you have a good guide and the right tools.
With a bit of skill, you can create a sturdy, safe, and long-lasting wooden sandpit in your own garden that will bring your children years of enjoyment.
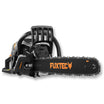
With our tips, you're well prepared to get started straight away. Grab your tools – whether that's a cordless drill driver, a cordless saw, or a cordless chainsaw – and build your very own DIY sandpit step by step.
Fancy even more DIY projects? Find out how to build a BBQ shelter or put up a garden shed.
Discover our range of garden tools
What size should my sandpit be for multiple children?
A sandpit measuring at least 150 x 150 cm provides enough space for two to three children. If you want a larger structure, aim for 200 x 200 cm or more so children can build castles and dig tunnels without getting in each other's way.
Which wood type is best for building a sandpit?
Untreated timber such as larch or Douglas fir are excellent choices as they are weather-resistant and long-lasting. If budget is a concern, spruce is cheaper but requires more maintenance and should be treated with a child-safe wood preservative.
Where should I place my sandpit in the garden?
Choose a spot that ideally gets morning sun and afternoon shade to protect children from too much sun. Ensure the ground is stable and level, and consider adding a gravel drainage layer on very soft ground to prevent waterlogging.
How much play sand do I need for my sandpit?
The sand should be filled to a depth of at least 20 to 30 cm. For a 150 x 150 cm sandpit, you'll need around 300 to 400 kg of specialist play sand, which is washed and free from harmful substances.
Do I need to use a membrane fabric under the sandpit?
Yes, laying a specialist membrane fabric beneath the sandpit is highly recommended. It prevents weeds from growing through and stops the play sand from sinking into the soil, keeping the sandpit cleaner for longer.
What tools do I need to build a sandpit?
You'll need a cordless drill driver, a cordless saw, a cordless orbital sander, sandpaper, and measuring tools. These tools make the build faster and more precise when cutting boards, screwing panels together, and smoothing edges.
Should I add a cover or roof to my sandpit?
A cover protects the sand from leaves, animals, and rain, while a roof provides shade on hot days and keeps children out of direct sunlight. Both are worthwhile additions that help keep the sandpit clean, dry, and safe for years to come.
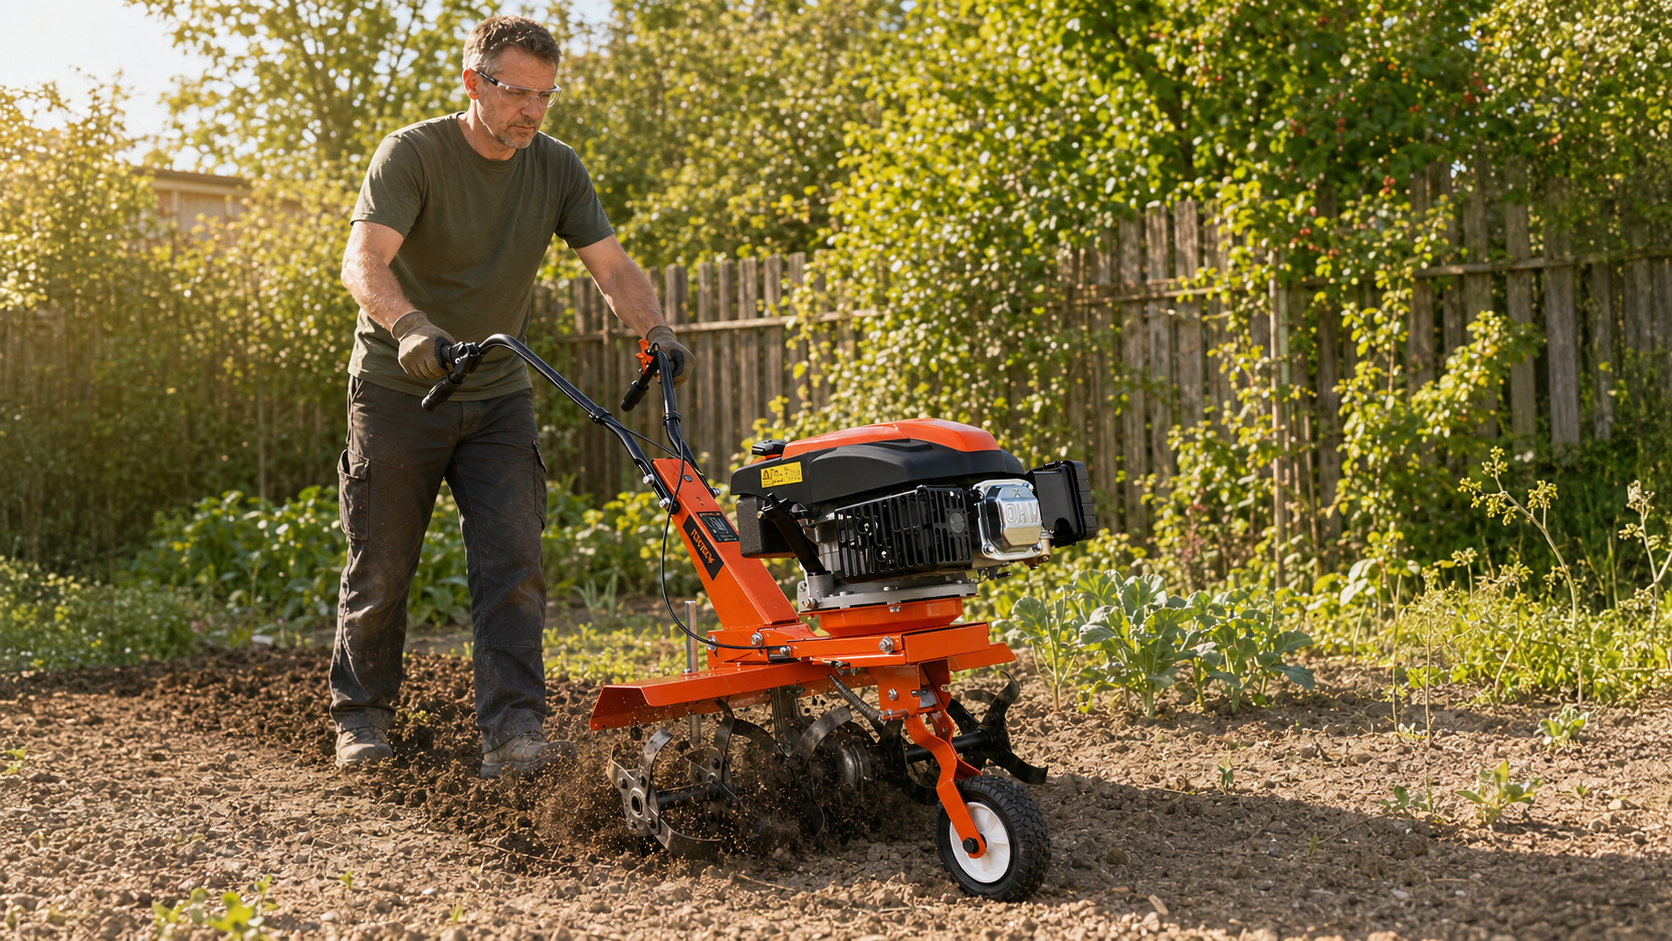
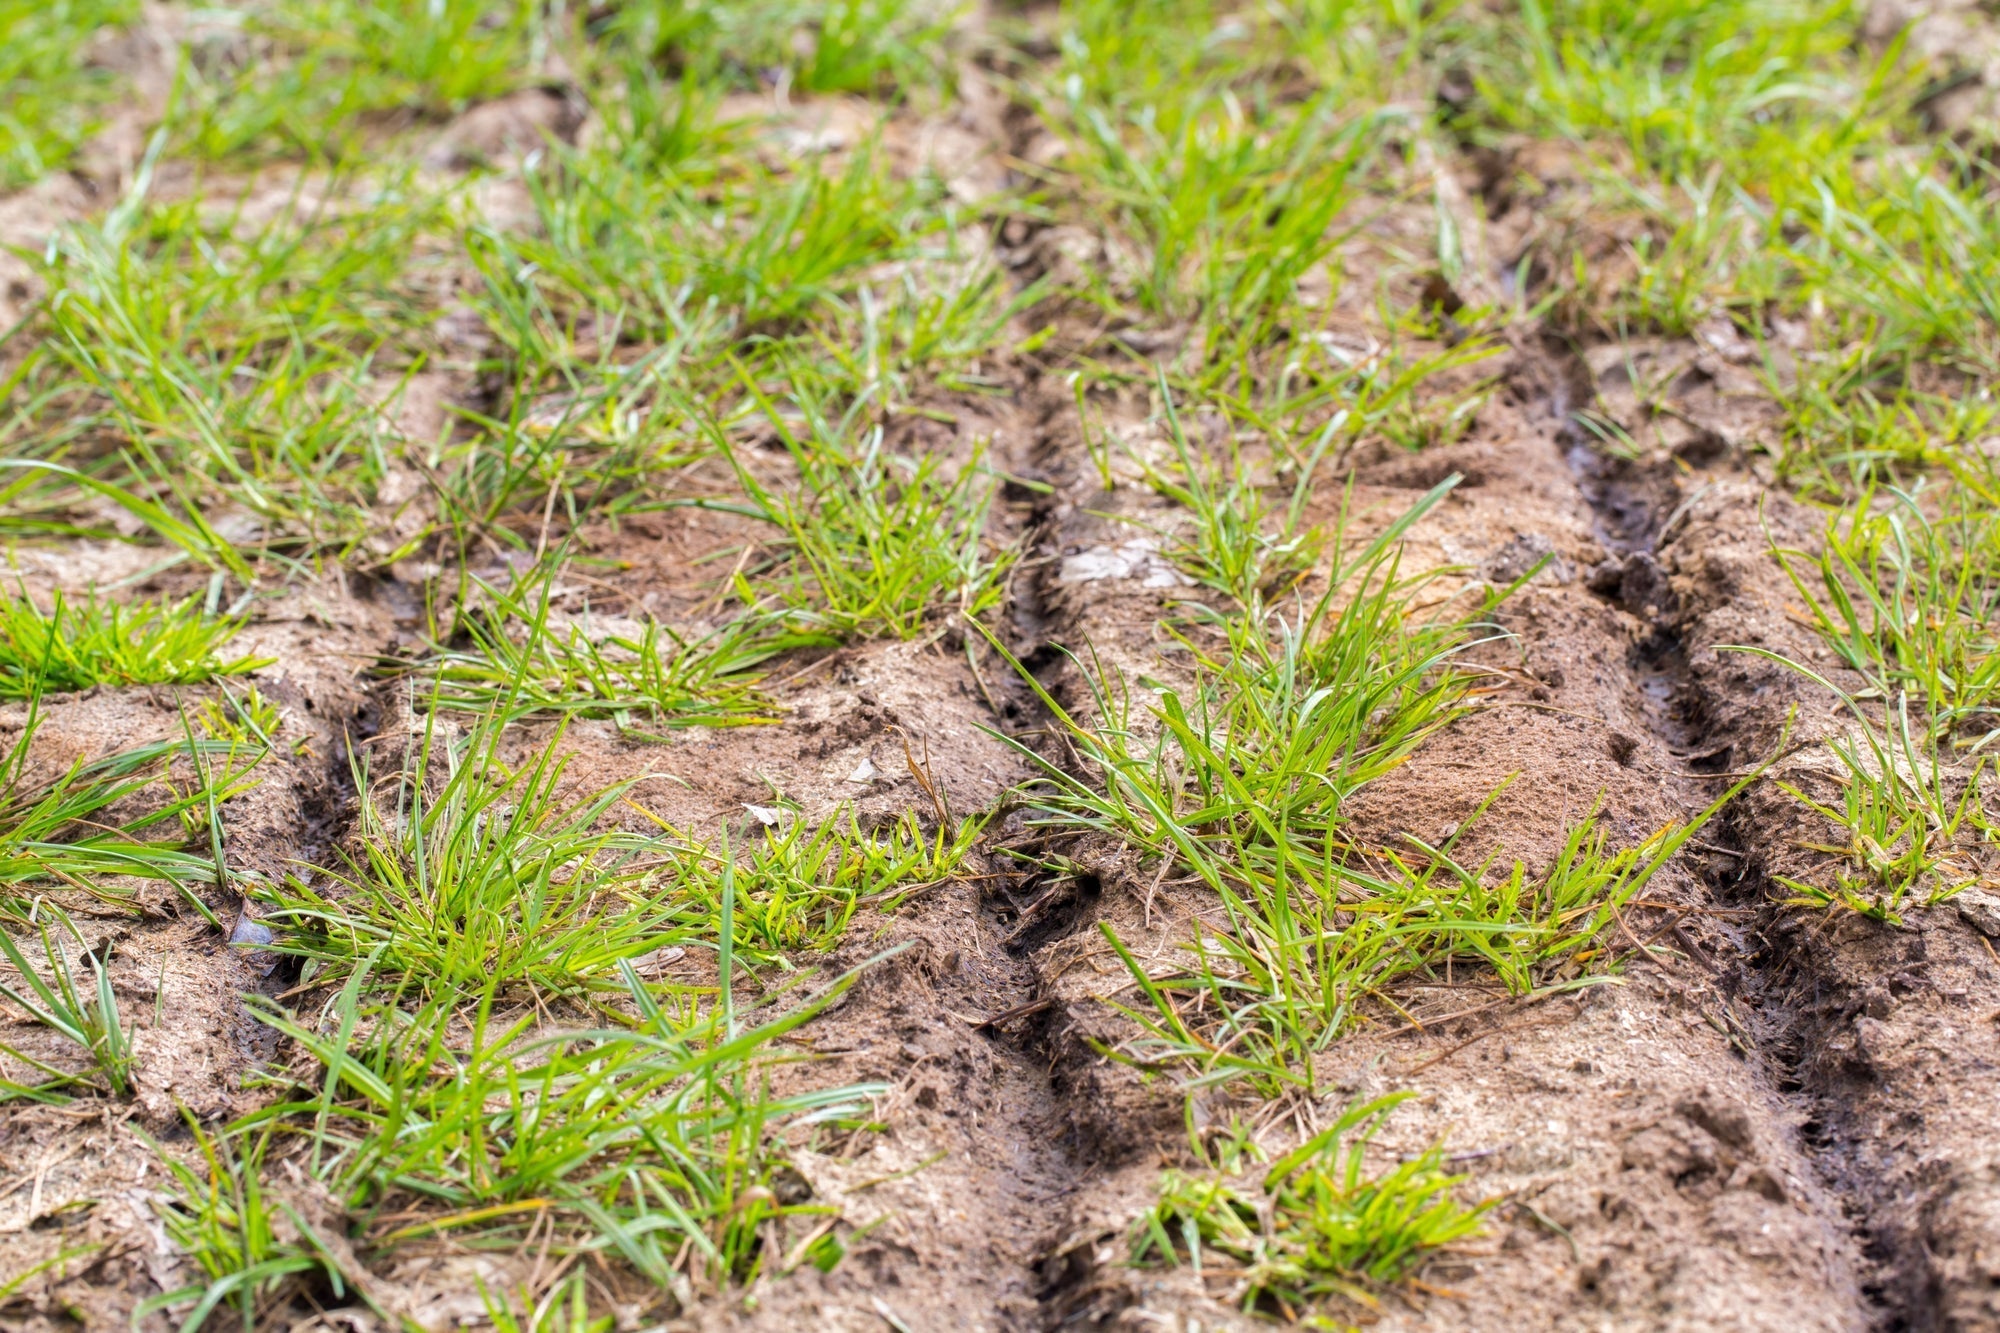
More articles about garden care
Trockenheit im Garten: Boden lockern, richtig gießen und mit Mulch Wasser sparen
Du gießt das Beet, doch das Wasser bleibt auf der harten Erdoberfläche stehen oder läuft zur Seite ab. Schon nach kurzer Zeit wirkt der Boden wieder trocken, obwohl Du gerade erst zur Gießkanne g...
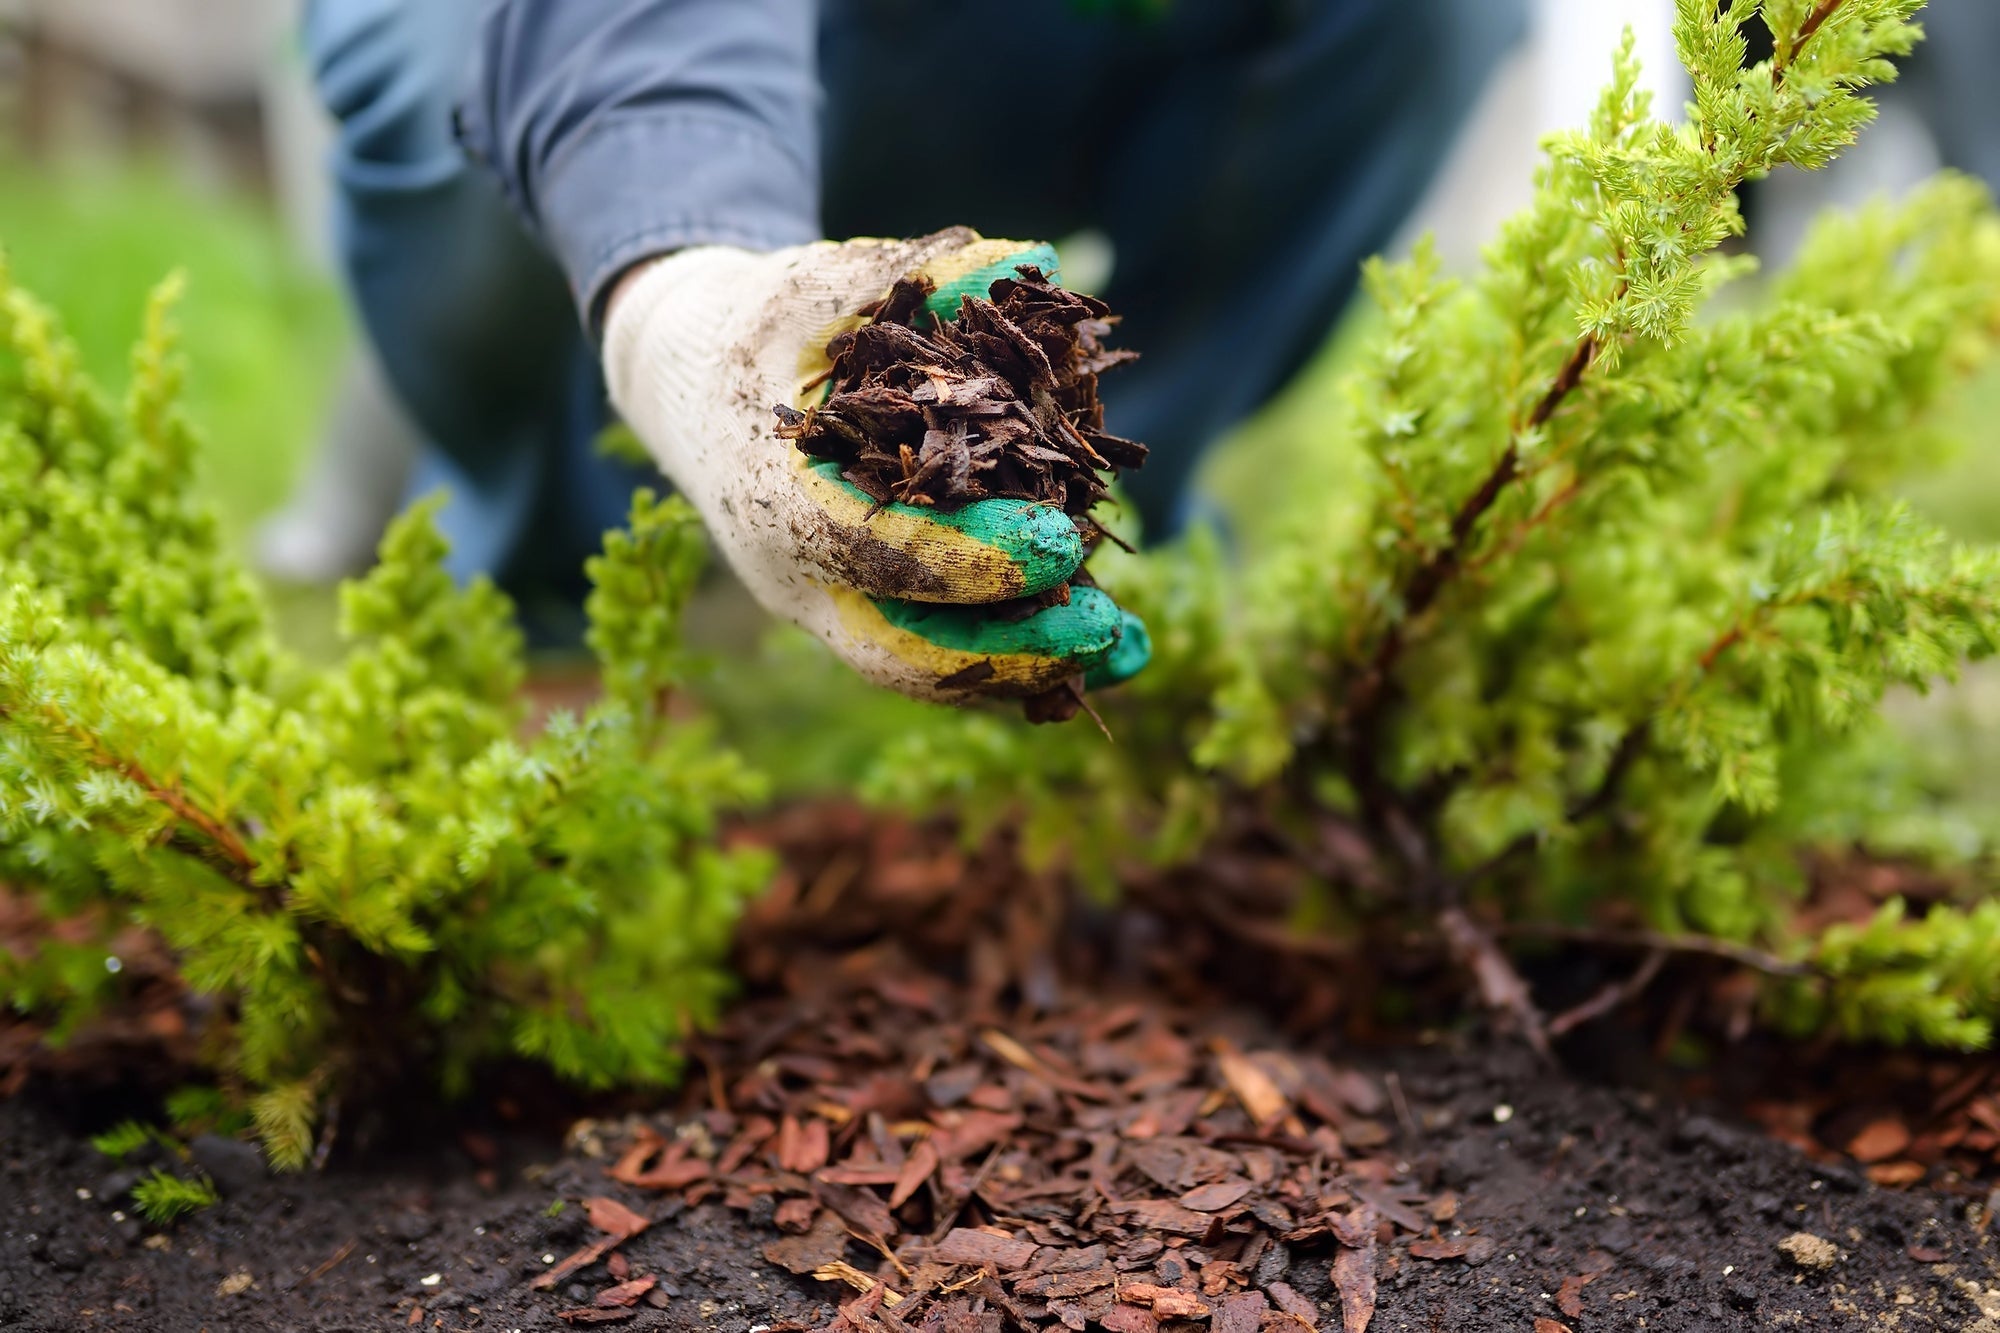
Pine Bark Mulch: The Complete Gardening Guide
Mulching with pine bark is one of the most effective methods in modern gardening and sustainable horticulture. A layer of mulch material is applied to the soil surface to protect and improve the so...
Spring Soil Improvement: Prepare Your Garden Soil
Inhaltsverzeichnis Warum Bodenverbesserung im Garten im Frühjahr so wichtig für einen gesunden Gartenboden ist Gartenboden nach dem Winter prüfen: Bodenstruktur, Verdichtung und Bodenart erke...


