Privet grows fast. That's great when you want five slim young plants to turn into a proper screen as soon as possible. A few years later, though, that same enthusiasm is exactly why the green wall suddenly stands 30 centimetres over the intended line and wants a say in your driveway.
Regular trimming keeps privet not just tidy. It ensures that new shoots branch out well, light reaches the lower part of the hedge, and the hedge stays dense in the long run. For most privet hedges, twice a year is a good rhythm; for young or particularly fast-growing plants, an extra light tidy-up can be worthwhile.
In this FUXTEC gardening guide, you'll learn when it's time to cut privet, how to get the second maintenance trim right in August, how young plants become dense from the bottom up, and what can still be saved on a neglected privet hedge. We're deliberately leaving out location, planting, feeding, diseases and general care here. That's exactly what our comprehensive privet guide is for.

When to cut privet? The right timing for trimming privet
There isn't one magic date. The right time to cut privet depends on what you're trying to achieve. You can carry out a normal shaping and maintenance trim during the growing season, as long as you keep an eye on wildlife and the relevant wildlife legislation. A hard cutback, on the other hand, should be pushed into the winter half of the year.
| Cut |
Sensible time frame |
Goal |
| Main or corrective cut |
October to the end of February, with larger interventions preferably in late winter |
Significantly correct height and width, rejuvenate an old hedge |
| First light maintenance trim |
after the main flowering period, i.e. the strong early summer growth spurt |
Cut back fresh growth and bring the hedge back into shape |
| Second cut |
August, or later if regrowth is particularly strong |
Correct protruding annual growth |
For privet grown as a hedge, two maintenance trims per season are nothing unusual. The Royal Horticultural Society notes that fast-growing shrubs like privet can need cutting as often as every few weeks during the growing season, or, for a more relaxed formal hedge, around twice a year depending on the look you want. The Woodland Trust and other UK conservation bodies likewise recommend an additional light trim in August or September if growth is particularly vigorous. A rigid calendar, though, is still a poor gardener: look first, then cut.
Cutting back in early spring: firm, but in good time
If you want to significantly reduce height or width, a cutback in early spring before new growth starts is practical. The legally important cut-off is 1 March. Under the Wildlife and Countryside Act 1981, it's an offence to intentionally damage or destroy the nest of any wild bird while it is in use or being built, and hedge-cutting between roughly 1 March and 31 August is strongly discouraged for exactly this reason, as this is the main bird-nesting season in the UK. Gentle shaping and maintenance cuts to remove new growth or keep the hedge healthy generally remain fine outside of active nesting.
For a radical cutback, this means: don't wait until mid-March, but get a hard prune done by the end of February at the latest as standard practice. Before any cutting work, though, always check whether wildlife is using the hedge. Protecting nesting birds doesn't simply switch off on a fixed calendar date.
Cutting privet in August: when the second maintenance trim makes sense
A trim at the end of August isn't compulsory. If the outline still looks neat since the first cut, the trimmer can stay in the shed. But if the privet has put out long, straggly shoots, you can gently correct this year's growth. That's exactly what the second cut is for.
Only remove fresh material that's sticking out beyond the desired outline. Deep cuts back into old wood don't belong in August. Also, avoid cutting in the middle of a heatwave: an overcast, dry day is more pleasant for you and reduces stress on freshly cut foliage. Check the hedge thoroughly for active nests and other wildlife immediately beforehand.
How to cut a privet hedge properly: step by step
Getting a long green wall straight by eye sounds easier than it looks after three metres. If you want to cut a privet hedge and actually end up with a straight line, ten minutes of preparation usually gets you further than ten minutes of fixing mistakes afterwards.
1. Look first, then start cutting
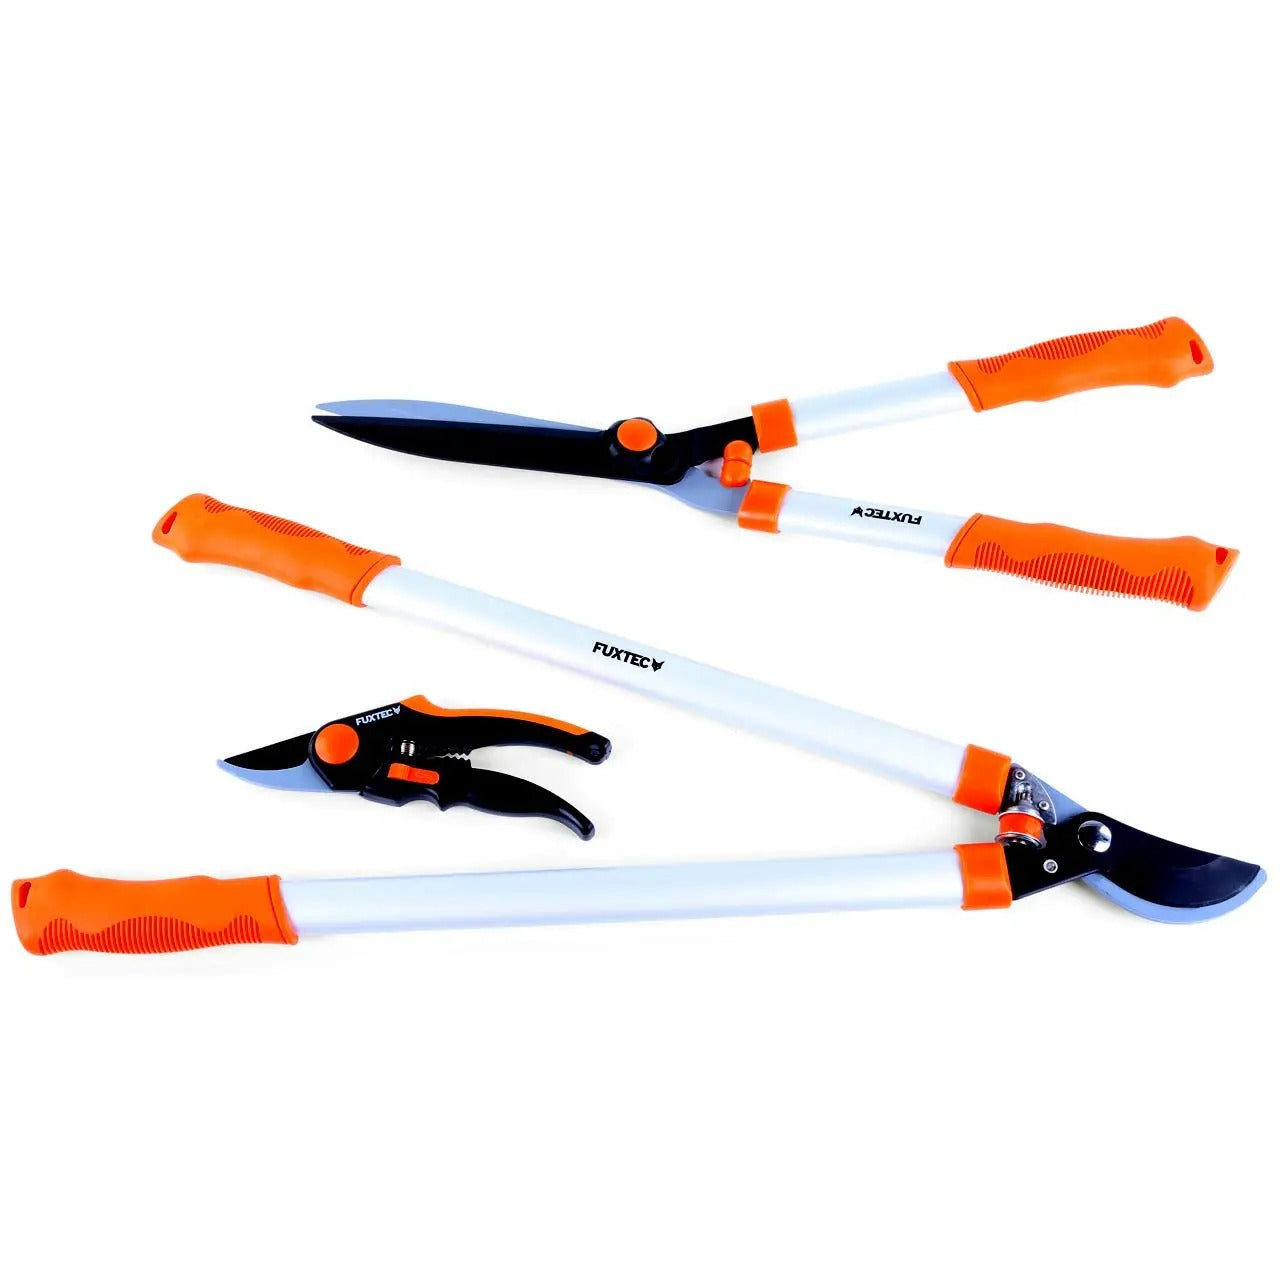
Walk the whole length of the hedge once. Look for nests, any obvious wildlife, dead branches, and stems noticeably thicker than the rest of the year's growth. Deal with such branches and stems specifically using suitable loppers or pruning shears, rather than forcing the hedge trimmer blade through them.
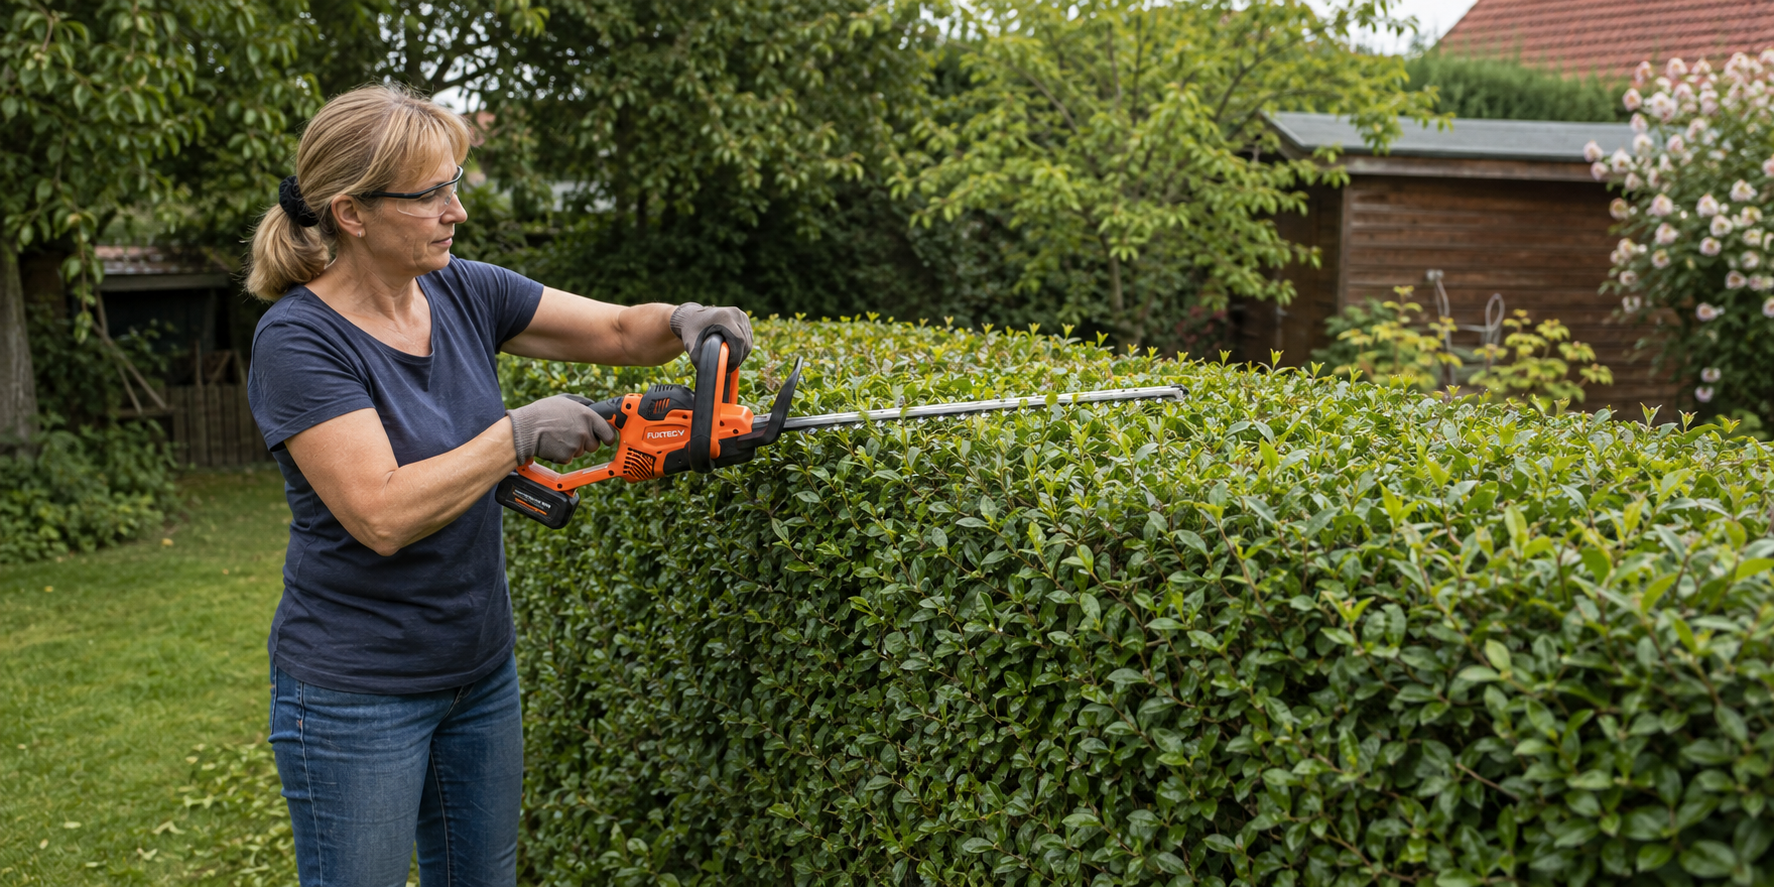
Gloves, sturdy shoes and safety glasses are essential when cutting. Also follow the safety and operating instructions for your tool. Cutting work is no reason to get creative with ladders or one-handed machine use.
2. Set a string line and decide on your target size
Attach a clearly visible string to posts or stakes at the height you want. On long stretches, a second guideline along the side helps. Don't run the string exactly where the blade will travel, but with a little clearance. Otherwise, the line will be very precise after the first contact – just in two pieces.
3. Sides first, then the top
Start on the flanks and guide the blade in steady, overlapping movements. Work from bottom to top, without jabbing holes into the surface with the tip. Only once both sides look right should you move on to the top edge, following your guideline.
4. Cut narrower at the top than at the bottom
Shaping the hedge properly doesn't mean building a perfect green box. A slight trapezoid shape works better: wider at the bottom, narrower towards the top. This lets light reach the leaves and young shoots at the base too. If the top becomes wider than the bottom over the years, the base can go bare.
Especially when trimming an older hedge, the angled flank can look unusual at first. From two metres away, it usually just looks neat. The plant will thank you for that small angle far more in the long run than for spirit-level perfection.
5. Check the finished shape and clear the cuttings
Step back a few paces. Individual stray tips stand out immediately from this distance. Correct them where needed, gather up the larger amounts of cuttings from and underneath the hedge, and check that the surface has stayed evenly green after the cut.
How hard can you cut privet back?
Privet is known for tolerating pruning extremely well. That's handy, but it's not a free pass to hack it back to the bare stems every single time. With a normal shaping cut, you're mainly cutting back the young growth. That keeps the surface dense and even.
If the hedge needs to become noticeably lower or narrower, you can cut it back much harder during the permitted winter window. Ligustrum vulgare generally regrows well even from older wood. Afterwards, though, give a heavily cut-back plant some time. Ten years of growth won't suddenly look catalogue-perfect again two weeks after the treatment. And that's a good thing.
Cutting privet back hard, or even down to a stump?
A radical cutback can rescue a neglected privet hedge if the alternative is a permanently far-too-wide, sparse hedge. In cases of extreme rejuvenation, the shrub can even be cut right back into old wood. "A hand's width above the ground" or cutting right down to a stump are the maximum option, though – not the standard fix for a slightly untidy boundary hedge.
For very large hedges, a staged rejuvenation cut is often the calmer approach: reduce and let one side regenerate first, then tackle the other side later. Major work like this should be carried out within the legally appropriate time frame and, if in doubt, discussed with a qualified gardener or arborist.
Training young privet properly: how a dense hedge develops
With a young hedging plant, it's tempting to let every centimetre grow on, since you want the screening to gain height quickly. The trouble is that a young shrub will happily do exactly that: shoot straight upwards. For a dense, healthy hedge, you need side shoots reaching right down to the base.
So trim young privet regularly to encourage the shoots to branch out. Regular cutting slows height gain in the short term but improves density. Common privet, botanically Ligustrum vulgare, can put on roughly 50 centimetres a year. Ligustrum ovalifolium also grows vigorously. Anyone who only focuses on final height in the first few years often pays for the trims they skipped with a bare, leggy base later on.
At least twice a year isn't a rigid rule for every young plant, though. Very fast-growing hedges being trained into a formal shape can benefit from extra light trims. What matters is that, outside the winter window, you only tidy the fresh growth and put the health of the hedge and any wildlife living in it ahead of a perfect outline.
Cutting a neglected privet hedge: fixing width and bare patches
Wanting to cut a neglected privet hedge back into shape is a different project from removing five centimetres of annual growth. If it's bare at the bottom, bulky at the top, half a metre too wide, or hasn't been cut back for years, you should first decide which problem you actually want to solve.
If it's just the outline that's been lost, a firm corrective cut in winter is often enough. If the base has gone bare, the plant needs fresh branching lower down, for which a harder rejuvenation cut can make sense. For very wide hedges, a staged approach is a good idea, so the whole green surface doesn't disappear all at once.
After a hard cut, let the plant regrow, then rebuild the desired shape with regular trims afterwards. Don't try to force the privet hedge straight back into a perfect box before there's even enough fresh young growth to work with. Growth first, then fine-tuning.
Trimming privet in pots or as topiary
Not every privet stands as a boundary hedge. A single shrub is allowed to grow a little looser and doesn't need bringing back into line twice a year. Chinese privet in a pot, or privet grown as topiary, is also treated more selectively than a ten-metre-long formal hedge. Here, individual stray shoots matter more than one continuous cut edge. The same goes for other shrubs left to grow more freely rather than in a strict formal shape.
For topiary shapes and figures, the same principle applies on a smaller scale: frequent light corrections keep the outline better than rare, heavy-handed cuts. If the plant has been trained into a formal shape, work to its existing silhouette and remove fresh overgrowth. The fact that some privet species are described as evergreen doesn't really change the cutting principle; common privet, native to the UK, is more semi-evergreen and can lose some leaves depending on the weather, especially in a hard winter.
Botanically, the genus belongs to the olive family. For the hedge trimmer, that family relationship makes little difference. What matters more to you is whether you're dealing with a single topiary shape, Ligustrum ovalifolium, or a long formal hedge – the shape you want determines the technique.
Which FUXTEC tools suit trimming privet?
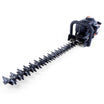
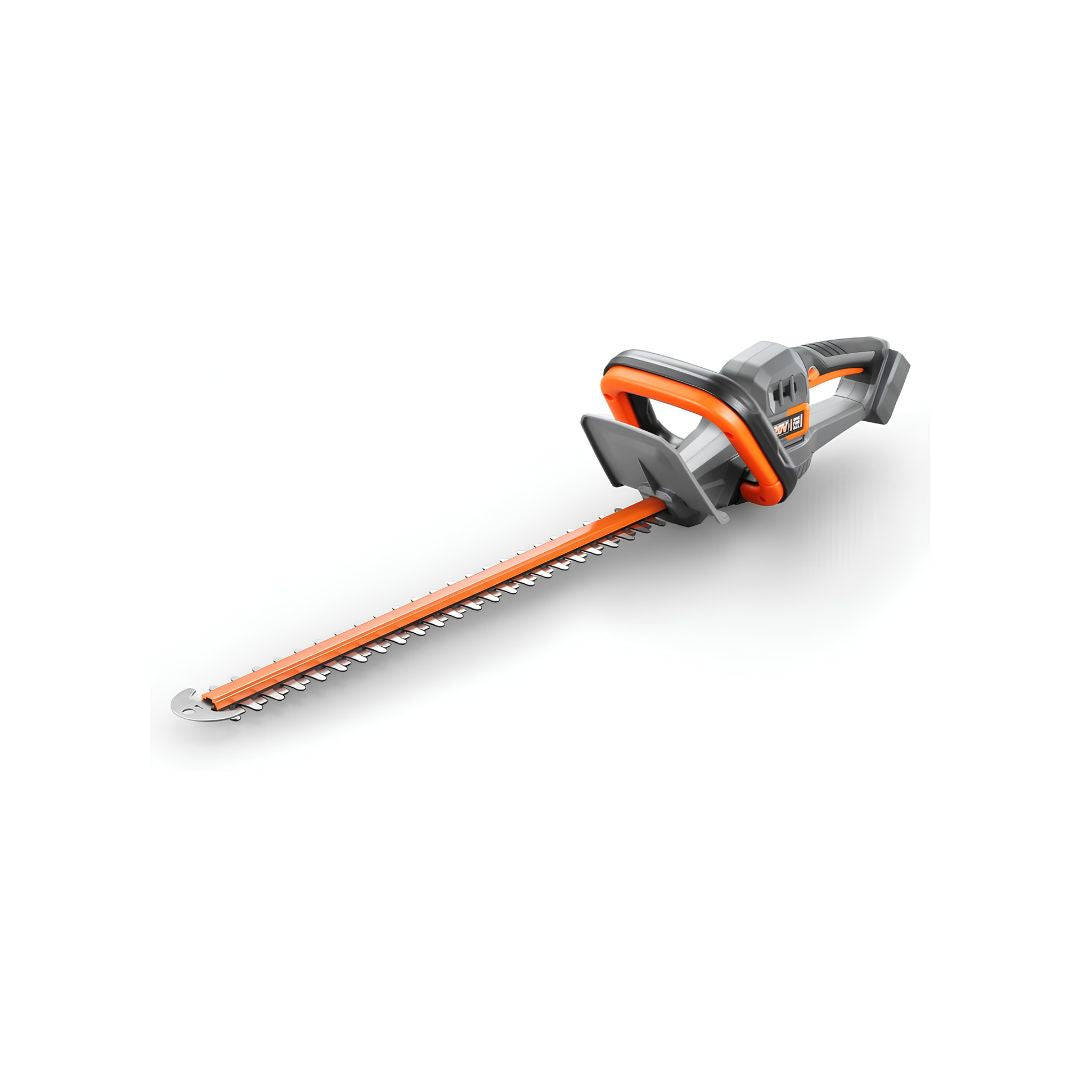
For four metres of young hedge, you don't need the same tool as for 40 metres of tough, established growth. The right machine depends mainly on length, branch thickness and how long you'll be working for. Three sensible size categories cover the typical home garden pretty well.
View product: See the FUXTEC 20V FX-E1HS20-SET
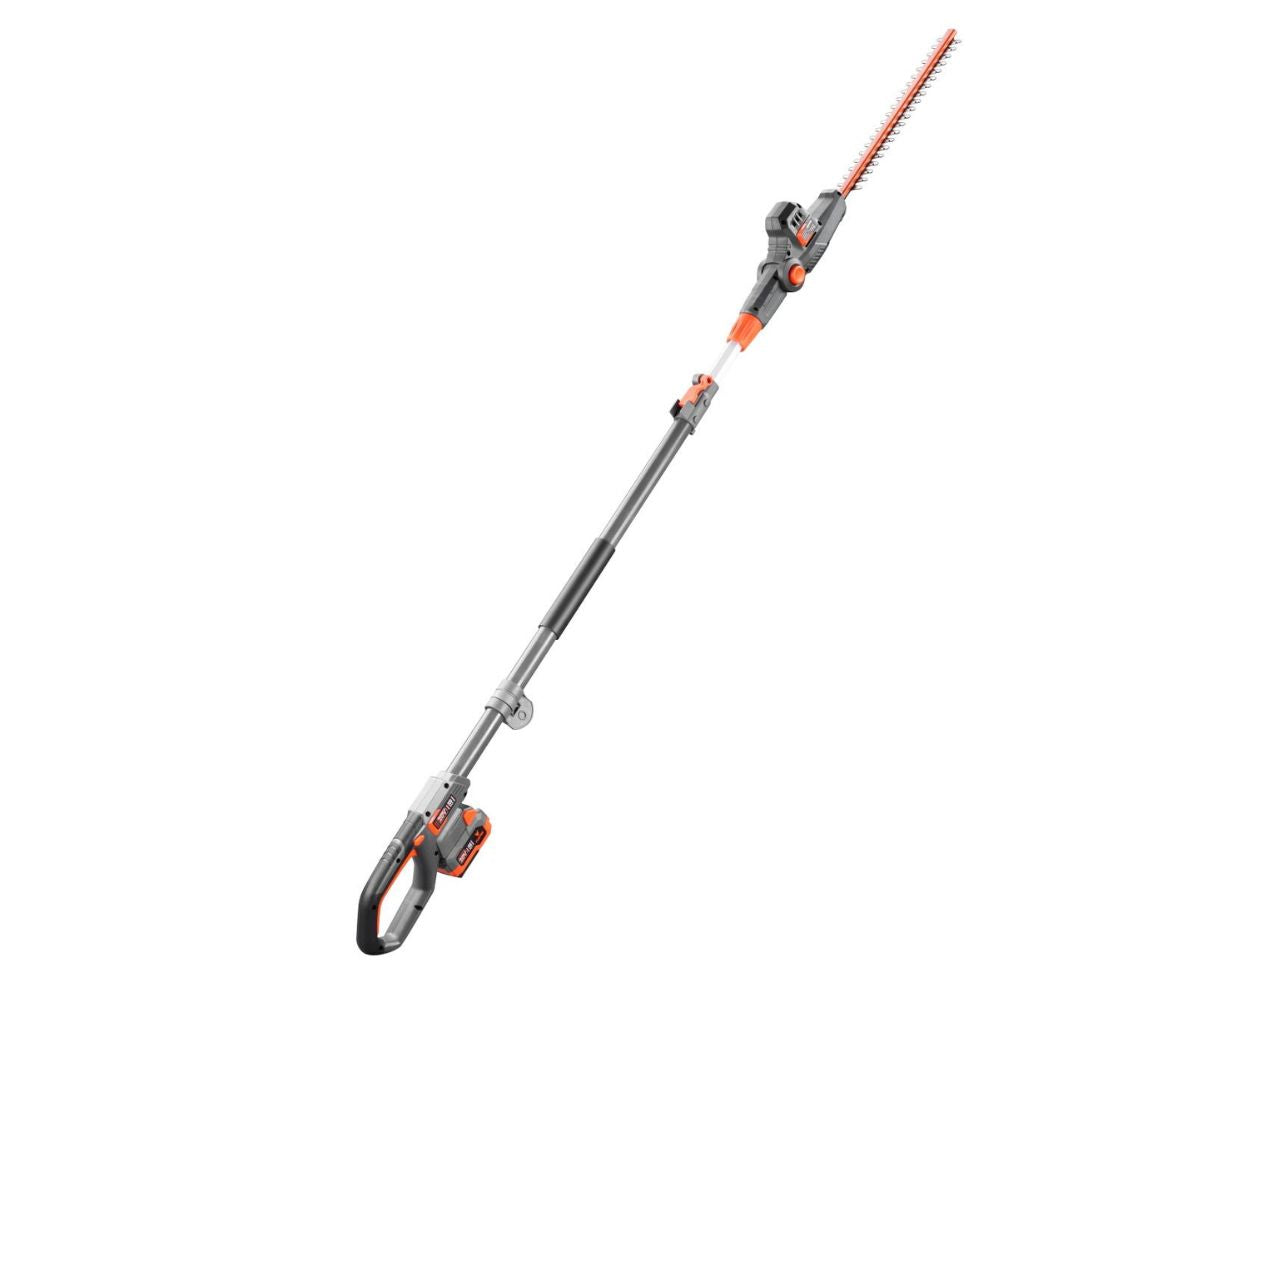
View product: See the FUXTEC 40V FX-E2HSSET
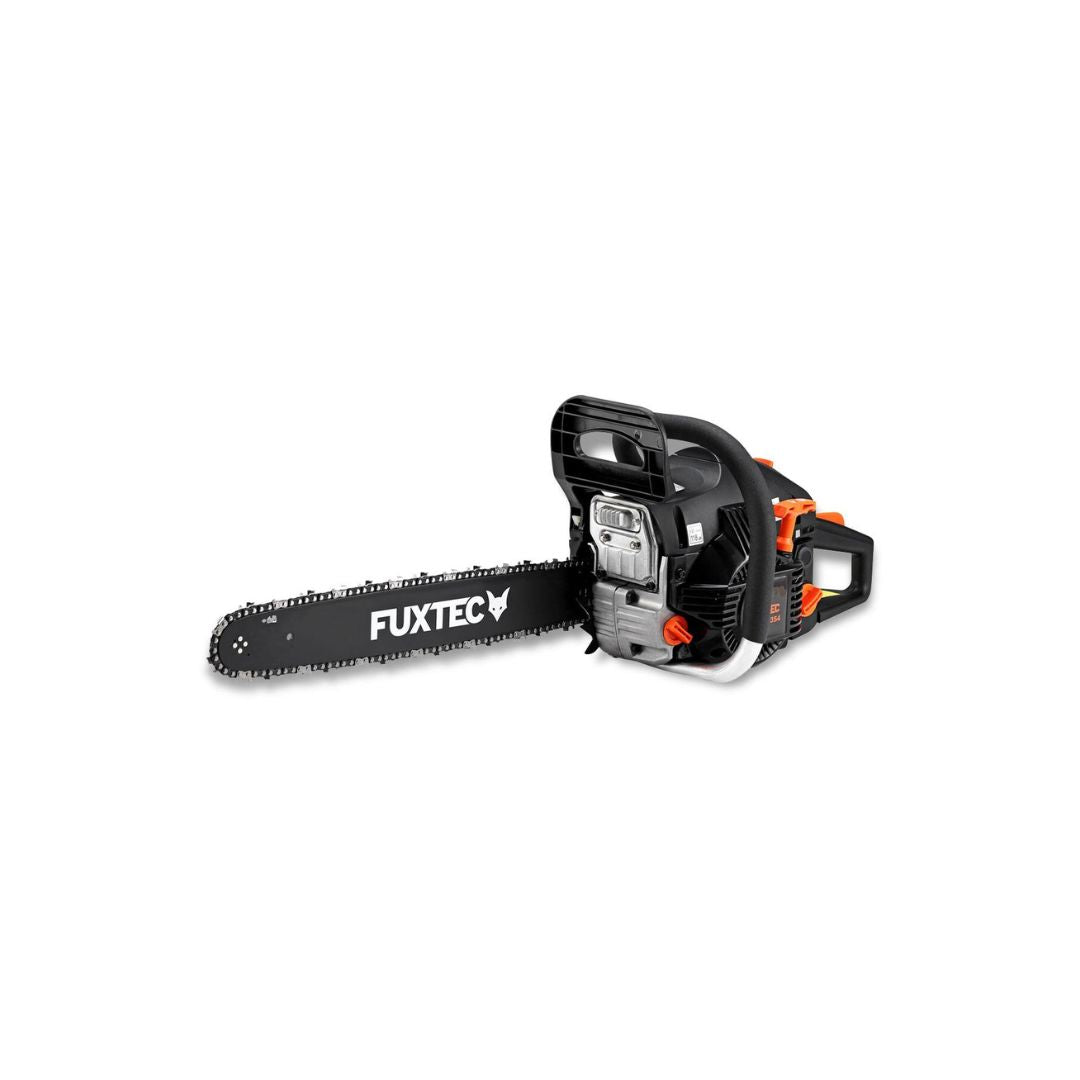
View product: See the FUXTEC petrol model FX-MH126
Trimming privet correctly: 5 common mistakes with fast-growing hedge plants
The most common mistake is a hedge that gets trimmed a little further out every single year. Five centimetres here, five centimetres there, and eventually the boundary line has taken on a shape all of its own. Set your target width deliberately, then, and trim back to it every time the fresh growth goes beyond it.
Mistake two is the reverse trapezoid shape. If the top gets wider and the base narrower, light can't reach the bottom. Mistake three is a deep summer cut, even though only gentle tidying of new growth is appropriate during that period. Mistake four: getting started without checking for wildlife first. Mistake five: cutting regardless in extreme heat, purely because it happens to be Saturday.
Starting regular trims early means less work later on. A dense hedge doesn't come from letting every shoot grow as long as possible, but from giving the plant the chance to branch out well. With fast-growing varieties, more than one cut a year can therefore be worthwhile; twice a year is a sound starting point for formally kept privet hedges to keep them in shape.
After trimming: when does the hedge need attention again?
After the second light summer trim, you don't automatically need to get the trimmer out again. If the outline still looks tidy, leave the plants be. A bit of late growth is allowed to stick out a few centimetres over winter. Garden hedges don't have linesmen watching, after all.
For bigger corrections, wait until the legally appropriate winter window. That's when you can properly tackle height, width, or a hedge that's gone bare with age. The following spring, the hedge is free to put on new growth again, and with the following light maintenance trims you keep building towards the shape you want.
That keeps the division simple: summer is for shape and fresh growth, winter is for the big decisions. Anyone who doesn't mix up these two jobs keeps their hedge dense, green and on the right side of the boundary with surprisingly little drama.