
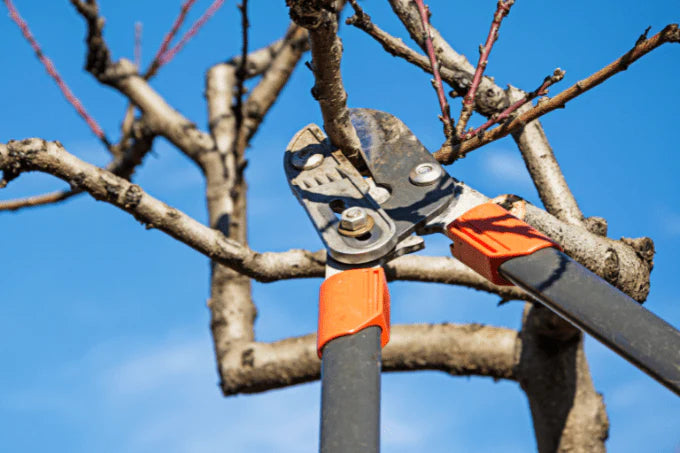
How to Sharpen Secateurs: The Complete Guide
Inhalt
- ✔ Die Gartenschere reinigen, prüfen und zerlegen.
- ✔ Die Klinge mit einem Schleifstein in Schneiderichtung schleifen.
- ✔ Die Rückseite der Klinge entgraten.
- ✔ Die Schere ölen, zusammenbauen und testen.
Garden tools such as secateurs are indispensable companions in the garden. To ensure they always deliver reliable, clean cuts, it's important to sharpen the blade regularly. In this comprehensive guide, we explain how to sharpen, maintain, and keep your secateurs in top condition.
Why Is Sharpening Your Secateurs Important?
Blunt secateurs can damage your plants rather than cutting them cleanly. This leads to ragged cuts and increases the risk of infection through open wounds on the plant. Sharpening the blade regularly ensures:
- Clean cuts that allow plants to heal more quickly.
- Less effort, as the secateurs glide through stems with ease.
- A longer lifespan for your secateurs by reducing unnecessary wear.
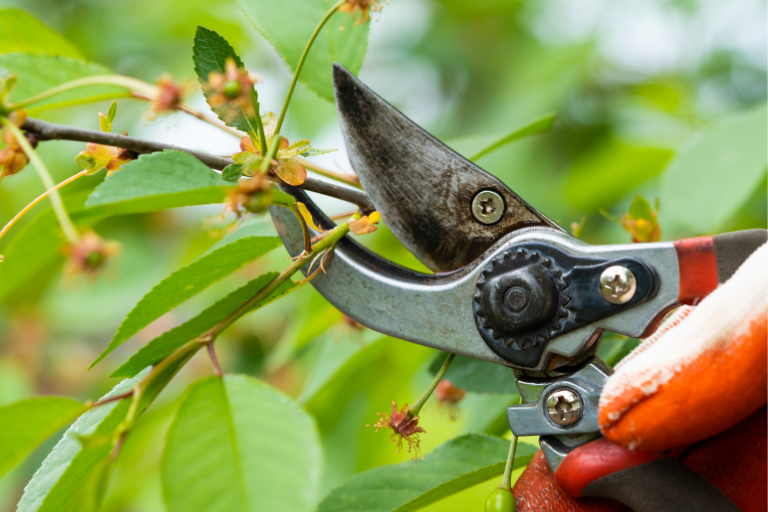
The Consequences of Blunt Blades
Blunt blades leave frayed edges and crushing damage on branches and stems. They also increase wear on the tool itself, which can lead to costly repairs or the need for a replacement.
Preparation: Cleaning and Dismantling Your Secateurs
Before you begin sharpening, you should thoroughly clean and dismantle your secateurs.
Cleaning and Inspection
Use a specialist cleaner or warm soapy water to remove plant sap and dirt from the blades. A stiff brush will help to shift stubborn residue.
- Step 1: Use a screwdriver to remove the bolt or screw holding the blades together.
- Step 2: Inspect the blade for nicks, notches, and rust.
- Step 3: Clean the pivot joint and check that it moves freely.

Sharpening Secateurs: The Best Techniques
Good sharpening comes down to the right technique and the right tool. Whether you use a whetstone, honing rod, or sharpening stone, here's how to get your secateurs razor-sharp again.
Step-by-Step Sharpening Guide
- Secure the blade: Fix the blade in a vice to prevent it from slipping.
- Choose your tool: Use a fine-grit whetstone to work the blade.
- Sharpen the cutting edge: Move the whetstone along the blade in a gentle, slightly angled circular motion. Always work in the direction of the cutting edge.
- Reverse side of the blade: Work the reverse side carefully to remove any burr and deburr the blade.
Important Note:
When sharpening, make sure the edge remains even along its full length. An inconsistent bevel angle will impair the cutting performance.
Additional Maintenance for Long-Lasting Secateurs
Oiling and Lubricating
After sharpening, oiling is essential to prevent rust. Apply a few drops of lubricating oil to the pivot joint and work the blades open and closed until they move smoothly.
Re-Sharpening and Fine Finishing
If your secateurs are heavily worn, a follow-up sharpen with fine abrasive paper can help. For a perfect edge, finish with a waterstone that you have soaked in water beforehand.
Common Sharpening Mistakes to Avoid
- Applying too much pressure: This can damage the blade.
- Incorrect bevel angle: An imprecise angle will reduce the sharpness of the cutting edge.
- Insufficient cleaning: Dirt and plant sap will interfere with the sharpening process.
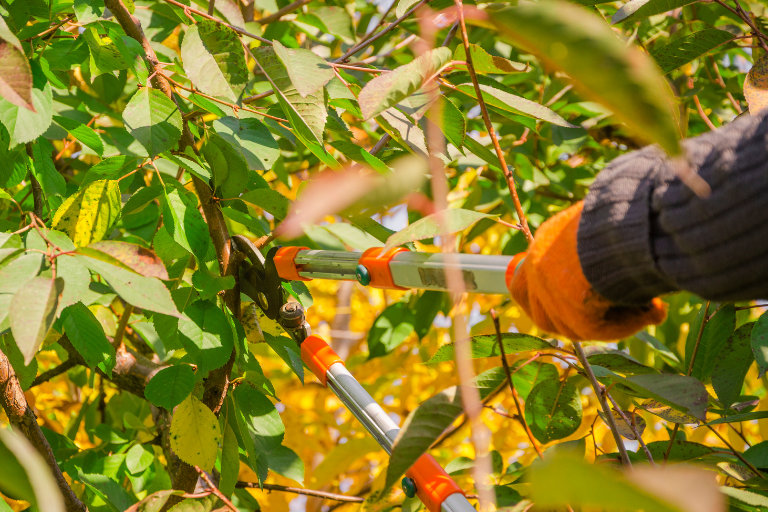
Reassembling and Testing Your Secateurs
Once sharpening is complete, reassemble your secateurs. Make sure all screws are firmly tightened and check that the pivot joint moves freely. Test the blades on a small branch or stem — the cuts should be smooth and clean.
Sharp Tools for a Perfect Garden
Sharp secateurs make every gardening task noticeably easier. Regular maintenance — including cleaning, sharpening, and oiling — will extend the life of your garden tools and ensure outstanding results every time.
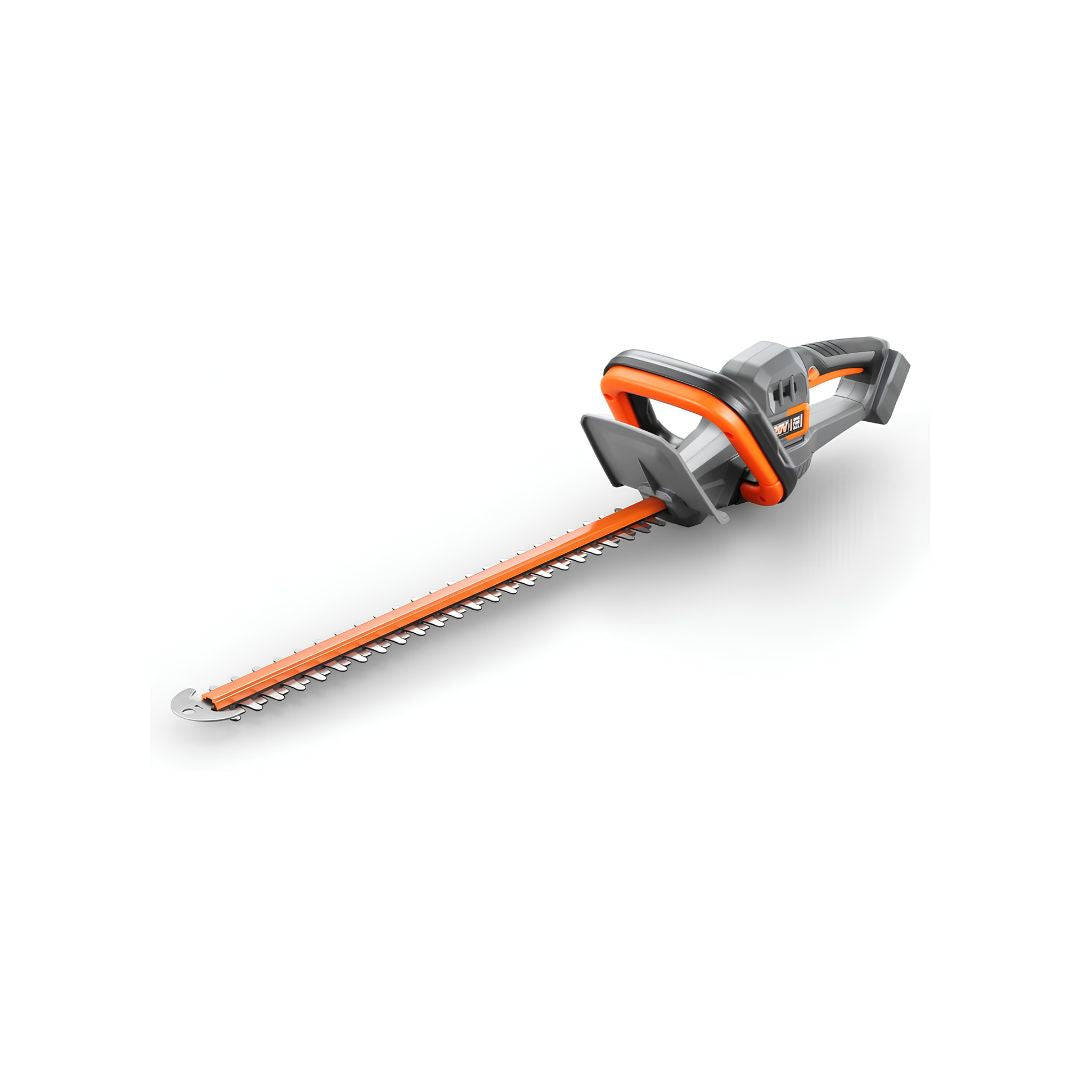
The best tools for caring for trees and hedges
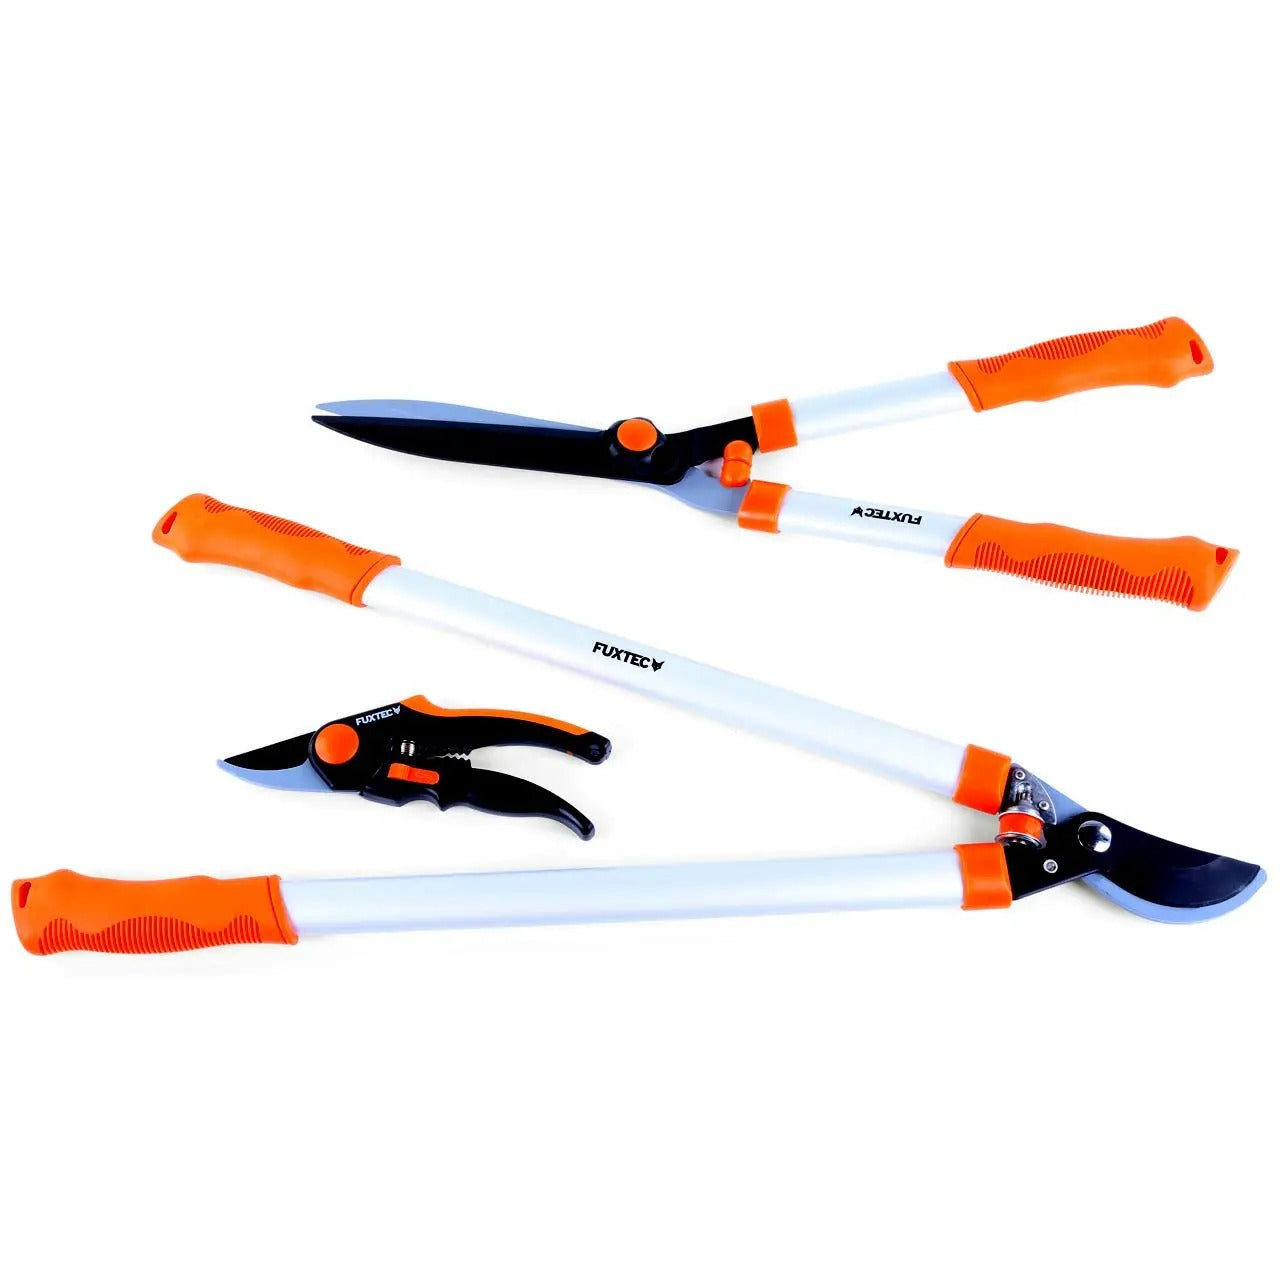
How often should I sharpen my secateurs?
It depends on how frequently you use them, but most gardeners benefit from sharpening their secateurs every few months during the growing season or after heavy use. If you notice the blades are leaving ragged cuts rather than clean ones, it's time to sharpen them.
What tools do I need to sharpen secateurs?
You will need a fine-grit whetstone, a vice or clamp to secure the blade, a screwdriver to dismantle the secateurs, and lubricating oil for maintenance. A waterstone soaked in water is also useful for achieving a perfect finish.
Can I sharpen secateurs without taking them apart?
Whilst it's possible to sharpen without full dismantling, it's not recommended. Taking the secateurs apart allows you to clean them thoroughly, inspect for damage, and achieve a more even, consistent edge along the full length of the blade.
What angle should I use when sharpening secateurs?
You should maintain a consistent bevel angle throughout the sharpening process, typically around 30-40 degrees depending on your secateurs' original design. Work the whetstone along the blade in a gentle, slightly angled circular motion following the cutting edge.
What are the signs that my secateurs are too blunt?
Blunt secateurs will crush stems and leave frayed, ragged edges rather than making clean cuts. You may also notice you need to apply excessive pressure to cut through plant material, and the tool requires more effort than it should.
Should I oil my secateurs after sharpening?
Yes, oiling is essential after sharpening to prevent rust and maintain smooth operation. Apply a few drops of lubricating oil to the pivot joint and work the blades open and closed until they move freely.
More articles about tree and hedge care
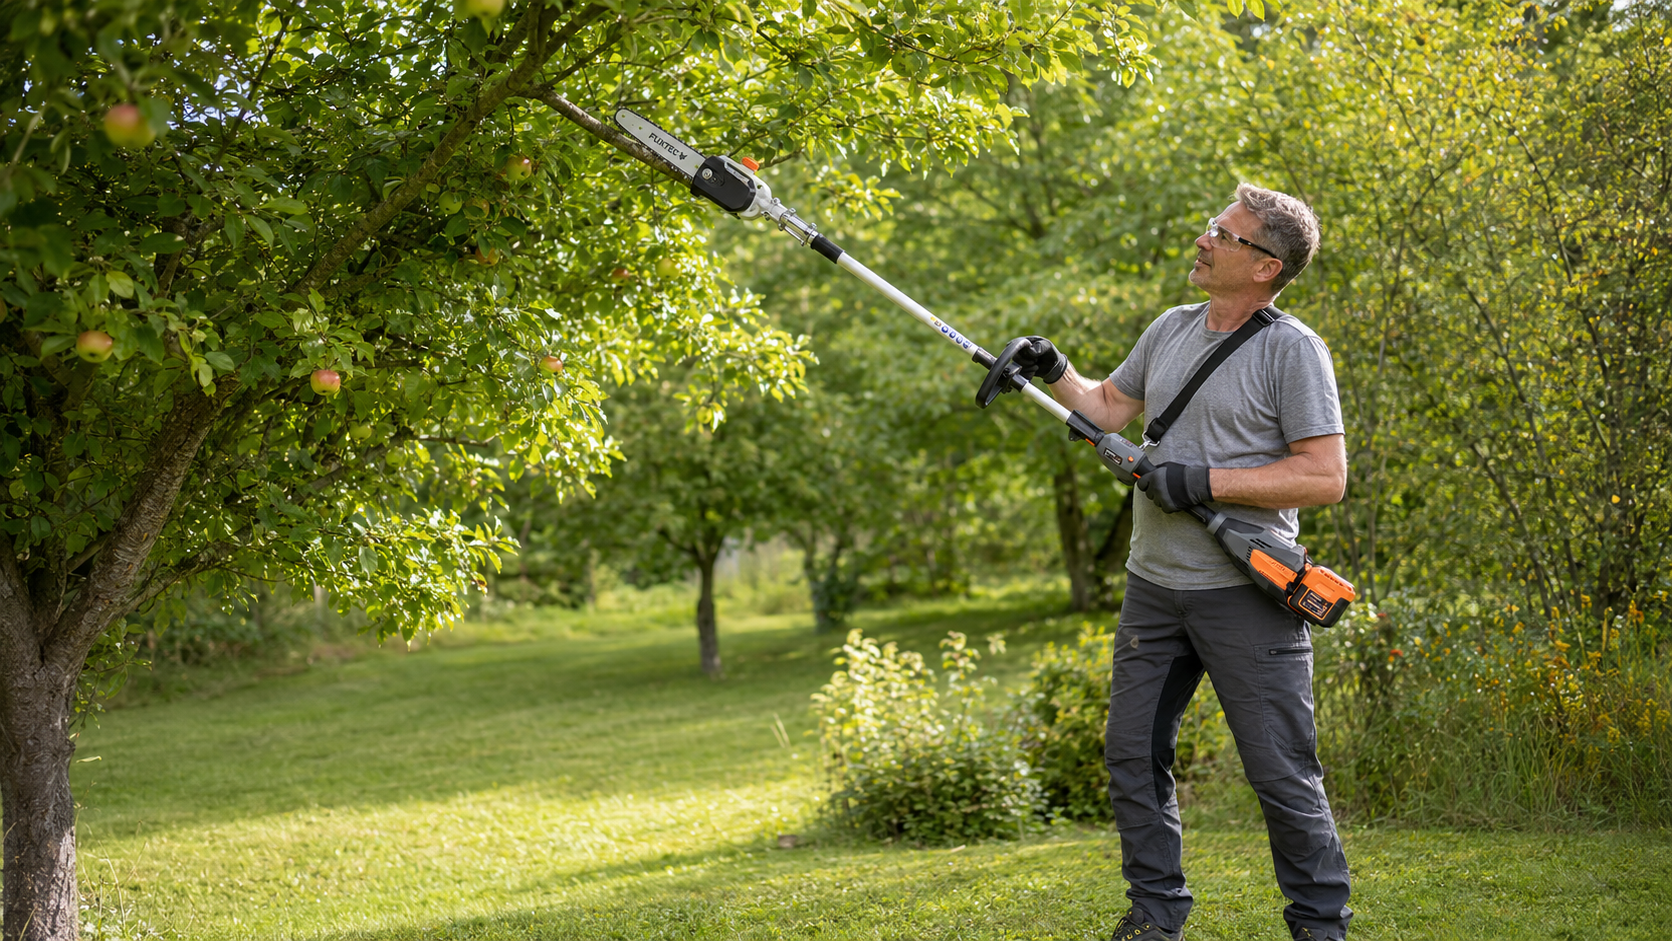
Summer Pruning Fruit Trees: The Complete UK Guide
Inhaltsverzeichnis Vorteile des Pflegeschnitts Schnittkalender für Obstgehölze So gehst Du Schritt für Schritt vor Äpfel und Birnenbäume Kirsche, Pflaume, Aprikose und Pfirsichbäume Jungbäume und ...
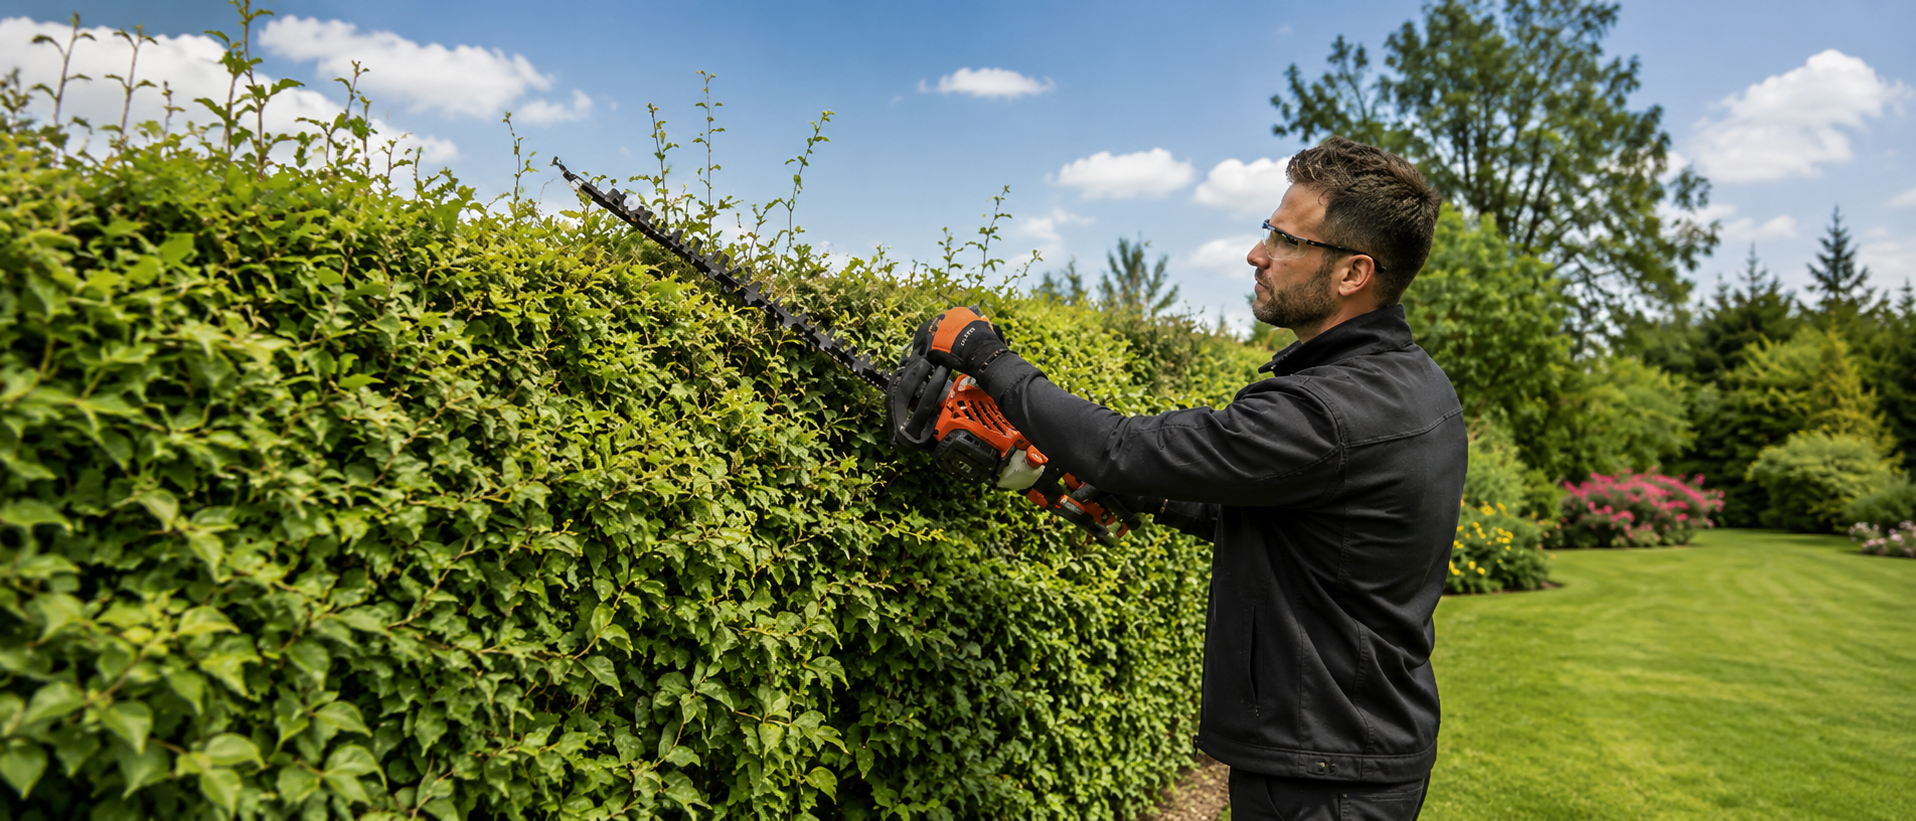
How to Cut an Overgrown or Tall Hedge | FUXTEC
An overgrown hedge can become too wide, patchy in places and riddled with thick branches. If it has also grown several metres tall, a quick trim with a standard hedge trimmer is no longer enough. ...
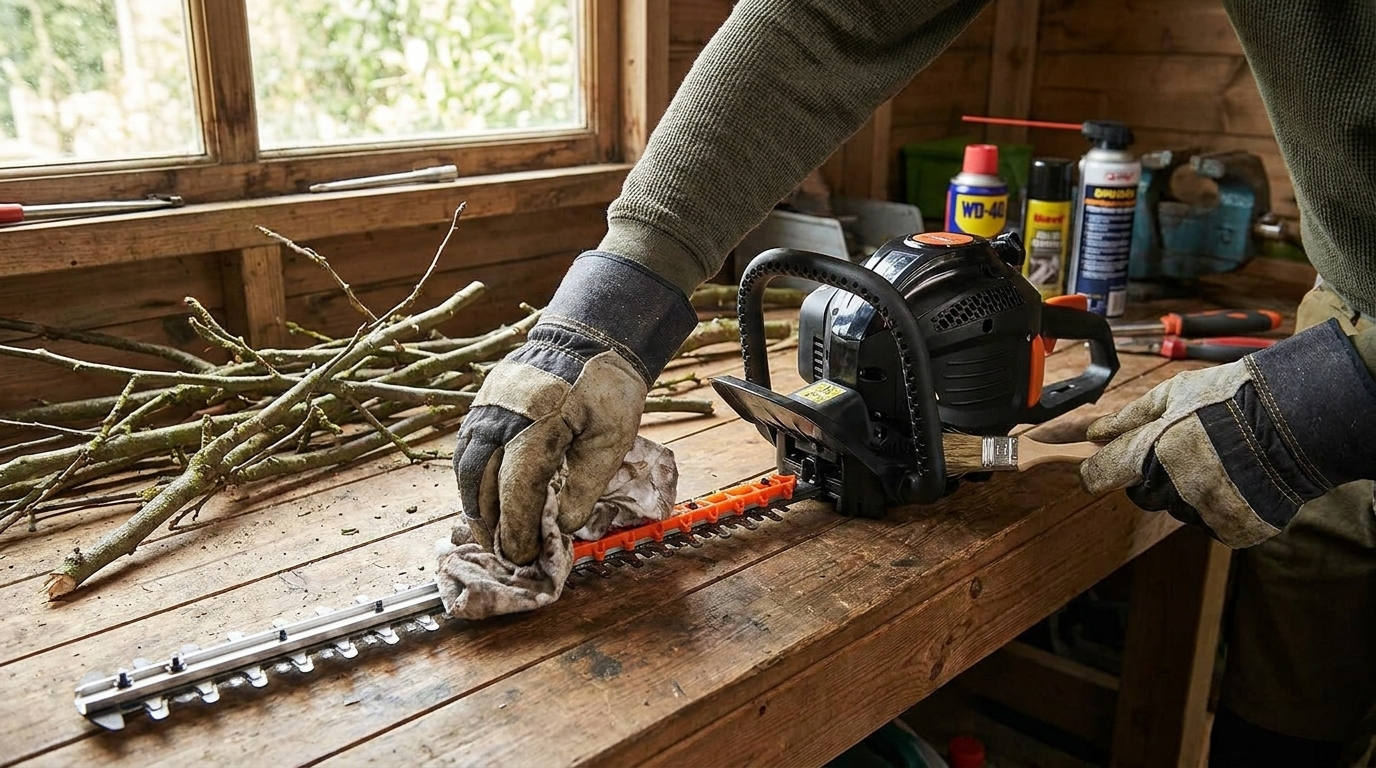
How to Clean & Maintain Your Hedge Trimmer
A well-maintained hedge trimmer is essential for a tidy garden. If you want to keep your hedges looking their best, you need a tool that works reliably – with clean, sharp blades. Yet many gardener...


