How to Make a Compost Heap: Complete UK Guide
- Kompostieren im eigenen Garten: Grundlagen für Kompost anlegen
- Welchen Komposter wählen? Klassischer Komposthaufen vs. Thermokomposter
- Was darf auf den Kompost? Organische Abfälle richtig kompostieren
- Kompost richtig anlegen: Schichtung, Luft und Feuchtigkeit
- Häufige Fehler beim Kompostieren: Trockenheit, Vernachlässigung und zu große Stücke
- Kompost regelmäßig umsetzen und kontrollieren: So reift Dein Kompost
- Wann ist Kompost fertig? Einsatz im Garten als Dünger und Bodenverbesserer
- Kompost im Winter und schnelle Methoden: Schnellkomposter und Abdeckung
- Verwertung von Kompost: Mulchen, Verrotten und Einsatz im Gemüsebeet
- Kompostierung leicht gemacht
A healthy garden thrives on nutrients that provide your flowers, vegetables and perennials with plenty of energy. With homemade compost, you can enrich your soil naturally with fertiliser and a soil improver. Here at FUXTEC, we show you how to set up your own compost heap and what you need to bear in mind to produce good compost. Find out how to turn kitchen scraps, leaves and organic garden waste into valuable humus.
Composting in Your Own Garden: The Basics of Setting Up a Compost Heap
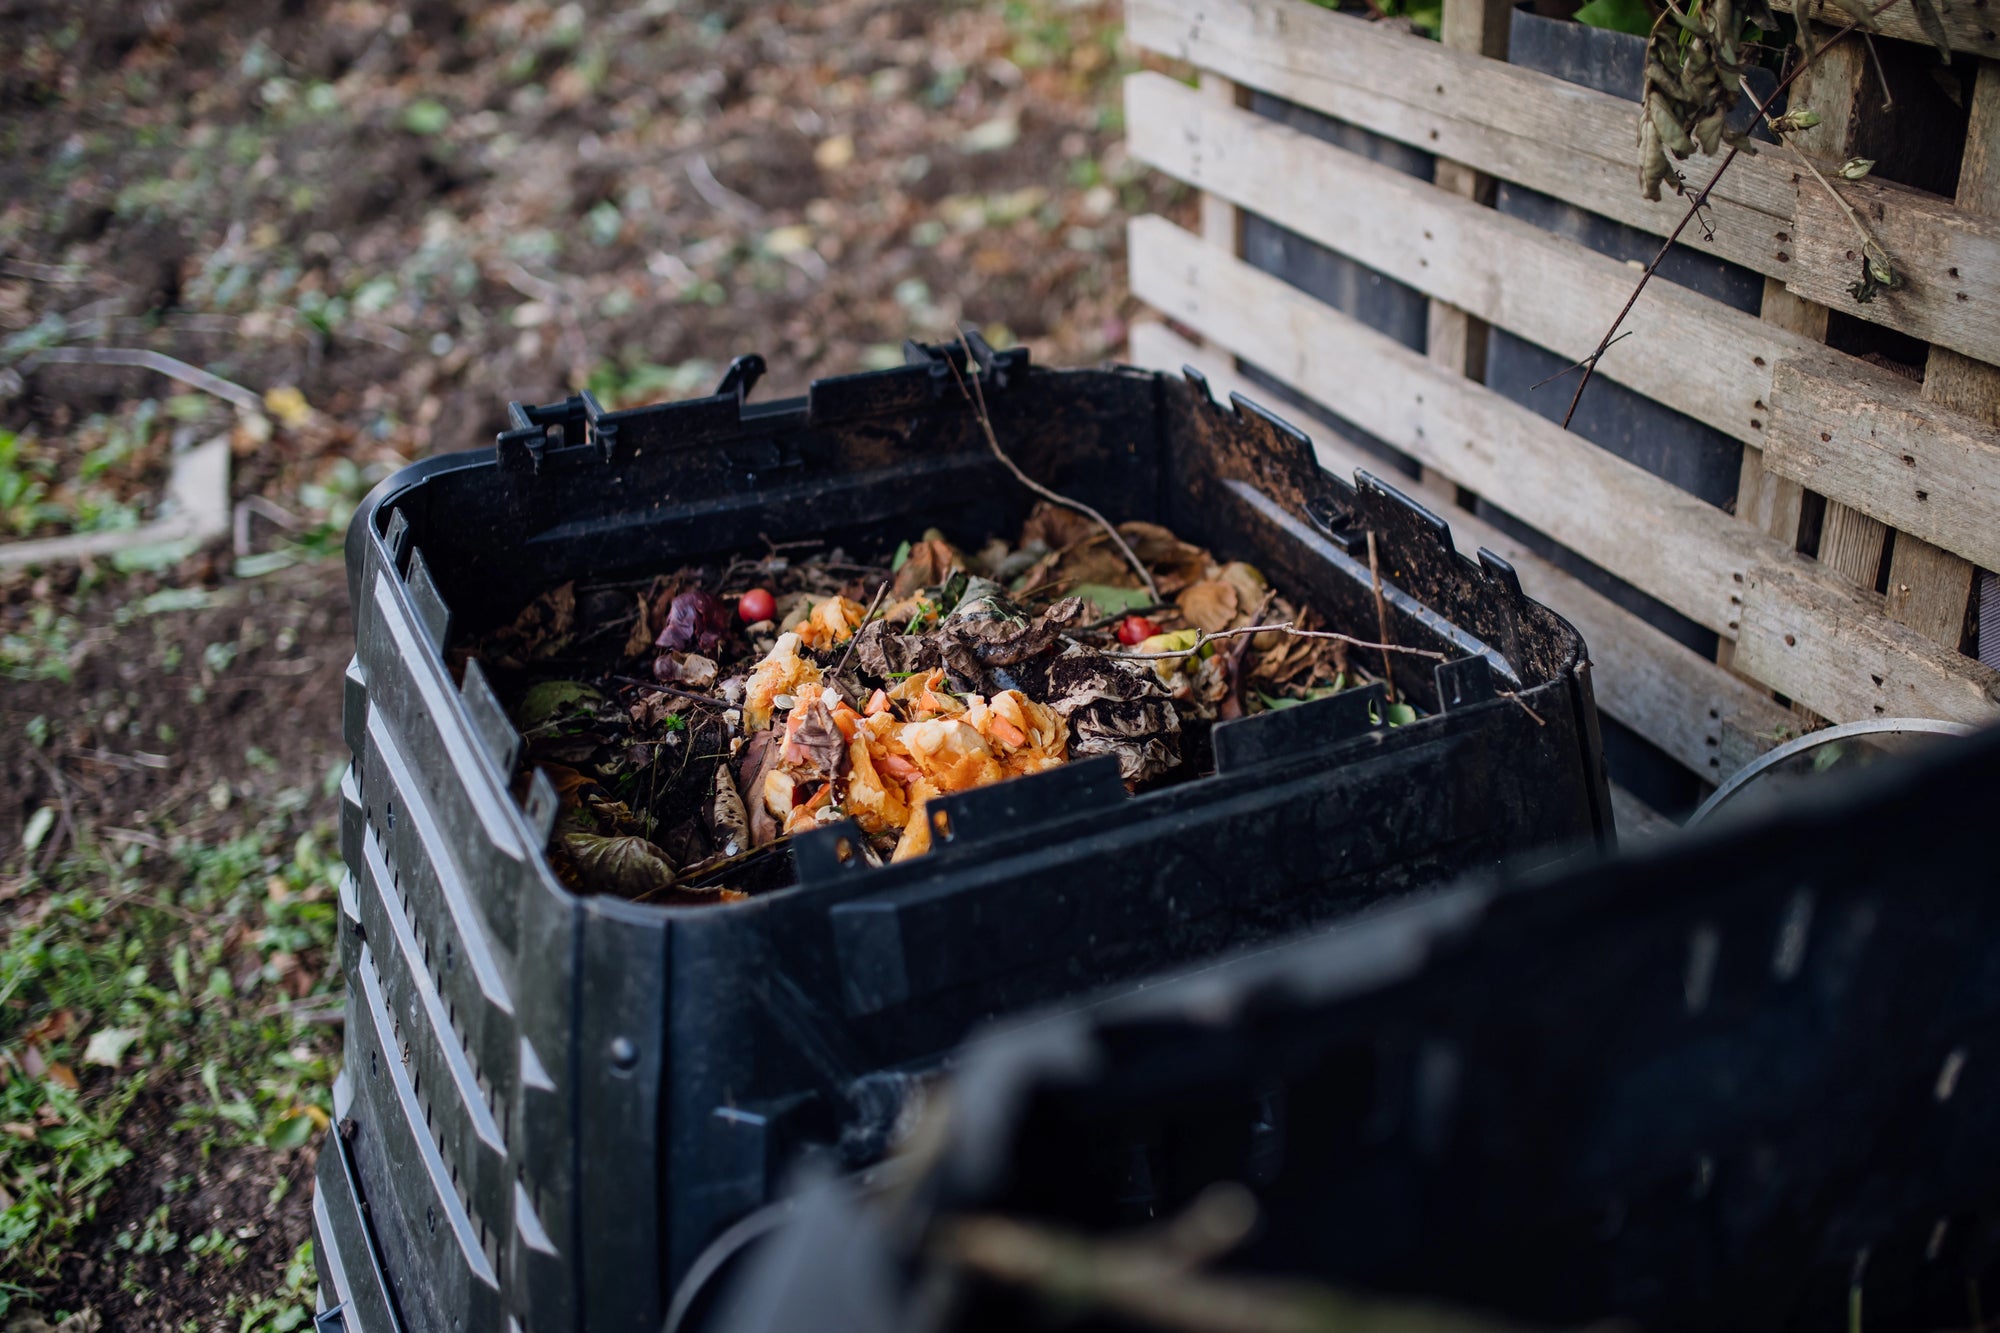
During composting, microorganisms, earthworms and fungi break down organic waste into nutrient-rich humus. Your first step towards setting up a compost heap is to choose a suitable spot in your garden — partially shaded, well ventilated and ideally close to an outdoor tap. Start by laying a base layer of coarse material such as twigs and grass clippings directly on the ground. This layer ensures good aeration and prevents your compost heap from drying out too quickly.
Once the base is in place, layer your organic waste alternately: coarsely chopped garden waste such as leaves, grass clippings and small branches, along with moist kitchen scraps such as vegetable peelings, coffee grounds or tea bags. This mixture ensures that neither too much moisture is retained nor that the compost becomes too wet or too dry.
Which Composter to Choose? Open Compost Heap vs. Hot Composter
When setting up your compost properly, you have the choice between an open compost heap and a hot composter. An open compost heap is ideal for larger gardens where you have plenty of space and air circulation occurs through natural openings. A hot composter, on the other hand, retains heat more effectively inside, which speeds up the composting process and means you get finished compost sooner.

Hot composters benefit from integrated ventilation slots and thermally insulating walls that support the optimal decomposition temperature of 55–65 °C. Open composters offer more flexibility but require you to turn the compost regularly to introduce oxygen and ensure even decomposition throughout.
What Can Go on the Compost? Chopping Organic Waste Correctly
Not all waste belongs on the compost: meat, fish, dairy products and oily scraps attract rats and cause putrefaction. By contrast, organic waste such as leaves, grass clippings, straw, small twigs and kitchen scraps from fruit and vegetables are among the best ingredients. Make sure to chop large pieces coarsely so they break down more quickly and don't simply sit on the surface.
If you don't want to add kitchen scraps directly to the compost heap, you can collect them in a small caddy or bucket first and distribute them across the open composter several times a day. This helps you avoid maggots and unpleasant odours.
Setting Up Compost Correctly: Layering, Air and Moisture
To make compost properly, the right ratio is crucial: approximately two thirds "brown" materials (leaves, straw) and one third "green" components (grass clippings, kitchen scraps). This mixture promotes both moisture retention and adequate oxygen supply. Cover your heap with a coarse net so that rainwater can penetrate and the compost doesn't dry out.

Also add water regularly if the heap becomes too dry. A simple moisture test: if you grab a handful of material and squeeze it and no moisture is released, you should water your compost. If it is too wet, however, this can lead to anaerobic conditions and rot. In that case, you can add sawdust or chipped hay to reduce the moisture content.
Common Composting Mistakes: Dryness, Neglect and Oversized Pieces
Three mistakes frequently occur when composting: The heap is too dry because it stands uncovered in full sun. Secondly, it is neglected — turning the compost regularly is very important, otherwise only the outer surface dries out completely while the interior barely decomposes. Thirdly, large branches and shrub cuttings are left unchanged in the heap, which greatly slows decomposition. Make sure to chop all materials coarsely and turn the compost heap every two weeks to create optimal conditions.
Turning and Monitoring Your Compost Regularly: How Your Compost Matures
To help your compost mature quickly, you should turn and aerate it regularly. When turning, move material from the outside towards the centre and bring the lower layers to the top. This ensures that earthworms and microorganisms continually bring fresh portions into contact with air and moisture. Particularly during the first six weeks, the temperature inside the heap rises significantly, which accelerates decomposition.
Check the moisture level each time you turn the heap and mix in additional organic waste as needed until the heap has a consistent texture. In this way, you will achieve mature compost within just a few months — perfect for use in the garden as a fertiliser and soil improver.
When Is Compost Ready? Using It in the Garden as Fertiliser and Soil Improver
Good compost can be identified by its earthy smell and homogeneous, crumbly texture. As a rule, it is ready after six to twelve months and can be applied in spring or autumn. Spread the finished compost as a mulch around beds or work it lightly into the garden soil. It acts as a natural fertiliser and soil improver, enhancing the soil's water-retention capacity and slowly releasing nutrients.
Compost in Winter and Quick Methods: Fast Composters and Covering
In winter, decomposition slows down because the composting process stalls at low temperatures. With a hot composter or a cover made from sheeting, you can keep the process active nonetheless: the composter concentrates heat, and adding extra kitchen scraps and hessian sacks raises the temperature inside. Cover the heap additionally to prevent it from drying out and to protect the compost during the colder months.
Using Your Compost: Mulching, Decomposition and Application on the Vegetable Patch

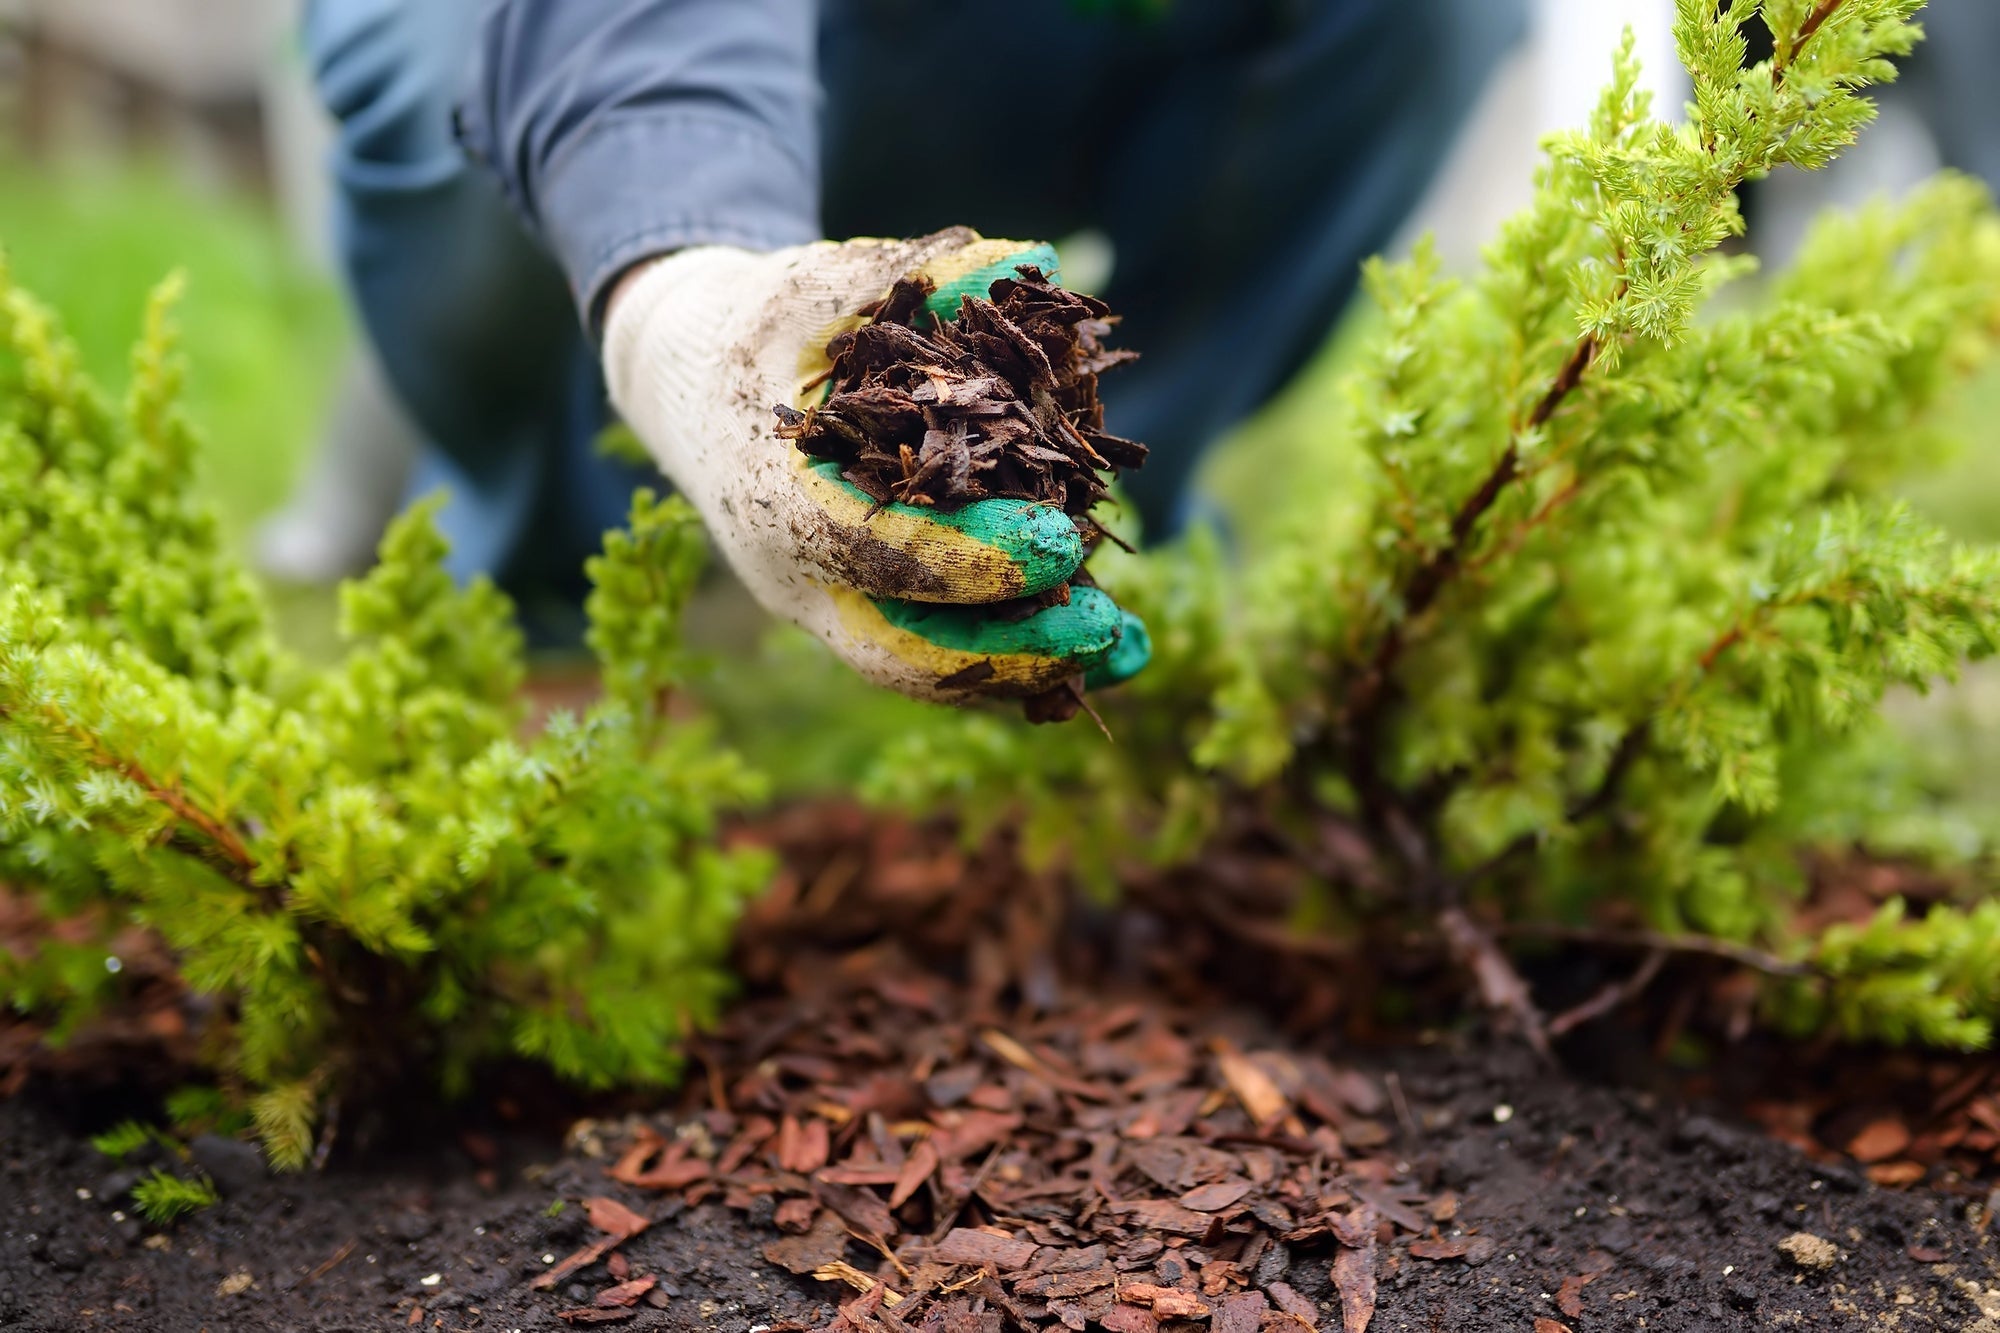
Use your finished compost as a mulch layer around young plants or mix it into planting holes before setting out vegetables and perennials. When used as mulch, it suppresses weeds and protects the soil from drying out. Combined with a layer of grass clippings, it encourages moisture retention in the soil and supports soil life. Compost is therefore one of the most important aids for a healthy harvest and for making use of surplus garden waste.
You Can Compost Anywhere: Even in a Small Space
Not just in large gardens — smaller gardens and even balconies are well suited to accommodating a mini composter. Use a wormery or a fast composter to turn kitchen scraps into useful fertiliser. Even in a small garden, a compost bin takes up little space and allows you to make your own compost with ease.
Composting Made Easy
Setting up a compost heap in your garden is well worth the effort, as it transforms kitchen scraps, leaves and shrub trimmings into valuable fertiliser and soil improver. The key is to ensure a balanced mix of "brown" (leaves, branches) and "green" components (grass clippings, kitchen scraps) when setting up your compost correctly, to turn the heap regularly and to maintain a consistent level of moisture. This allows microorganisms and earthworms to work at their best, and the compost matures within just a few months into a loose, crumbly soil amendment.
Those who want to speed up the composting process or have limited space will benefit from the FUXTEC hot composter. Thanks to its insulating walls and ventilation slots, it quickly reaches temperature peaks of 55–65 °C. This means you get finished compost noticeably sooner, avoid putrefaction and can process organic waste with minimal fuss.
Whether you opt for a classic open compost heap or a hot composter — what matters is choosing the right location, not letting the heap dry out and turning the compost frequently to achieve the best possible decomposition. Once your compost smells earthy and is dark brown, you can apply it in spring or autumn as a mulch around beds or work it directly into the garden soil. This ensures long-term healthy soil that nourishes your plants every day — without any chemical additives.
Quick Summary:
🧱 Container Choice: Compost Heap or Hot Composter?
| System | Advantages | Disadvantages |
|---|---|---|
| Open Compost Heap | Low cost, natural, ideal for large amounts of green waste | Slower maturation, requires more space |
| Hot Composter | Compact, fast, hygienic | More expensive, smaller capacity |
Fast composters can shorten the maturation process to 8–12 weeks thanks to better heat retention!
🧩 Structure: How to Layer Correctly
For good decomposition, you need alternating moist & dry materials:
-
Moist (nitrogen-rich): fruit/vegetable scraps, coffee grounds, grass clippings
-
Dry (carbon-rich): leaves, straw, chipped branches, egg boxes
🔬 Ideal C/N ratio: 25:1 to 30:1
→ This gives microorganisms the perfect food source!
🌡️ Optimal Conditions for Fast Compost
| Factor | Recommendation |
|---|---|
| Temperature | 40–70 °C (active decomposition phase) |
| Moisture | Damp as a wrung-out sponge (not waterlogged!) |
| Oxygen | Turn regularly — every 4–6 weeks |
Warning: Never let compost become too wet — this encourages putrefaction!
⏳ How Long Does Composting Take?
| Type | Duration |
|---|---|
| Coarse garden waste (open compost heap) | 6–12 months |
| Kitchen scraps in a hot composter | 2–4 months |
| Fast composter under optimal conditions | 6–8 weeks |
When the material smells earthy, is crumbly and no individual ingredients are visible, your compost is ready.
Discover our range of garden tools
What materials can I put in my compost heap?
You can compost leaves, grass clippings, straw, small twigs, and kitchen scraps from fruit and vegetables. Avoid meat, fish, dairy products and oily scraps as they attract rats and cause putrefaction. Chop large pieces coarsely so they break down more quickly.
How long does it take for compost to be ready?
Finished compost typically takes six to twelve months in an open compost heap, though hot composters can produce ready compost in as little as six to eight weeks. You'll know your compost is ready when it smells earthy, is dark brown and crumbly, with no visible individual ingredients.
How often should I turn my compost heap?
You should turn your compost heap regularly, ideally every two to four weeks. This introduces oxygen, helps earthworms and microorganisms work effectively, and ensures even decomposition throughout the heap rather than just on the outer surface.
What's the best ratio of materials for composting?
Aim for approximately two thirds 'brown' materials like leaves and straw, and one third 'green' components like grass clippings and kitchen scraps. This mixture promotes both moisture retention and adequate oxygen supply for optimal decomposition.
How do I know if my compost is too wet or too dry?
Grab a handful of material and squeeze it: if no moisture is released, your compost is too dry and needs watering. If it's too wet, add sawdust or chipped hay to reduce moisture and prevent anaerobic conditions. The ideal state is damp like a wrung-out sponge.
Can I make compost in a small garden or on a balcony?
Yes, you can use a mini composter, wormery or fast composter to turn kitchen scraps into useful fertiliser even in small spaces. A compact compost bin takes up little room and allows you to make your own compost with ease.
What's the difference between an open compost heap and a hot composter?
An open compost heap is ideal for larger gardens with plenty of space and requires regular turning, but takes longer to mature. A hot composter retains heat more effectively through insulated walls and ventilation slots, reaching temperatures of 55–65 °C and producing finished compost much sooner.
More articles about garden care
Mulchen mit Pinienrinde: So nutzt du organischen Mulch, um Unkraut zu verhindern
Das Mulchen mit Pinienrinde gehört zu den effektivsten Methoden im modernen Gartenbau und in der nachhaltigen Landwirtschaft. Dabei wird eine Schicht Mulchmaterial auf die Bodenoberfläche aufgebrac...
Bodenverbesserung im Garten: So verbesserst du deinen Gartenboden im Frühjahr für gesunde Pflanzen
Inhaltsverzeichnis Warum Bodenverbesserung im Garten im Frühjahr so wichtig für einen gesunden Gartenboden ist Gartenboden nach dem Winter prüfen: Bodenstruktur, Verdichtung und Bodenart erke...
Richtig Düngen im Garten: Schritt für Schritt erklärt
Inhaltsverzeichnis Warum Düngen im Garten so wichtig ist Bodenanalyse: Grundlage für die richtige Düngung Organische vs. mineralische Dünger: Was ist besser? Kompost, Hornspäne & Co.: Organi...


