


So legst du einfach schöne Gartenwege an!
Garden Paths: How to Plan, Lay & Maintain Them
-
Gartenwege planen: Verlauf, Breite und Nutzung richtig einplanen
-
Gartenweg gestalten: Optik, Stil und Gartengestaltung harmonisch verbinden
-
Material für Gartenwege: Welches Material ist das richtige?
-
Gartenweg anlegen: Anleitung Schritt für Schritt
-
Gartenwege ohne Beton anlegen: flexibel, natürlich und schnell
-
Typische Fehler beim Anlegen eines Gartenwegs
-
Pflege und Haltbarkeit: So bleibt ein angelegter Gartenweg dauerhaft schön
-
Gartenwege Ideen: Inspirationen für kleine und große Gärten
-
Fazit: Gartenwege anlegen und gestalten mit Plan
Garden paths let you move safely through your garden without muddying your footwear — whether you're heading to the shed, the patio, a flower bed or the wheelie bin. The way a path is laid out also shapes the feel of the whole garden: a path divides spaces, guides sightlines and connects areas so that the garden looks tidy and coherent.
In this FUXTEC garden guide we show you how to plan a new garden path sensibly, which materials have proven their worth in everyday use, and how to build the sub-base so that your path stays permanently stable, easy to maintain and capable of withstanding regular use.
Planning garden paths: layout, width and intended use
Before you order materials or start digging, plan the route realistically. Many paths get "short-cut" in practice if they are too meandering or don't follow the natural desire line. This phenomenon is commonly known as a "desire path". A simple way to find the ideal route in your garden: mark the planned line with string, wooden pegs or a thin strip of bark chippings and walk it for several days to see whether that really is the route you want.
Straight or curved?
- Straight lines make sense for functional paths: front door, garage, tool shed.
- Curved paths work well as a garden stroll route that passes highlights (a seating area, a pond, an attractive planting).
Choosing the right width
- For main paths, at least 120 cm has proven ideal, so that two people can walk comfortably side by side and a pushchair can pass through.
- For frequently used secondary paths, 40–80 cm is typical.
- Occasional stepping paths can be narrower, but quickly look makeshift.
If you regularly carry things along the path, don't be too stingy with the width. A path used with a wheelbarrow should be wide enough and have a surface that's easy to wheel on.
Also allow clearance from hedges and walls: a safety margin of around 30 cm prevents the path from looking "hemmed in" and reduces later problems caused by root pressure.
Designing garden paths: harmonising aesthetics, style and garden layout
A path can remain understated or deliberately make a statement. What matters is how it interacts with bed edges, lawn areas and the lines of buildings. In garden design, three principles work particularly reliably:
-
Repeat materials: Use one material (e.g. natural stone) in several places rather than mixing many different surfaces.
-
Define edges clearly: Kerb stones, metal edging or neat lawn edges prevent "fraying".
-
Mind the proportions: Wide paths look modern and restful; very narrow paths quickly look accidental.
FUXTEC recommends factoring in realistic maintenance when planning the design: a gravel path looks attractive but requires regular raking and weed control. Paving is easier to maintain but needs a well-prepared sub-base.
Materials for garden paths: which is right for you?
The choice of material depends on three factors: use, ground conditions and maintenance requirements. For heavily used paths a hard surface makes sense. For secondary paths in more natural areas, loose materials or timber are often more fitting.
Garden path with paving slabs or block paving
If you want a path that's permanently hard-wearing and easy to wheel things along, paved surfaces are usually the best choice. Block paving comes in many formats and laying patterns (stretcher bond, herringbone, fan). Pay attention to sufficient thickness if the path will be subject to heavier loads.

One important point: if you're planning to lay paving, fix the edge profile early on. Kerb stones or a sturdy border edging give the surface lateral support. For shorter stretches, stone or concrete slabs can also work — they're easier to lay but less suitable for long, continuous main paths.
Practical tip: With large-format slabs, the sub-base needs to be levelled particularly precisely, because even small irregularities will be felt as rocking underfoot.
Laying a garden path with gravel or shingle
Gravel paths are flexible, natural and quick to lay — especially for curved lines. Gravel is rounded; shingle (crushed stone) is angular and interlocks better. For walkability, shingle is usually more comfortable because it doesn't shift underfoot as easily.
Important: with gravel and shingle, the sub-base determines durability. Without a load-bearing layer, the material mixes with the soil, creating ruts and puddles.
Garden path made from bark chippings or natural materials
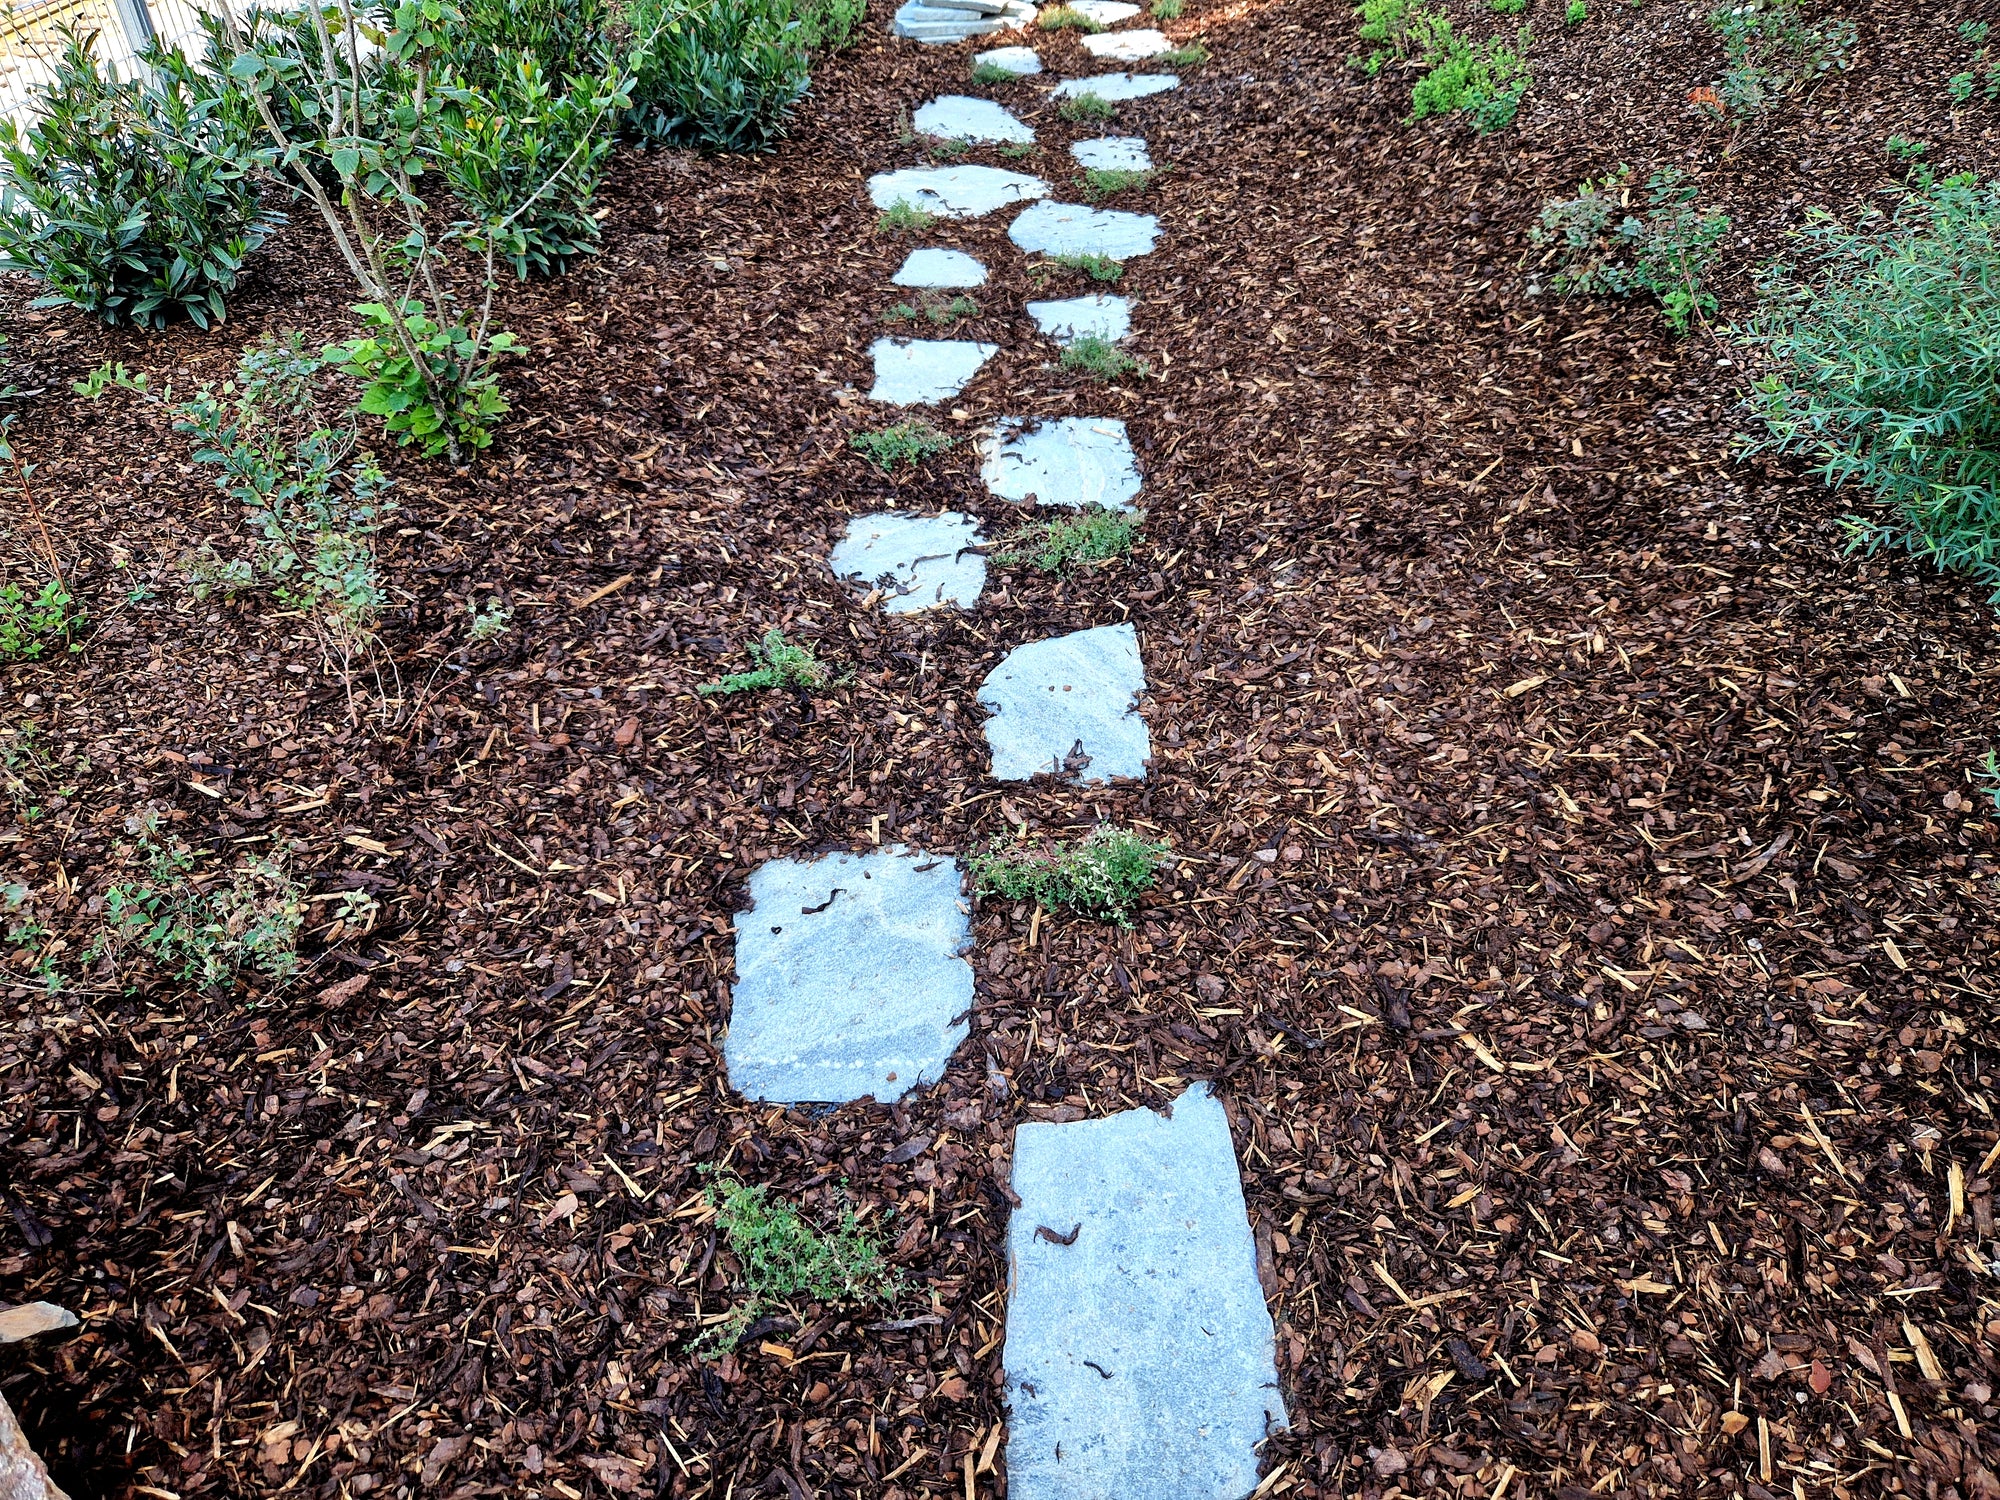
Bark chippings suit natural-style garden areas and planting beds. They feel soft underfoot, deaden sound and are pleasant to walk on. At the same time they decompose, need topping up, and are less suitable for heavily used paths. Visually, bark can be combined with stepping stones in concrete or natural stone — laid at stride intervals this looks calm and refined.
If you're planning a path with natural stone, you can often reuse stones you already have or selectively add to them — this saves money and preserves the character of the garden.
Laying a garden path: step-by-step guide
If you want your garden path to be permanently stable, there's no getting around doing the groundwork properly. The principle here is: build it right in layers once, rather than making repairs every year. To lay your garden path like a professional, the sequence matters: mark out, excavate, build the sub-base, install edging, lay the surface, finish off.
Tools required by path type
| Path type | Tools required |
|---|---|
| Basic kit (for all garden paths) | Spade · tape measure · builder's line · wooden or metal pegs · spirit level · wheelbarrow · rake |
| Paving & slab paths | Basic kit · wacker plate · rubber mallet · circular saw for edging and paving stones · brush |
| Gravel & shingle paths | Basic kit · wacker plate · brush |
| Bark chipping & natural paths | Basic kit · garden roller (optional) |
Preparing the sub-base: excavation, load-bearing layer and drainage fall
Mark out the route with string and pegs. Then excavate the area. For most paths an excavation depth of around 20–30 cm is sufficient (more for heavier loads). A slight fall of 1–3% ensures water drains away and doesn't pool on the path.
The sub-base typically consists of:
- Load-bearing layer of hardcore or crushed stone (usually 10–20 cm)
- Bedding layer of sharp sand or shingle (approx. 3–5 cm)
For longer stretches, a FUXTEC wacker plate is strongly recommended for a permanently stable sub-base. We also recommend not "skipping" the compaction step: subsidence and trip hazards almost always occur where the sub-base has not been properly compacted.
Edging, weed membrane and preparation before laying
A stable edging holds the shape. Depending on the material, kerb stones, lawn edging or metal border edging are all options. With gravel or shingle, a water-permeable weed-suppressing membrane is also recommended to reduce mixing of the surface material with the soil and to keep weeds at bay.
At this stage you decide whether you want the path laid "bound" (e.g. in mortar) or "unbound" (bedded in shingle/sharp sand). Unbound is often the better choice in a garden because water can drain through.
Laying the path: paving, gravel or bark chippings
- Paving: Lay the first row precisely, then continue row by row. Use a rubber mallet to tap into position and keep joints even. To finish, brush joint material in and compact the surface with a wacker plate (take care with natural stone — check suitability for the stone type).
- Gravel/shingle: Spread and level the surface evenly. Build it up slightly higher than needed, as the material will settle.
- Bark chippings: Excavate the channel, if necessary allow for a drainage/sand layer on heavy soils, lay membrane and fill with chippings. Edging prevents bark from spreading into the rest of the garden.
Garden paths without concrete: flexible, natural and quick to install
Not every garden path needs to be permanently set in concrete. For secondary paths, routes through planting beds or areas that may change during the course of the gardening season, unbound construction methods are often the more practical solution. They remain permeable to water, blend more naturally into their surroundings and can be adjusted or extended without a great deal of effort if required.
Gravel and shingle paths are particularly well suited to flexible, curving lines, as they can quickly be realigned or re-profiled. Bark chippings are ideal for natural-style garden areas where appearance and soil climate take priority — especially between planting beds or in lightly used zones.
Common mistakes when laying a garden path
When laying a garden path, the same mistakes tend to crop up in practice:
- Sub-base too thin: The path sinks, creating edges and puddles.
- Not compacted: The load-bearing layer and bedding settle unevenly later on.
- No edging: Gravel and bark spread into the lawn and beds.
- Wrong material for the use: Wheeling things along a bark or coarse gravel path becomes hard work.
- Underestimating root pressure: Near large trees, roots can lift paving.
FUXTEC recommends building paths near trees using unbound construction methods with permeable joints wherever possible. This keeps the soil aerated and reduces the risk of surface heaving.
Maintenance and durability: keeping your garden path looking its best
A well-built path will last a long time, but still needs maintenance — depending on the material:
- Paved surfaces: Top up joints regularly, remove moss and algae, check edging.
- Gravel/shingle: Rake the surface occasionally, top up material, remove weeds by hand.
- Bark: Top up annually, remove fallen leaves, keep edges tidy.
For cleaning, mechanical methods are usually the best approach. A FUXTEC pressure washer is an excellent choice for cleaning paved and garden paths. For gravel paths, a pressure washer is unsuitable because stones can be blasted about and the surface is damaged. This keeps the appearance consistent and your path safe to walk on, even when you have several garden paths across the property.
Garden path ideas: inspiration for small and large gardens
Good ideas are often simple — and look all the more refined for it:
- Stepping stones at stride intervals through lawn or bark areas
- Combinations of a paved border with a gravel fill for a calm, cohesive look
- Curved paths as a garden stroll route, straight paths as functional axes
- Change of material only where it makes logical sense (e.g. patio → paving, bed path → bark)

What matters is that the path doesn't look isolated: the route of the garden path should follow bed edges, patio edges and building lines rather than cutting across them. This creates a sense of calm in the overall look of your garden. Find out more about designing small gardens and terraced house gardens in our FUXTEC guide "Designing a terraced house garden: structuring small gardens creatively".
Conclusion: planning and designing garden paths
A well-laid garden path is far more than a simple connection from A to B. As this article has shown, planning, choice of materials and sub-base construction are crucial to whether a path remains stable long-term and performs well in everyday use. Anyone who plans the route realistically, chooses the right width and builds the sub-base carefully will avoid typical problems such as sinking, weed growth or an uneven surface.
The right choice of material is equally important: paving, gravel, shingle and bark chippings each have their strengths — depending on whether the path will be heavily used, needs to be suitable for wheeled loads, or should blend harmoniously into a more natural garden setting. A properly built sub-base with a load-bearing layer, bedding and stable edging always forms the foundation for durability and comfort.
FUXTEC recommends paying attention not just to aesthetics when laying garden paths, but also to using the right technique. With powerful tools such as wacker plates, wheelbarrows and pressure washers, FUXTEC supports you in building garden paths correctly, keeping them clean and maintaining them in great condition for years to come.
The result is a garden path that not only looks great today, but continues to perform reliably for years to come.
Discover the right FUXTEC garden tools for planning, building and maintaining your garden paths and get your project done professionally.
Discover our range of garden tools


What is the ideal width for a garden path?
Main paths should be at least 120 cm wide to allow two people to walk comfortably side by side and accommodate a pushchair, while secondary paths typically work at 40–80 cm. The width should suit your actual use, especially if you'll be wheeling a barrow or trolley along it regularly.
How deep should I excavate for a garden path?
Most garden paths require an excavation depth of around 20–30 cm, though heavier-use paths may need more. A slight drainage fall of 1–3% should be built in to prevent water pooling on the surface.
Which material is best for a heavily used garden path?
Paved surfaces such as block paving or paving slabs are the best choice for heavily used paths because they're permanently hard-wearing, easy to wheel things along, and relatively easy to maintain. Gravel and bark chippings are less suitable for paths that receive regular wheeled traffic.
Do I need to compact the sub-base for a garden path?
Yes, compacting the sub-base is essential and should not be skipped. Paths built without proper compaction will almost always develop subsidence, trip hazards and uneven surfaces. A wacker plate is strongly recommended for longer stretches.
What should a garden path sub-base consist of?
The sub-base typically consists of a load-bearing layer of hardcore or crushed stone (10–20 cm) topped with a bedding layer of sharp sand or shingle (3–5 cm). This layered approach ensures the path remains stable and well-draining over time.
Can I use gravel for a frequently used garden path?
Gravel can work for lightly used paths, but shingle (crushed stone) is generally more comfortable underfoot because it interlocks better and doesn't shift as easily. However, both require a proper load-bearing sub-base to prevent mixing with soil and the formation of ruts.
How do I plan the route of a new garden path?
Mark the planned line with string, wooden pegs or bark chippings and walk it for several days to check whether it's truly the route you'll use. Many paths get 'short-cut' if they're too meandering, so following your natural desire line is essential.
More articles about garden care
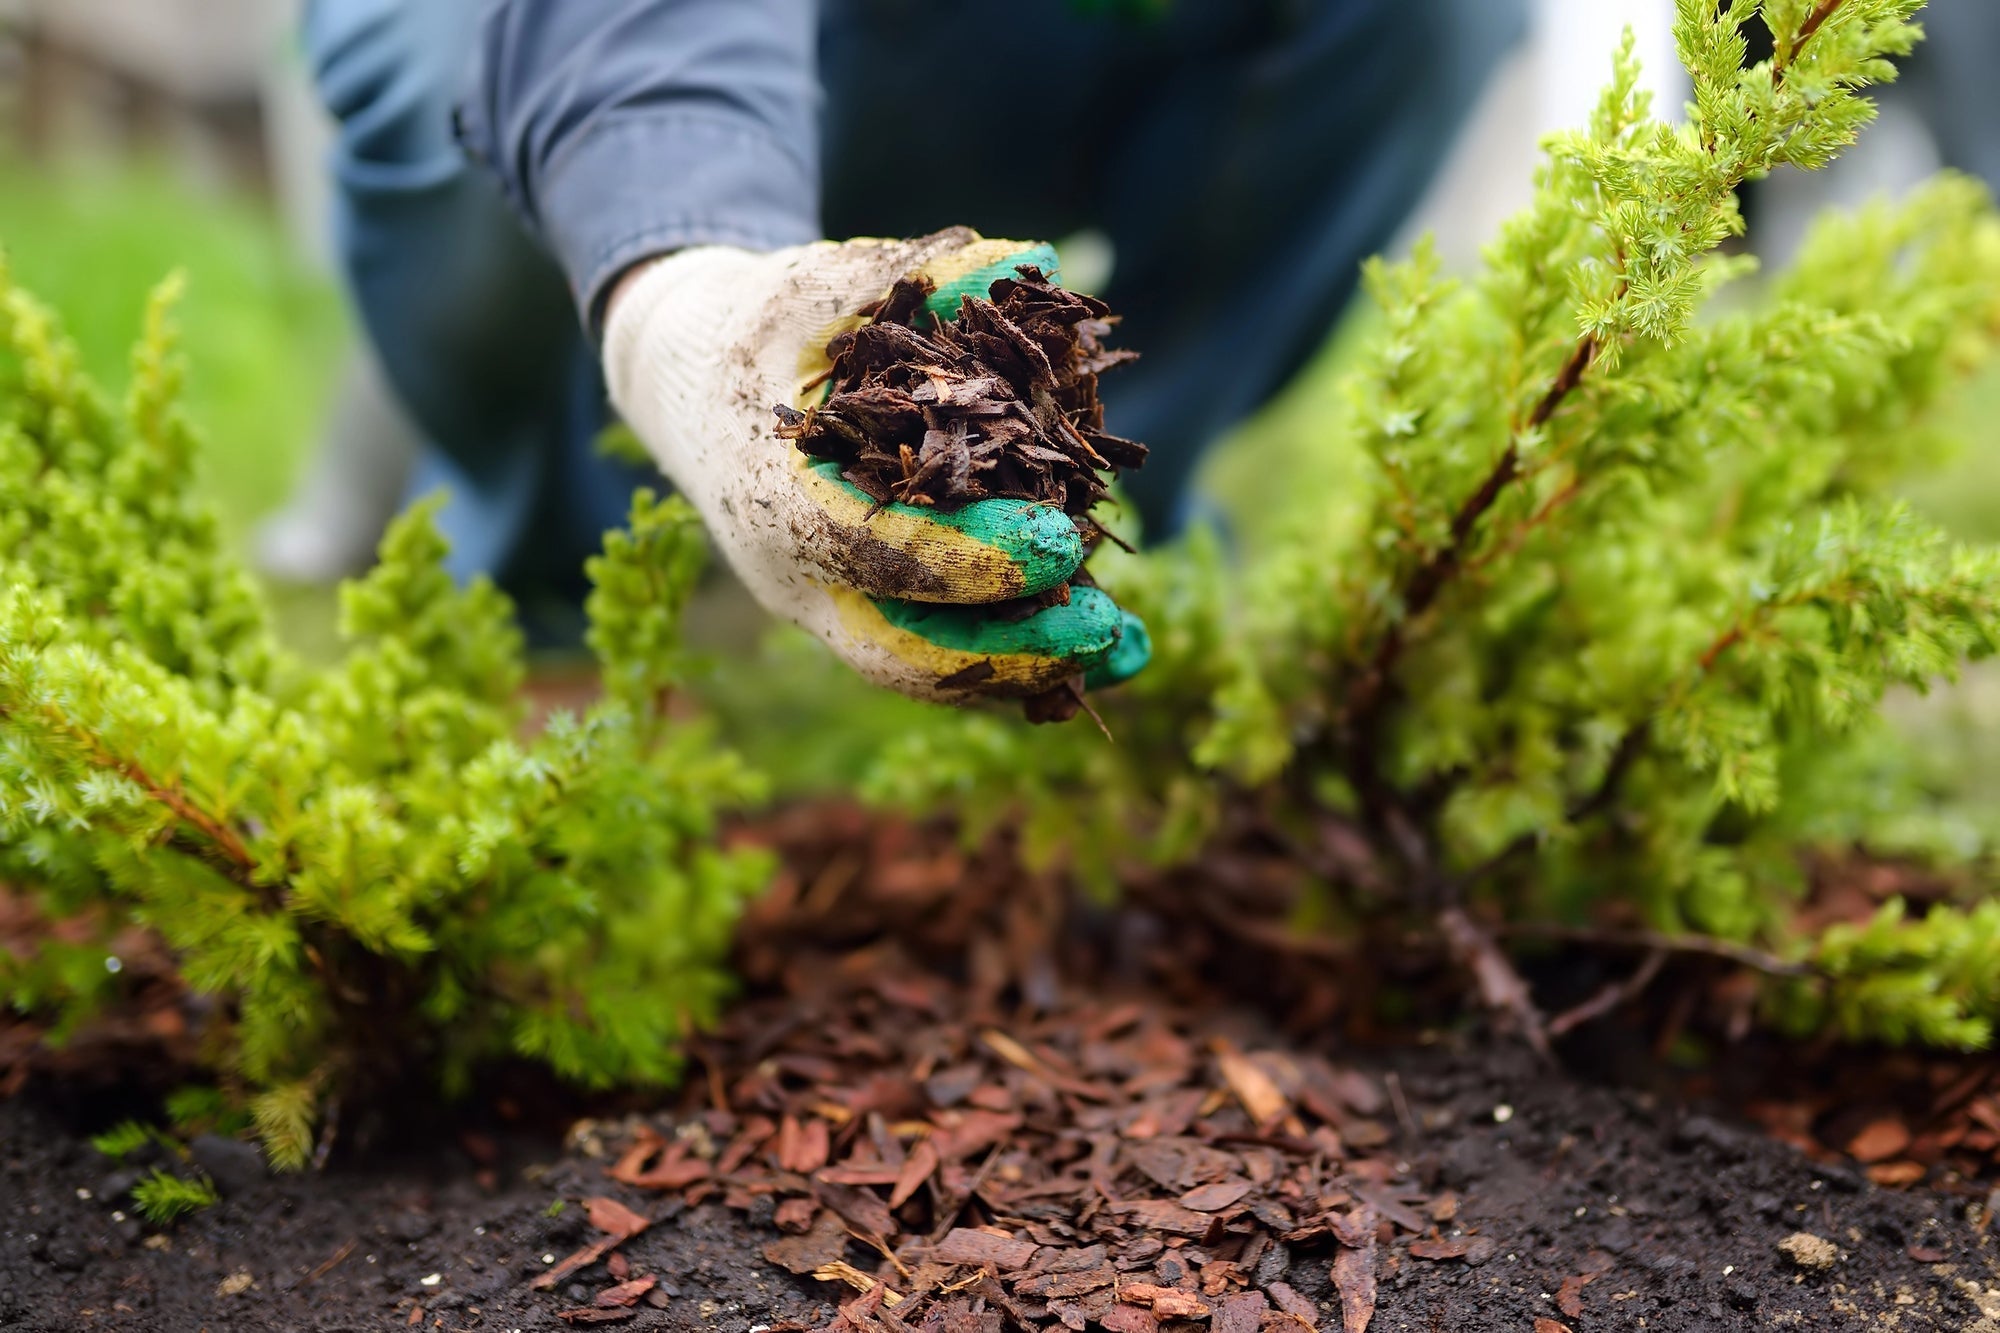
Mulchen mit Pinienrinde: So nutzt du organischen Mulch, um Unkraut zu verhindern
Das Mulchen mit Pinienrinde gehört zu den effektivsten Methoden im modernen Gartenbau und in der nachhaltigen Landwirtschaft. Dabei wird eine Schicht Mulchmaterial auf die Bodenoberfläche aufgebrac...
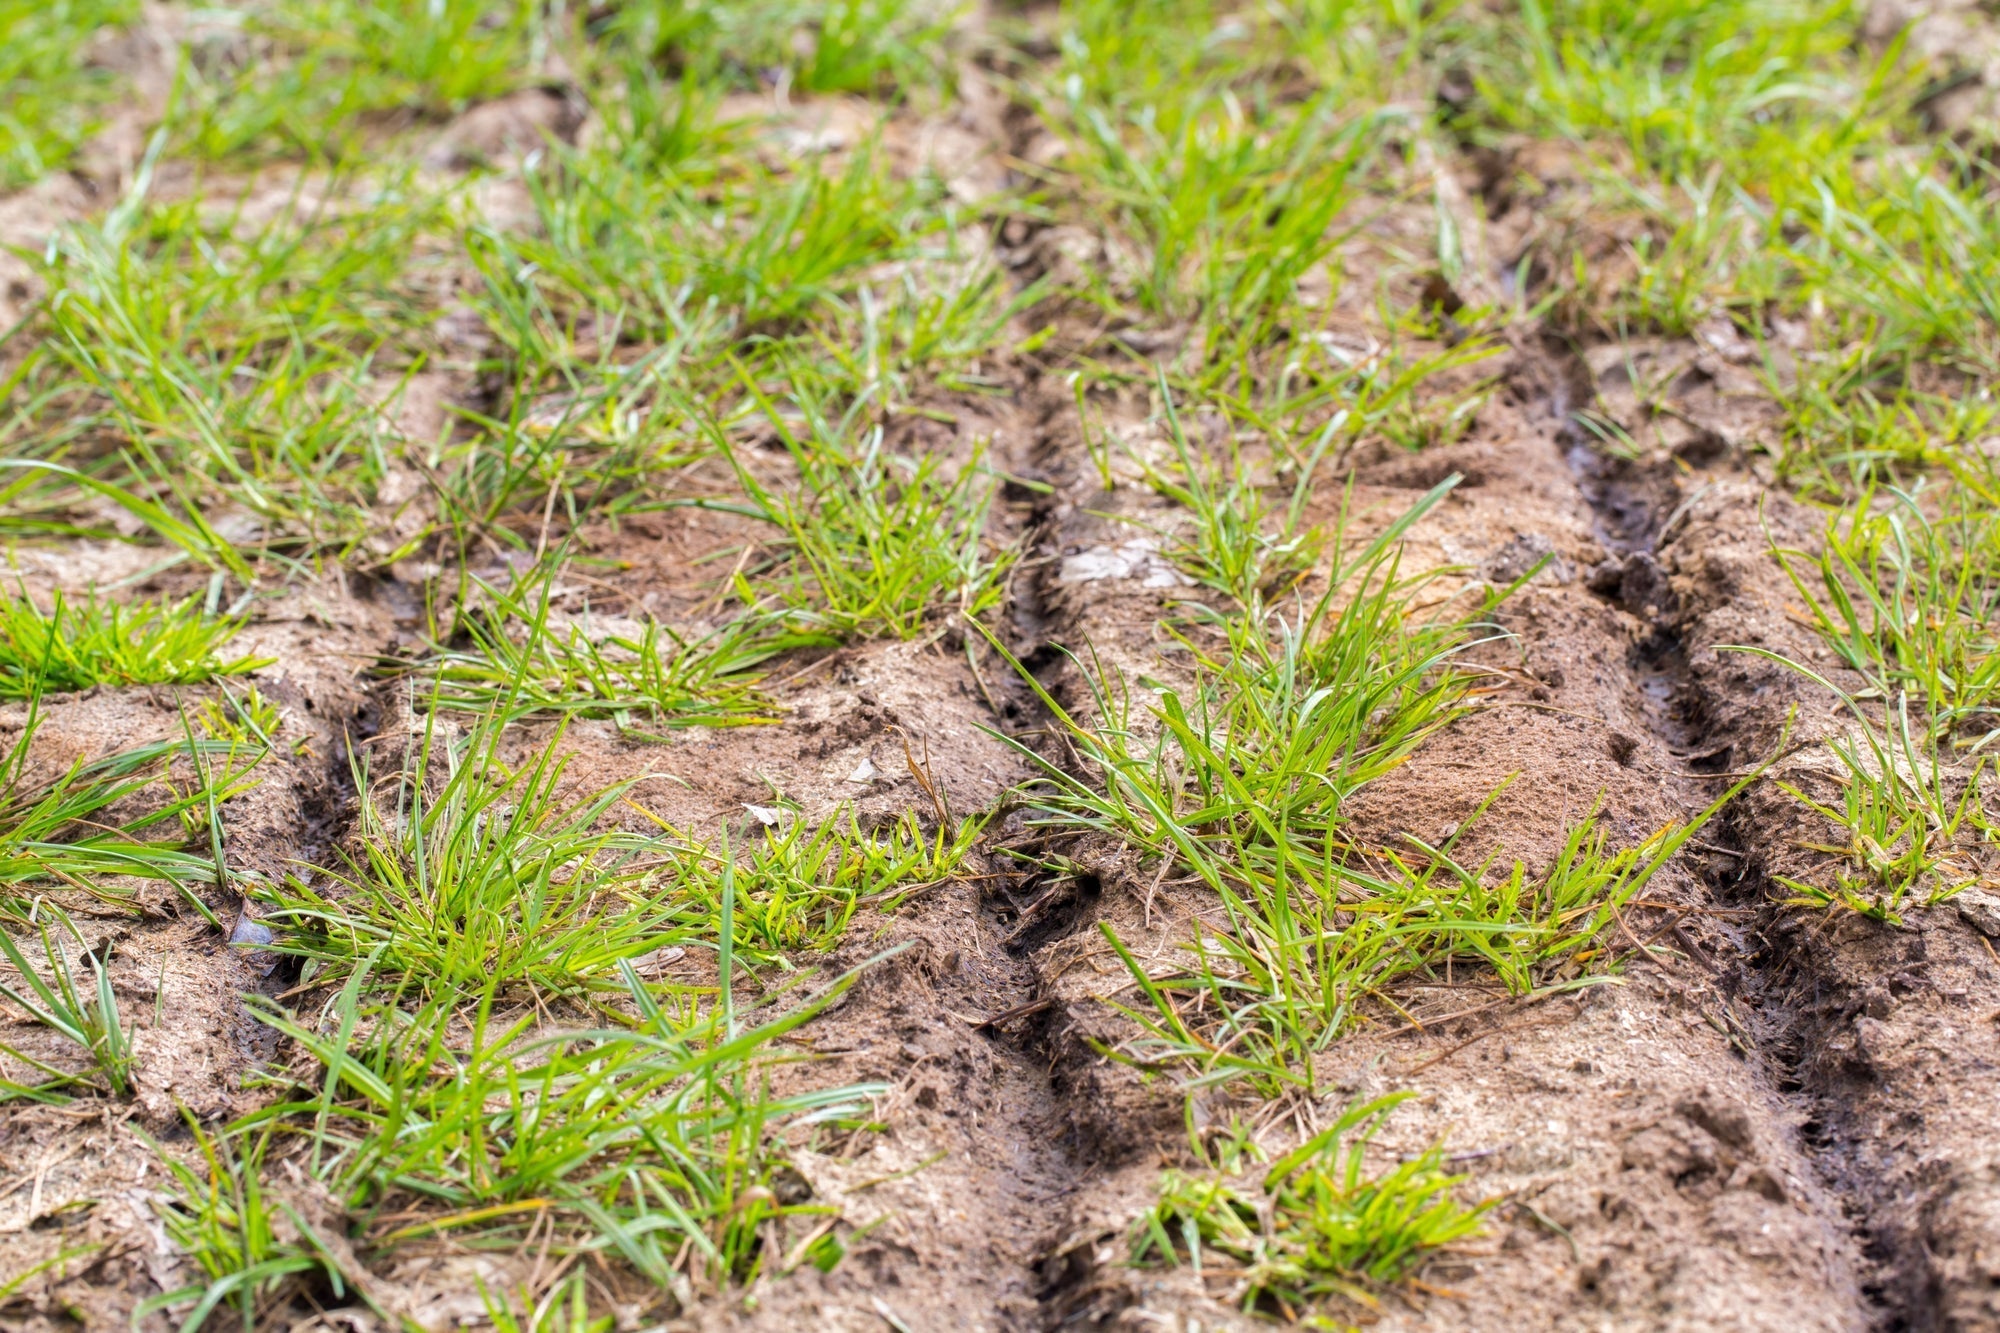
Bodenverbesserung im Garten: So verbesserst du deinen Gartenboden im Frühjahr für gesunde Pflanzen
Inhaltsverzeichnis Warum Bodenverbesserung im Garten im Frühjahr so wichtig für einen gesunden Gartenboden ist Gartenboden nach dem Winter prüfen: Bodenstruktur, Verdichtung und Bodenart erke...
Richtig Düngen im Garten: Schritt für Schritt erklärt
Inhaltsverzeichnis Warum Düngen im Garten so wichtig ist Bodenanalyse: Grundlage für die richtige Düngung Organische vs. mineralische Dünger: Was ist besser? Kompost, Hornspäne & Co.: Organi...


