
So baust du eine Hundehütte in deinem Garten selber!
Build Your Own Dog Kennel: DIY Outdoor Guide
-
Hundehütte selber bauen: Was du vor dem Bauen beachten solltest
-
DIY-Hundehütte 1: Klassische Outdoor-Hundehütte aus Holz
-
DIY Hundehütte mit Terrasse bauen: Outdoor-Lösung für große, aktive Hunde
-
Pflege und Wartung deiner Hundehütte im Garten
-
Selber bauen oder fertige Hundehütte kaufen?
-
Checkliste für deine DIY-Hundehütte
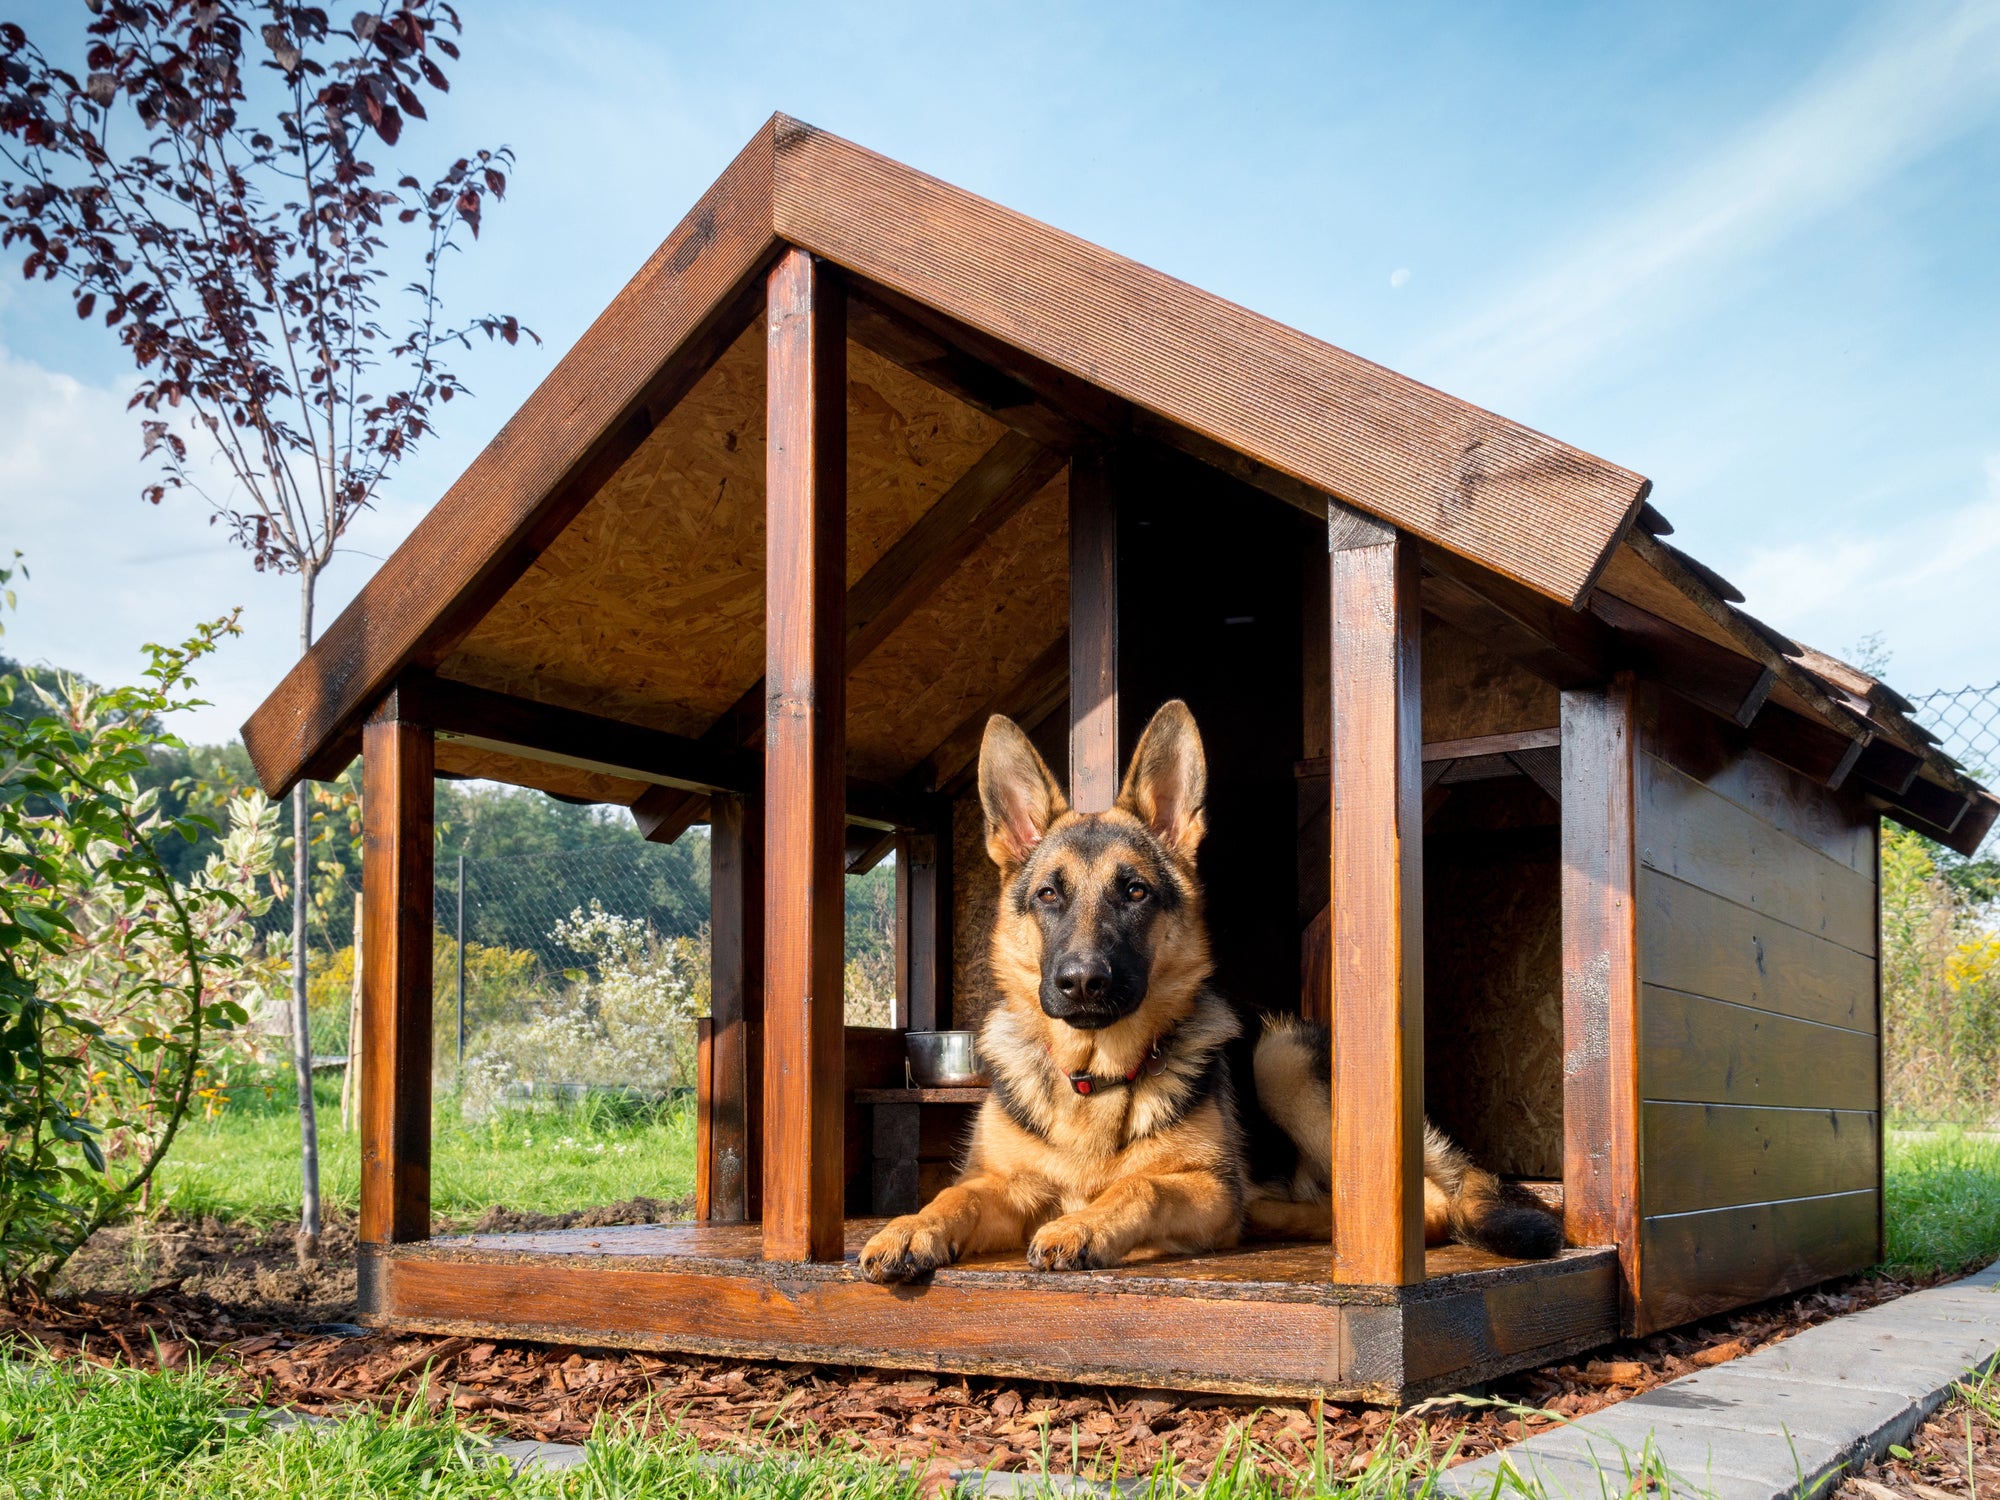
A dog kennel in the garden gives your four-legged friend shelter, peace and quiet, and a dedicated retreat. In this FUXTEC garden guide, we show you how to build an insulated dog kennel yourself – practical, easy to follow, and designed to be used every day.
Build Your Own Dog Kennel: What to Consider Before You Start
Before you pick up your tools, it's worth taking a moment to plan. Think about where the kennel will go, how much space you have in the garden, and how your dog will use it. Building your own kennel means you can make a conscious choice about materials that are robust and long-lasting. Pay particular attention to non-toxic wood preservatives and paints, as your dog will regularly come into contact with the surfaces. At FUXTEC, we've found that this choice of materials is what ultimately determines how easy the kennel is to maintain and how long it lasts. The result is a solution where the materials, construction, and use all suit your dog and your garden perfectly.
Tools & Materials for Your DIY Dog Kennel
| FUXTEC Tool | Use in the Project | Notes |
|---|---|---|
| FUXTEC Cordless Drill/Driver | Fixing frame, base board, walls, roof and decking | The central tool for both projects |
| FUXTEC Jigsaw or Circular Saw | Cutting boards, side walls, front and rear panels, decking planks | Ideal for precise cuts and the entrance opening |
| FUXTEC Sander | Smoothing edges, joints and cut surfaces | Important for safety and a clean finish |
| FUXTEC Heat Gun | Optional: removing old coatings or helping coatings dry | Not essential, but useful |
| FUXTEC Work Gloves | Protection when sawing, screwing and sanding | Safety when working with wood |
DIY Option 1: Classic Outdoor Wooden Dog Kennel
A self-built dog kennel is a great DIY project for the outdoors. Building your own kennel allows you to tailor the size, materials and construction precisely to your dog. A well-planned dog kennel gives your four-legged family member a cosy retreat with protection from wind and the elements – and can be built cost-effectively at home.

Planning & Design
Before you start, you should work out the exact size for your dog. A good rule of thumb is that the interior should be at least twice the size of your dog. The dimensions should be based on your dog's shoulder height and the length from nose to the base of the tail. This prevents the kennel from becoming too warm or developing condensation. A well-thought-out plan ensures you can build the kennel safely and straightforwardly.
| Material | Quantity | Note |
|---|---|---|
| Plywood / OSB boards (approx. 15–18 mm) | 6 sheets | Floor, sides, front, rear wall |
| Timber battens / structural timber (approx. 30×50 mm) | approx. 12–16 m | Frame, corner posts |
| Rigid foam / polystyrene insulation boards | 4–6 sheets | Floor, walls, optional roof |
| Tongue & groove cladding timber | approx. 3–5 m² | Exterior cladding |
| Roofing felt | approx. 2–3 m² | Apply with overlapping strips |
| Metal bracket connectors | 12–16 pieces | Body & roof |
| Wood screws | 1 set | Various lengths |
| Hinges (galvanised) | 2–3 pieces | Optional for roof/side panel |
| Wood glue / construction adhesive | 1 cartridge + 1 bottle | For strong joints |
| Wood stain / paint (weather-resistant) | approx. 0.75–1 litre | Weatherproof, for exterior use |
Base Board & Subframe
For the subframe, cut two base boards to size and attach a sturdy frame of timber battens on top. Pre-drill cleanly and screw everything together securely. Place polystyrene insulation in the gaps. The raised construction prevents moisture from rising up from the ground outdoors.
Side Walls, Front Panel and Rear Panel
The side walls are built identically: board, frame battens, then insulation later. Cut the front and rear panels to the correct roof angle. Cut the entrance opening into the front panel – large enough for your dog to move through freely. Use your FUXTEC jigsaw for clean, precise cuts. Make sure the front and rear panels are perfectly aligned.
Insulation & Cladding
Once assembled, fit the insulation and clad the exterior surfaces with tongue and groove timber, ideally larch. This timber species is durable and weather-resistant. It gives your dog kennel lasting protection and a smart, attractive finish.
Roof & Assembly
The roof is fitted with a slight pitch, optionally with a ridge. A particularly practical choice is a hinged removable roof, as this makes cleaning much easier. Make sure all joints are screwed together carefully.
Finishing & Positioning
Finally, sand all edges smooth and apply a non-toxic, weather-resistant wood stain or paint to the kennel. This gives the timber long-lasting protection. Position the kennel in a sheltered spot in the garden, away from direct sun. Inside, a dog bed is usually all that's needed – your dog won't need anything more.
The result is a dog kennel you've built yourself – functional, cost-effective and perfectly tailored to your dog's needs.
DIY Dog Kennel with Decking: Outdoor Solution for Large, Active Dogs
Large dogs often spend many hours a day in the garden. They move between lying down, watching the world go by, and retreating for a rest. A dog kennel with a decked area is ideal for this: the kennel provides shelter and quiet, while the decking serves as a raised lounging platform. For this structure to withstand the weight and movement of large dogs over time, careful work with the right tools is essential.

Materials List: Dog Kennel for Large Dogs with Decking
| Material | Quantity | Note |
|---|---|---|
| Plywood or OSB boards (15–18 mm) | 8 sheets | Kennel floor, side walls, front and rear panels |
| Timber battens / structural timber (approx. 40×60 mm) | approx. 18–22 m | Load-bearing frame, corner posts, decking subframe |
| Decking boards / cladding timber | approx. 4–6 m² | Decking + optional interior floor |
| Rigid foam / polystyrene insulation boards | 6–8 sheets | Floor, walls, optional roof |
| Roof boards (OSB/plywood) | 2–3 sheets | Roof surface with overhang |
| Roofing felt or roof shingles | approx. 3–4 m² | Weather-resistant roof finish |
| Metal bracket connectors (heavy duty) | 16–24 pieces | Body, decking, roof |
| Wood screws (various lengths) | 1 large set | For frame, boards, cladding |
| Hinges (galvanised) | 2–3 pieces | For removable roof or access hatch |
| Bolt / latch | 1 piece | Optional for side wall or roof |
| Wood glue / construction adhesive | 1 cartridge + 1 bottle | Additional stability |
| Wood stain / paint (weather-resistant) | approx. 1–1.5 litres | For exterior use, at least 2 coats |
| Rubber feet / paving slabs | as required | Raise kennel off damp ground |
| Food and water bowls | 2 pieces | Heavy and non-slip recommended |
Foundation & Base Board for the Kennel and Decking
Start with the base. Cut the floor boards for the kennel and decking to size – ideally using your FUXTEC saw for clean, straight edges. The load-bearing frame of timber battens is carefully aligned, pre-drilled and then fixed securely with your FUXTEC cordless drill/driver.
For large dogs in particular, a solid base is essential, as it will need to bear considerably more weight. Make sure all screwed joints are tight and that the frame is perfectly level.
Building the Decking: A Sturdy Lounge Area for Large Dogs
For the decking, cut the planks or cladding timber to length – again, work precisely with your FUXTEC jigsaw. The individual pieces are aligned evenly and fixed with your FUXTEC cordless drill/driver.
Leave small gaps between the planks so that rainwater can drain away. This improves grip and ensures the decking dries quickly – a real advantage for dogs that spend time outdoors in all weathers.
Building the Kennel: Walls, Entrance and Structural Strength
Build the side walls and front and rear panels in the traditional way from boards and frame battens. Mark out the entrance to suit your dog's size and cut it cleanly with your FUXTEC jigsaw. All edges are then smoothed with your FUXTEC sander to prevent any injuries.
Join the wall sections internally with metal brackets and screw them together carefully with your FUXTEC cordless drill/driver. Make sure all screws are countersunk sufficiently and cover them with caps where necessary.
Roof Construction: Shelter for the Kennel and Decking
Plan the roof generously so that it protects not just the interior, but also part of the decking area. Cut the roof boards to size, align them carefully and fix them with your FUXTEC cordless drill/driver.
A slight pitch ensures rainwater drains away reliably. You can optionally make the roof removable, which makes cleaning and inspection much easier – particularly useful for large dogs that tend to bring in a lot of mud.
Surface Treatment & Weather-Resistant Finish
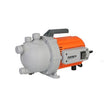
To finish, sand all joints once more with your FUXTEC sander and apply a non-toxic, weather-resistant wood stain to the whole structure. Applying the stain is particularly easy with a FUXTEC cordless garden sprayer. This lets you coat the wood evenly and gives it especially effective protection against the elements.
Position the kennel with decking in a wind-sheltered spot in the garden so your dog can enjoy both sun and shade.
Maintaining Your Garden Dog Kennel
Check the roof, exterior surfaces and floor regularly for dampness, loose screws or small cracks in the wood. After prolonged wet spells – which are common in the UK – it's well worth having a quick look inside. If it stays reliably dry in there, your dog will be much more inclined to use it.
We at FUXTEC recommend giving the kennel a light sand and a fresh coat of stain once a year. This maintains the weatherproofing, extends the life of the kennel and keeps it looking smart. A removable roof or access hatch makes cleaning much easier – especially for dogs that spend a lot of time outdoors. Inside, a removable dog bed that can be aired or washed regularly is usually all that's needed.
Build It Yourself or Buy a Ready-Made Kennel?
Buying a ready-made dog kennel for the garden can seem like the easy option at first glance. But once it's in place, small shortcomings tend to emerge. The entrance might not be quite the right size, the roof may face the wrong way for the prevailing weather, or the inside gets damp faster than expected. With outdoor use, it quickly becomes clear that off-the-shelf solutions aren't designed for every dog and every garden.
When you decide to plan and build the kennel yourself, you naturally approach the task differently. You know how and where your dog likes to rest, you think carefully about the position and consider how the kennel will be used day to day. If your dog loves spending time outside watching the world go by, a kennel with a decked area makes sense. If he or she prefers to retreat when it's windy, you can plan a more enclosed interior. That's precisely the advantage of building your own dog kennel.
At FUXTEC, we've found that home-built dog kennels get used far more consistently than bought ones. Small details that no instruction manual covers emerge naturally along the way: a better roof overhang, a drier floor, or easier access for cleaning. It's exactly these little touches that make all the difference in the end.
Checklist for Your DIY Dog Kennel
Planning & Preparation
- ☐ Location in the garden decided (sheltered from wind, not in full sun all day)
- ☐ Use confirmed: retreat, decking, observation spot
- ☐ Size of kennel matched to your dog (lying and turning space)
- ☐ Roof style chosen (pitched or flat with slope)
- ☐ Build guide read through in full
FUXTEC recommends settling these points before making the first cut – changes later will cost you time and materials.
Materials & Tools
- ☐ Timber boards for floor, walls and roof to hand
- ☐ Timber battens / structural timber cut to size for frame
- ☐ Insulation material for floor and walls planned in
- ☐ Roofing felt or roof covering ready
- ☐ Screws, brackets, hinges and latch to hand
- ☐ Weather-resistant, non-toxic wood preservative/paint sourced
- ☐ FUXTEC cordless drill/driver charged
- ☐ FUXTEC jigsaw ready to use
- ☐ FUXTEC sander within reach
Discover our range of garden tools
What size should a dog kennel be?
The interior should be at least twice the size of your dog, based on their shoulder height and length from nose to tail base. This prevents the kennel from becoming too warm or developing condensation, ensuring your dog stays comfortable year-round.
Which wood is best for an outdoor dog kennel?
Larch timber is ideal for outdoor dog kennels as it is naturally durable and weather-resistant. Combined with non-toxic wood preservatives and paints, it provides long-lasting protection against the elements while keeping your dog safe.
Do I need to insulate a dog kennel?
Yes, insulation is recommended for outdoor kennels. Rigid foam or polystyrene boards in the floor, walls and optionally the roof help regulate temperature and prevent dampness, keeping your dog warm and dry in all weathers.
How often should I maintain a wooden dog kennel?
FUXTEC recommends giving your kennel a light sand and fresh coat of weather-resistant wood stain once a year to maintain weatherproofing and extend its lifespan. After wet spells, check regularly for dampness, loose screws or cracks.
Should the dog kennel roof be removable?
A removable or hinged roof is particularly practical as it makes cleaning and inspection much easier. This is especially useful if your dog spends a lot of time outdoors and tends to bring in mud or debris.
Can I build a dog kennel with a decking area?
Yes, a kennel with decking is ideal for large, active dogs that enjoy spending time outdoors. The kennel provides shelter and quiet, whilst the raised decking serves as a lounge platform where your dog can watch the world go by.
What tools do I need to build a dog kennel?
Essential tools include a cordless drill/driver for fixing components, a jigsaw or circular saw for precise cuts, a sander for smoothing edges, and work gloves for safety. A heat gun is optional but useful for helping coatings dry evenly.
More articles about garden care
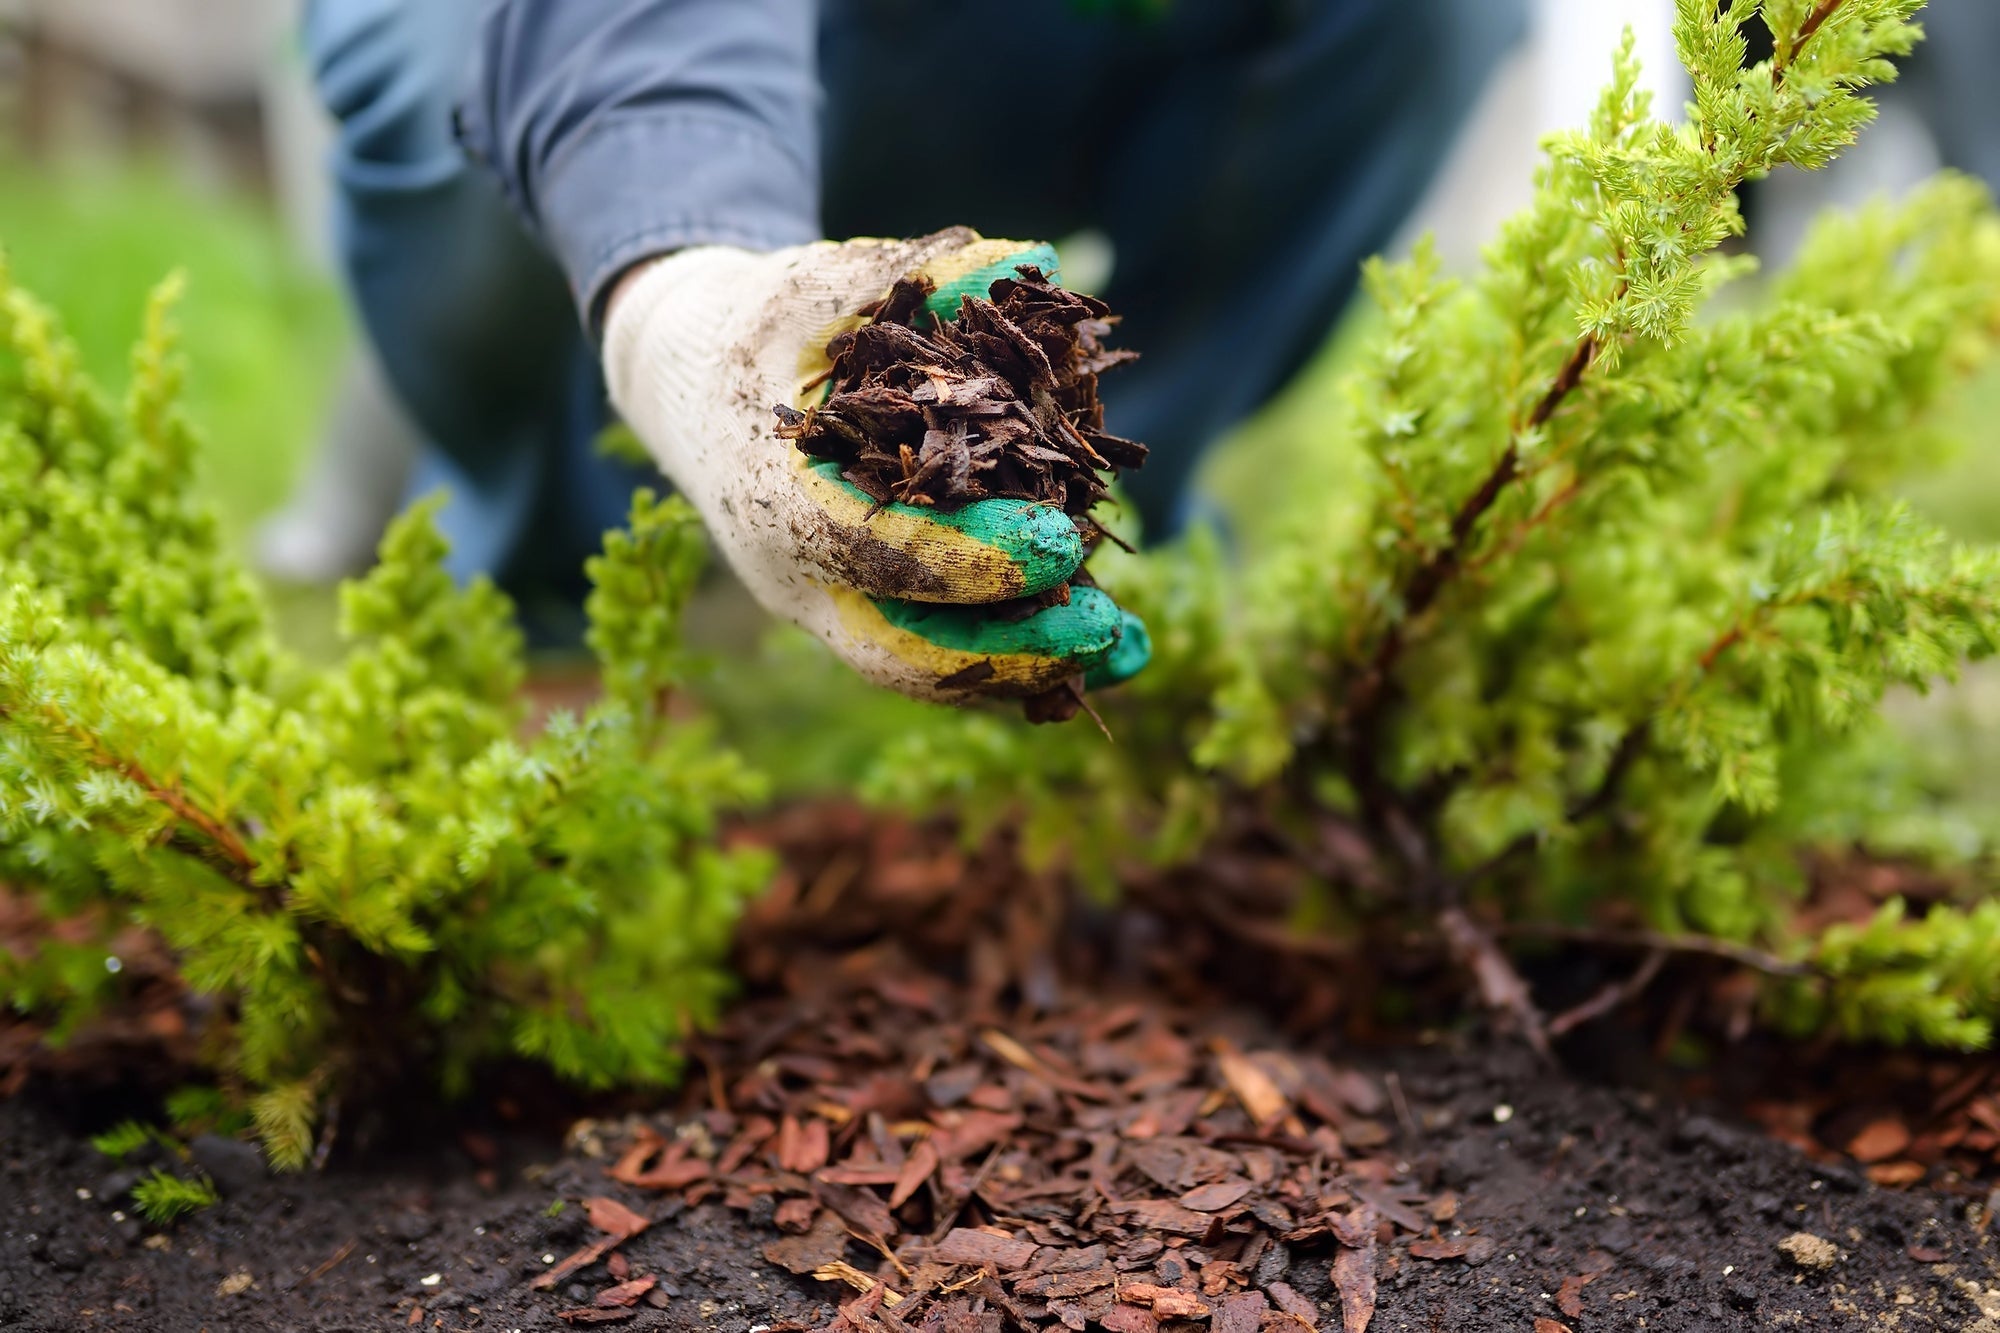
Mulchen mit Pinienrinde: So nutzt du organischen Mulch, um Unkraut zu verhindern
Das Mulchen mit Pinienrinde gehört zu den effektivsten Methoden im modernen Gartenbau und in der nachhaltigen Landwirtschaft. Dabei wird eine Schicht Mulchmaterial auf die Bodenoberfläche aufgebrac...

Bodenverbesserung im Garten: So verbesserst du deinen Gartenboden im Frühjahr für gesunde Pflanzen
Inhaltsverzeichnis Warum Bodenverbesserung im Garten im Frühjahr so wichtig für einen gesunden Gartenboden ist Gartenboden nach dem Winter prüfen: Bodenstruktur, Verdichtung und Bodenart erke...

Richtig Düngen im Garten: Schritt für Schritt erklärt
Inhaltsverzeichnis Warum Düngen im Garten so wichtig ist Bodenanalyse: Grundlage für die richtige Düngung Organische vs. mineralische Dünger: Was ist besser? Kompost, Hornspäne & Co.: Organi...


