


Gartenpflege im Frühjahr
When to Fertilise in Spring: The Complete Guide
When to Fertilise in Spring: Your Smart Guide to Spring Feeding
Winter is retreating, the sun is coaxing the first shoots from the ground – and that's exactly when you find yourself wondering: when should you fertilise in spring? Here at FUXTEC, we know that timing isn't just a gut feeling – it's a combination of soil temperature, plant stage, and the right weather window. Here's everything you need to send your plants into the season with real vigour – practical, clear, and with the eye of a seasoned gardener.
The key takeaway
Fertilise in spring once the soil has consistently reached around 8–10 °C and fresh growth is visible – no earlier, no later.
How to tell it's time
Nature is the best calendar. Once your lawn is visibly growing again, buds on shrubs are swelling, and the ground is no longer frozen in the morning, vegetation is underway. As a rule – depending on your region – this falls between mid-March and late April. More important than the date is the soil temperature: it should sit consistently at 8–10 °C. Use a soil thermometer, or watch natural indicators such as dandelions flowering and forsythia blooming – both are reliable signals that the starting gun has fired.
Just as important: soil moisture and weather conditions. Ideal is a lightly moist, well-drained soil without waterlogging. Plan fertilising before a light shower or water thoroughly afterwards so nutrients can reach the roots. Avoid frosty nights immediately after application, and avoid the midday sun at full strength – this stresses plants and can lead to nutrient losses.
Lawn, beds, hedges: when to fertilise in spring by area
For the lawn: apply the first feed shortly after the first mow – once growth has visibly resumed, the grass can take up nutrients and convert them into lush green. Nitrogen provides the growth boost, while potassium strengthens cell walls and builds resilience. Depending on your soil and product, plan a second application 6–8 weeks later, ideally using a slow-release fertiliser. Beforehand, you can – if needed – lightly scarify and remove thatch so that the fertiliser granules reach the soil.
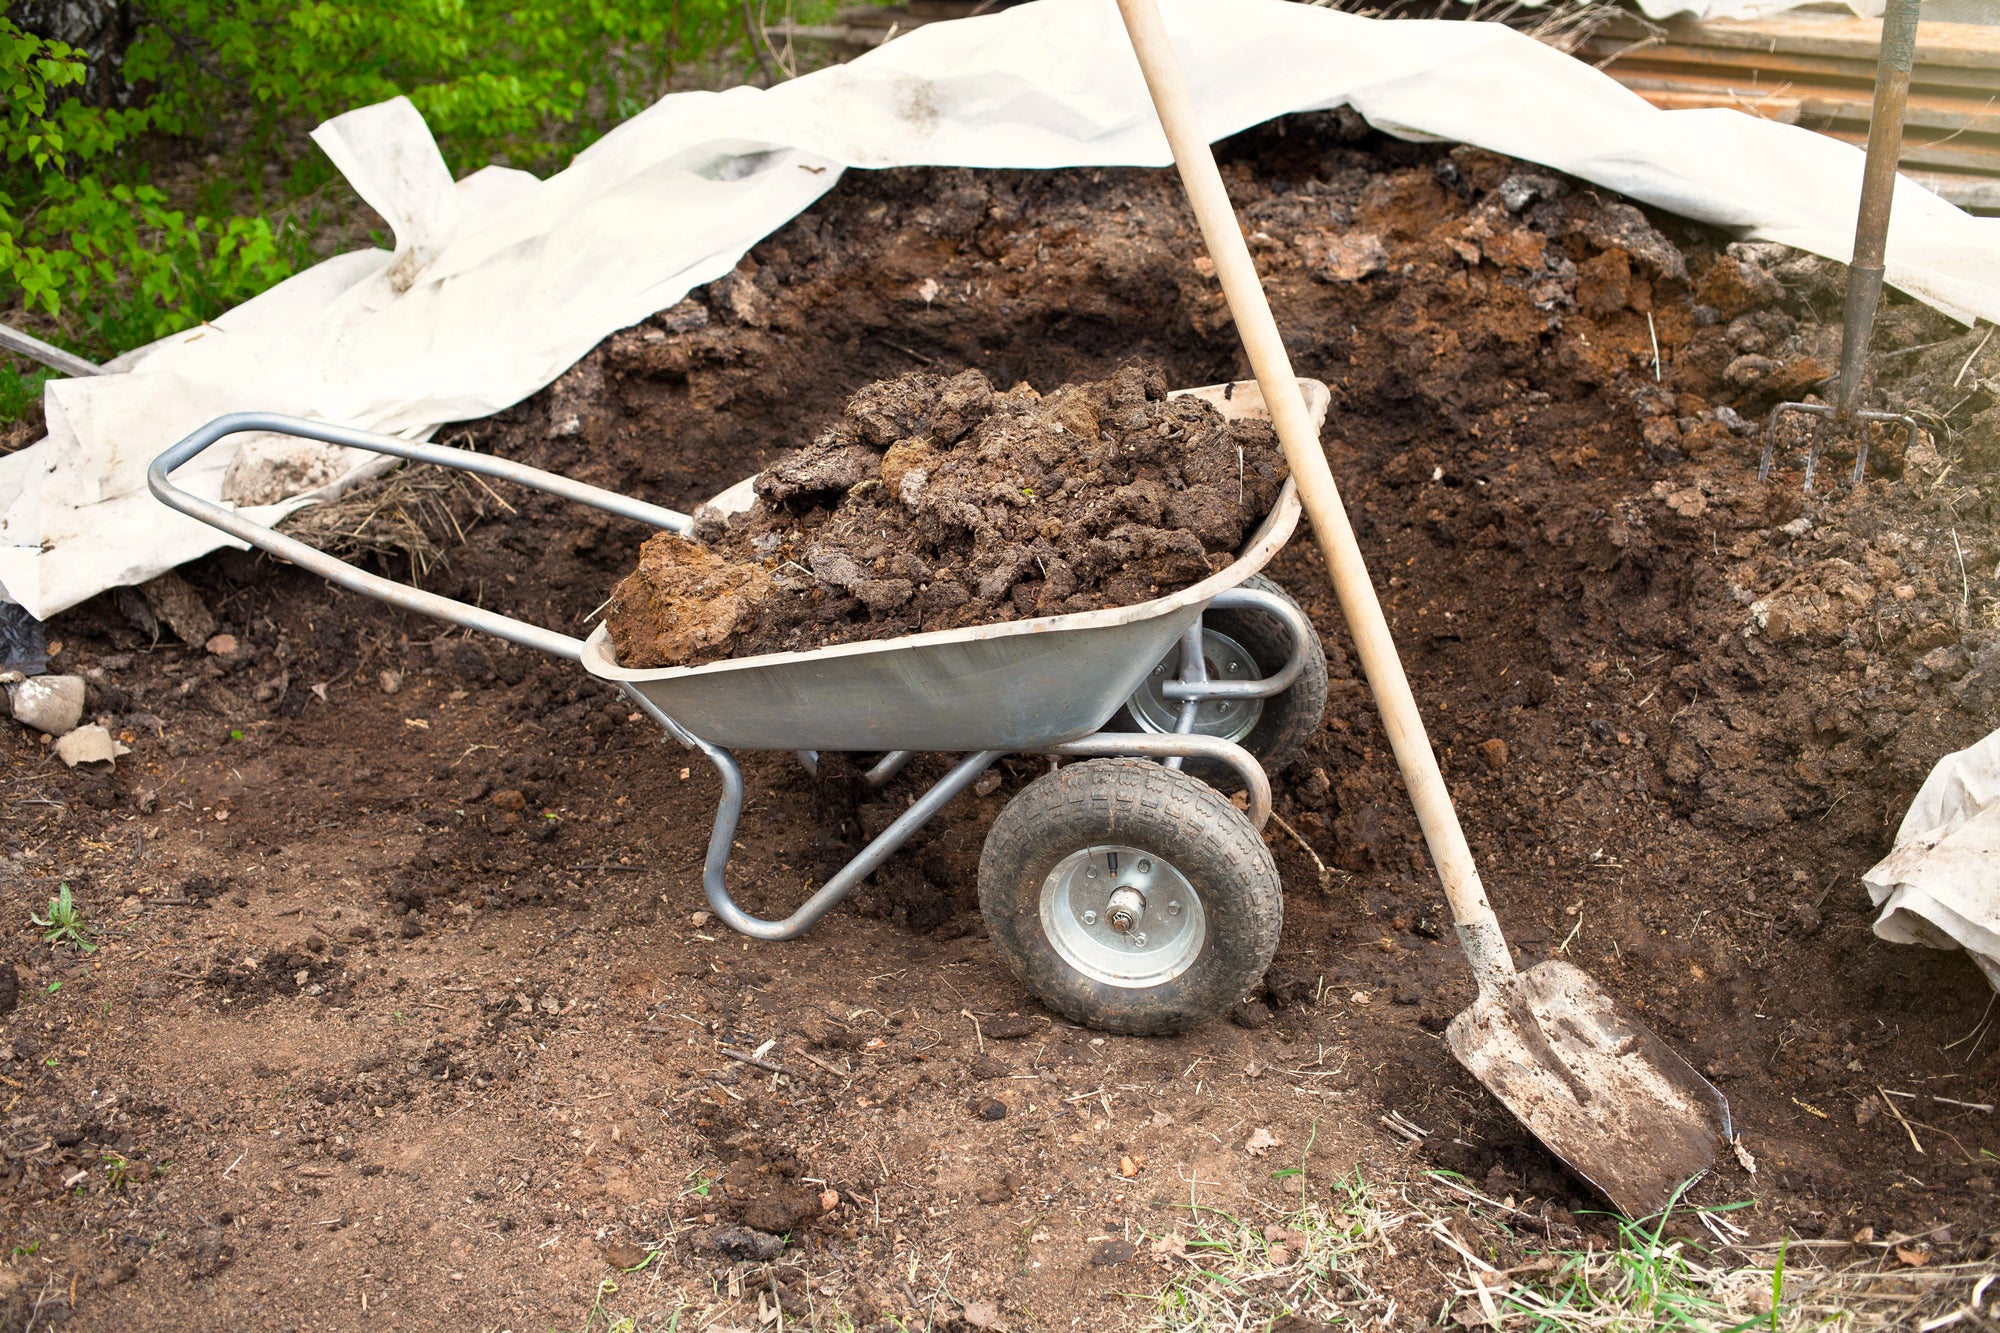
In the border, begin base feeding with organic or organo-mineral fertilisers once perennial growth appears and the soil has dried out a little. Perennials, roses, and hedges benefit from a first feed in early spring, with a second application for heavy feeders in early summer. Vegetables require a more nuanced approach: cold frames and lettuces need less, while tomatoes, courgettes, and brassicas need considerably more – here, combine compost with a targeted NPK feed, or supplement with comfrey liquid as a natural fertiliser. For fruit trees and bushes, feed around the time of leaf burst, not while in full flower.
Weather, time of day, and soil moisture: the perfect window
A mild, overcast day is ideal. Avoid applying before heavy rainfall is forecast: too much water washes nutrients away before they can take effect. Equally, a completely dry, dusty soil is unhelpful – granules will sit on the surface too long. Lightly moist is perfect, allowing granules to bind and dissolve quickly.
The best time of day is early morning or late afternoon. Surfaces are cooler, evaporation is low, and plants are at rest. After application: water in gently. A short, even irrigation run is sufficient – or take advantage of a forecast light rain shower. What to avoid: midday heat, frost, and heavy rain immediately after fertilising.
Which fertilisers are right now? Types, nutrients, and dosage
In spring, plants need above all energy to get started. The formula: more nitrogen (N) for leaf mass, sufficient phosphorus (P) for roots, and potassium (K) for robustness. Organic fertilisers release nutrients slowly and sustainably; mineral fertilisers act quickly and precisely. Organo-mineral products combine both worlds.
- Nutrient roles in brief:
- N (Nitrogen): Growth, green colour, leaf development
- P (Phosphorus): Root development, flowering, fruit set
- K (Potassium): Resilience, water balance, cell stability
A rough guide for getting started:
- Lawn: 20–30 g/m² of a spring-specific NPK fertiliser, ideally with a slow-release component
- Perennials/hedges/roses: depending on the product, work in 40–80 g/m² (organic) and mulch
- Vegetables (heavy feeders): compost plus a targeted NPK feed according to label instructions; light feeders correspondingly less
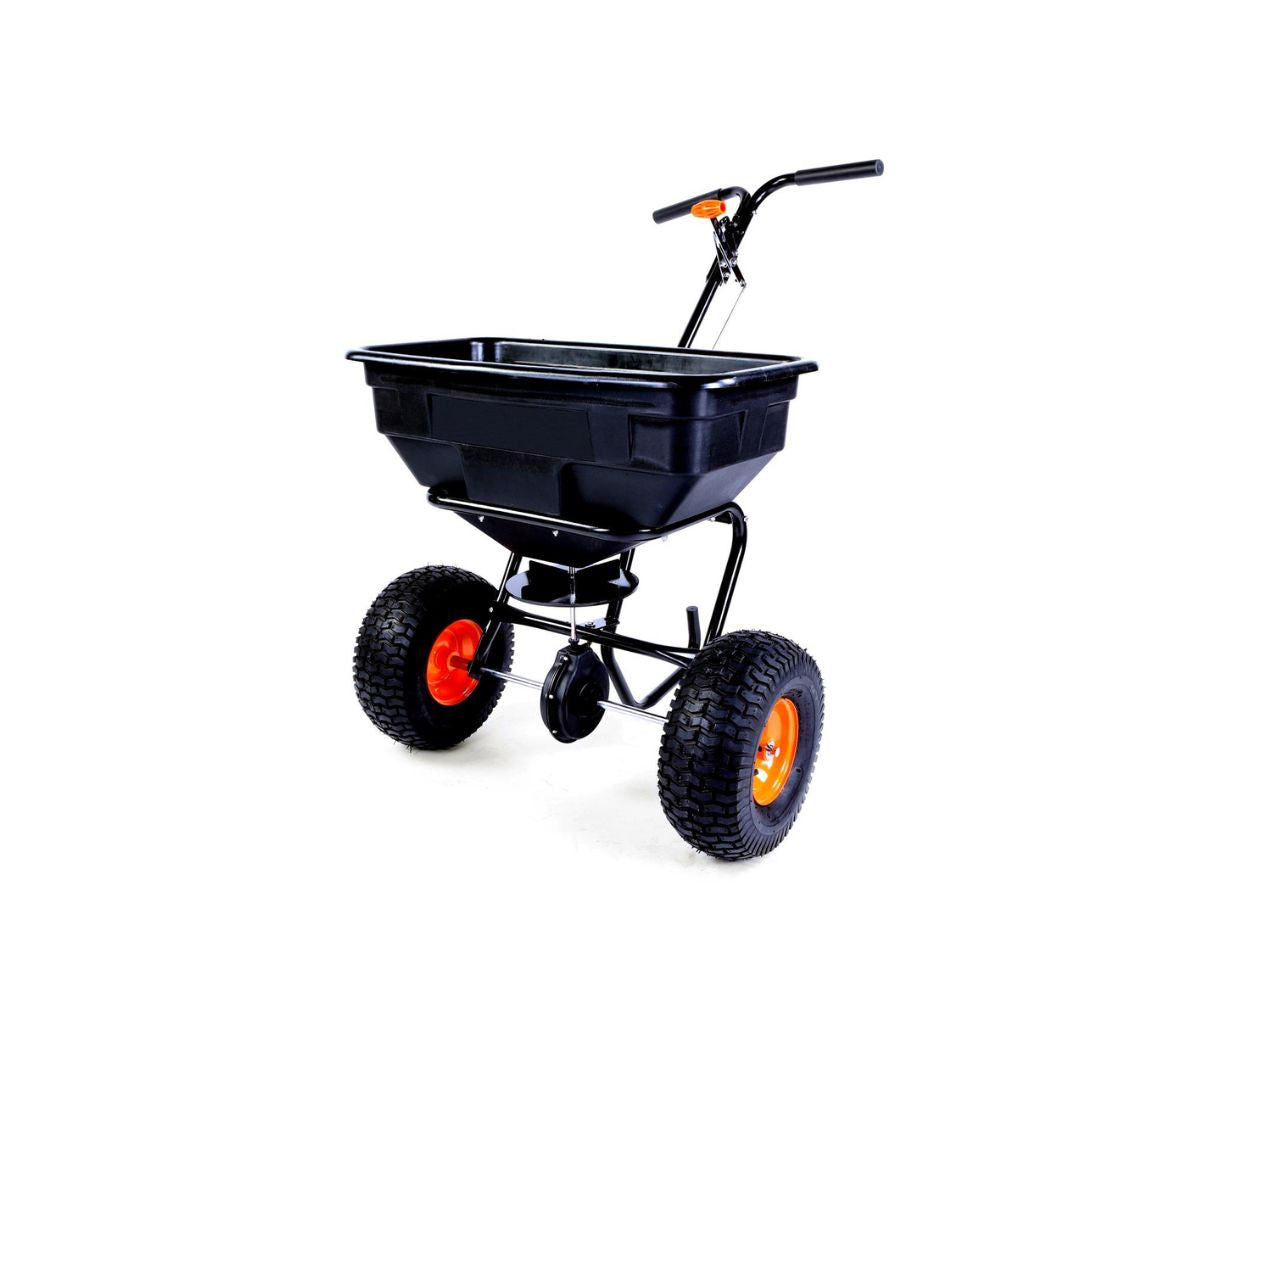
At FUXTEC, we rely on even distribution – a correctly calibrated spreader ensures precision and prevents overdosing.
| Area | Suitable fertiliser type | Typical NPK ratio | First application (guideline) | Second application |
|---|---|---|---|---|
| Lawn | Slow-release, organo-mineral | 20-5-8 to 15-5-10 | At 8–10 °C soil temperature and after the first cut | After 6–8 weeks |
| Perennials & roses | Organic / organo-mineral | 8-5-10 to 10-5-8 | At bud break, once soil has dried slightly | At bud formation or after the main flush |
| Hedges & shrubs | Organic | 6-3-10 to 8-4-10 | During the bud-break phase | Light application in summer |
| Vegetables (heavy feeders) | Organic with mineral supplement | 10-5-10 to 12-8-16 | 1–2 weeks before planting or at transplanting | After 4–6 weeks depending on crop |
| Fruit trees & bushes | Organic | 5-3-8 to 8-4-10 | At leaf burst, not during flowering | Sparingly in June |
Note: Label instructions on the product always take priority. Soils vary – a soil test will give you a finer calibration.
Common spring mistakes and how to avoid them
One classic error: fertilising too early. When the soil is still cold, nutrients go unused, can be leached away, or promote leaf growth before the roots are ready. Wait for the 8–10 °C threshold and visible new growth. Equally unhelpful: overdosing. More fertiliser doesn't make plants stronger faster – it scorches roots and disrupts soil life. Stick to product quantities and apply evenly.
Another stumbling block: uneven distribution. Light and dark stripes across the lawn are the result. Our practical FUXTEC solution: calibrate your spreader, work in overlapping passes, and apply in calm conditions. Mistake number three: not watering in. Without water, nutrients cannot dissolve. So after spreading, water briefly – unless a light shower is reliably forecast.
Step by step: how to fertilise correctly right now
1. Check the soil: Does the ground no longer feel cold and clammy in the morning? Does your soil thermometer show 8–10 °C? Is new growth visible? Then the time is right.
2. Prepare the area: Mow the lawn, remove thatch and leaves; loosen beds and temporarily pull back mulch. Tip: get your mower ready for the season before you start.
3. Choose your product: Match it to area and need (lawn, hedges, perennials, vegetables). Consider a slow-release component for consistent feeding.
4. Set up your equipment: Calibrate the spreader or hand broadcaster. Test the output rate on a small trial area first.
5. Apply evenly: In parallel passes, then crosswise – this prevents striping.
6. Work in & water: Lightly rake granules into borders, then water in thoroughly or rely on an incoming light shower.
7. Follow-up check: Assess needs again after 6–8 weeks. Heavy feeders benefit from a second application; light feeders usually don't need one.
With this routine, you make the most of the optimal window and get the maximum from every feed – efficiently and without waste.
Region, soil type, and plant variety: fine-tuning for your garden
No two gardens are alike. In milder regions – such as the South West or coastal areas – the feeding season often starts earlier; in upland or northern areas somewhat later. Light sandy soils warm up more quickly but need smaller, more frequent applications, as nutrients leach more easily. Heavy clay soils retain nutrients longer but respond sluggishly – give them time to come up to temperature.
Plant type also plays a role: evergreen hedges such as cherry laurel or leylandii appreciate an early, moderate feed as soon as they begin to push. Spring bulbs such as daffodils draw on their stored energy reserves; often a light post-flowering feed is enough to build strength for next season. With vegetables, the rule is: the greater the biomass and fruiting demand of a crop, the more precisely nutrient supply needs to be planned.
FUXTEC practical tips for clean results
We believe in clear, safe processes. A few simple steps make all the difference:
- Mow first, then fertilise: This ensures even distribution.
- Watch your edges: Use half the spreading rate along paths and hard surfaces to avoid over-fertilising at the margins.
- Plan around the rain forecast: A light shower is ideal – heavy rain means postponing your application.
- Maintain your equipment: Clean the spreader after use. Damp granules can clump and throw off your dosage accuracy.
- Safety first: Wear gloves and work carefully to protect yourself and your soil life.
This way you work efficiently and leave an area that is evenly fed – with no nutrient hot spots.
How to get your season off to the right start
If you're asking yourself, "when is the right time to fertilise in spring?" – our answer from FUXTEC practice is: when the soil is warm enough, plants are visibly active, and a mild weather window is on its way. With the right fertiliser, even distribution, and a good water-in afterwards, you lay the foundation for strong growth and an easy-care season.
Keep it simple: observe your plants, check the soil temperature, plan smart – and get going with a well-considered spring feed. That's how you get the best from your garden, from the first blade of grass to the last border edge. That's exactly how we work at FUXTEC: friendly, clear, and technically on point – always with an eye on what your plants truly need right now.
Everything for your garden

More articles about garden care
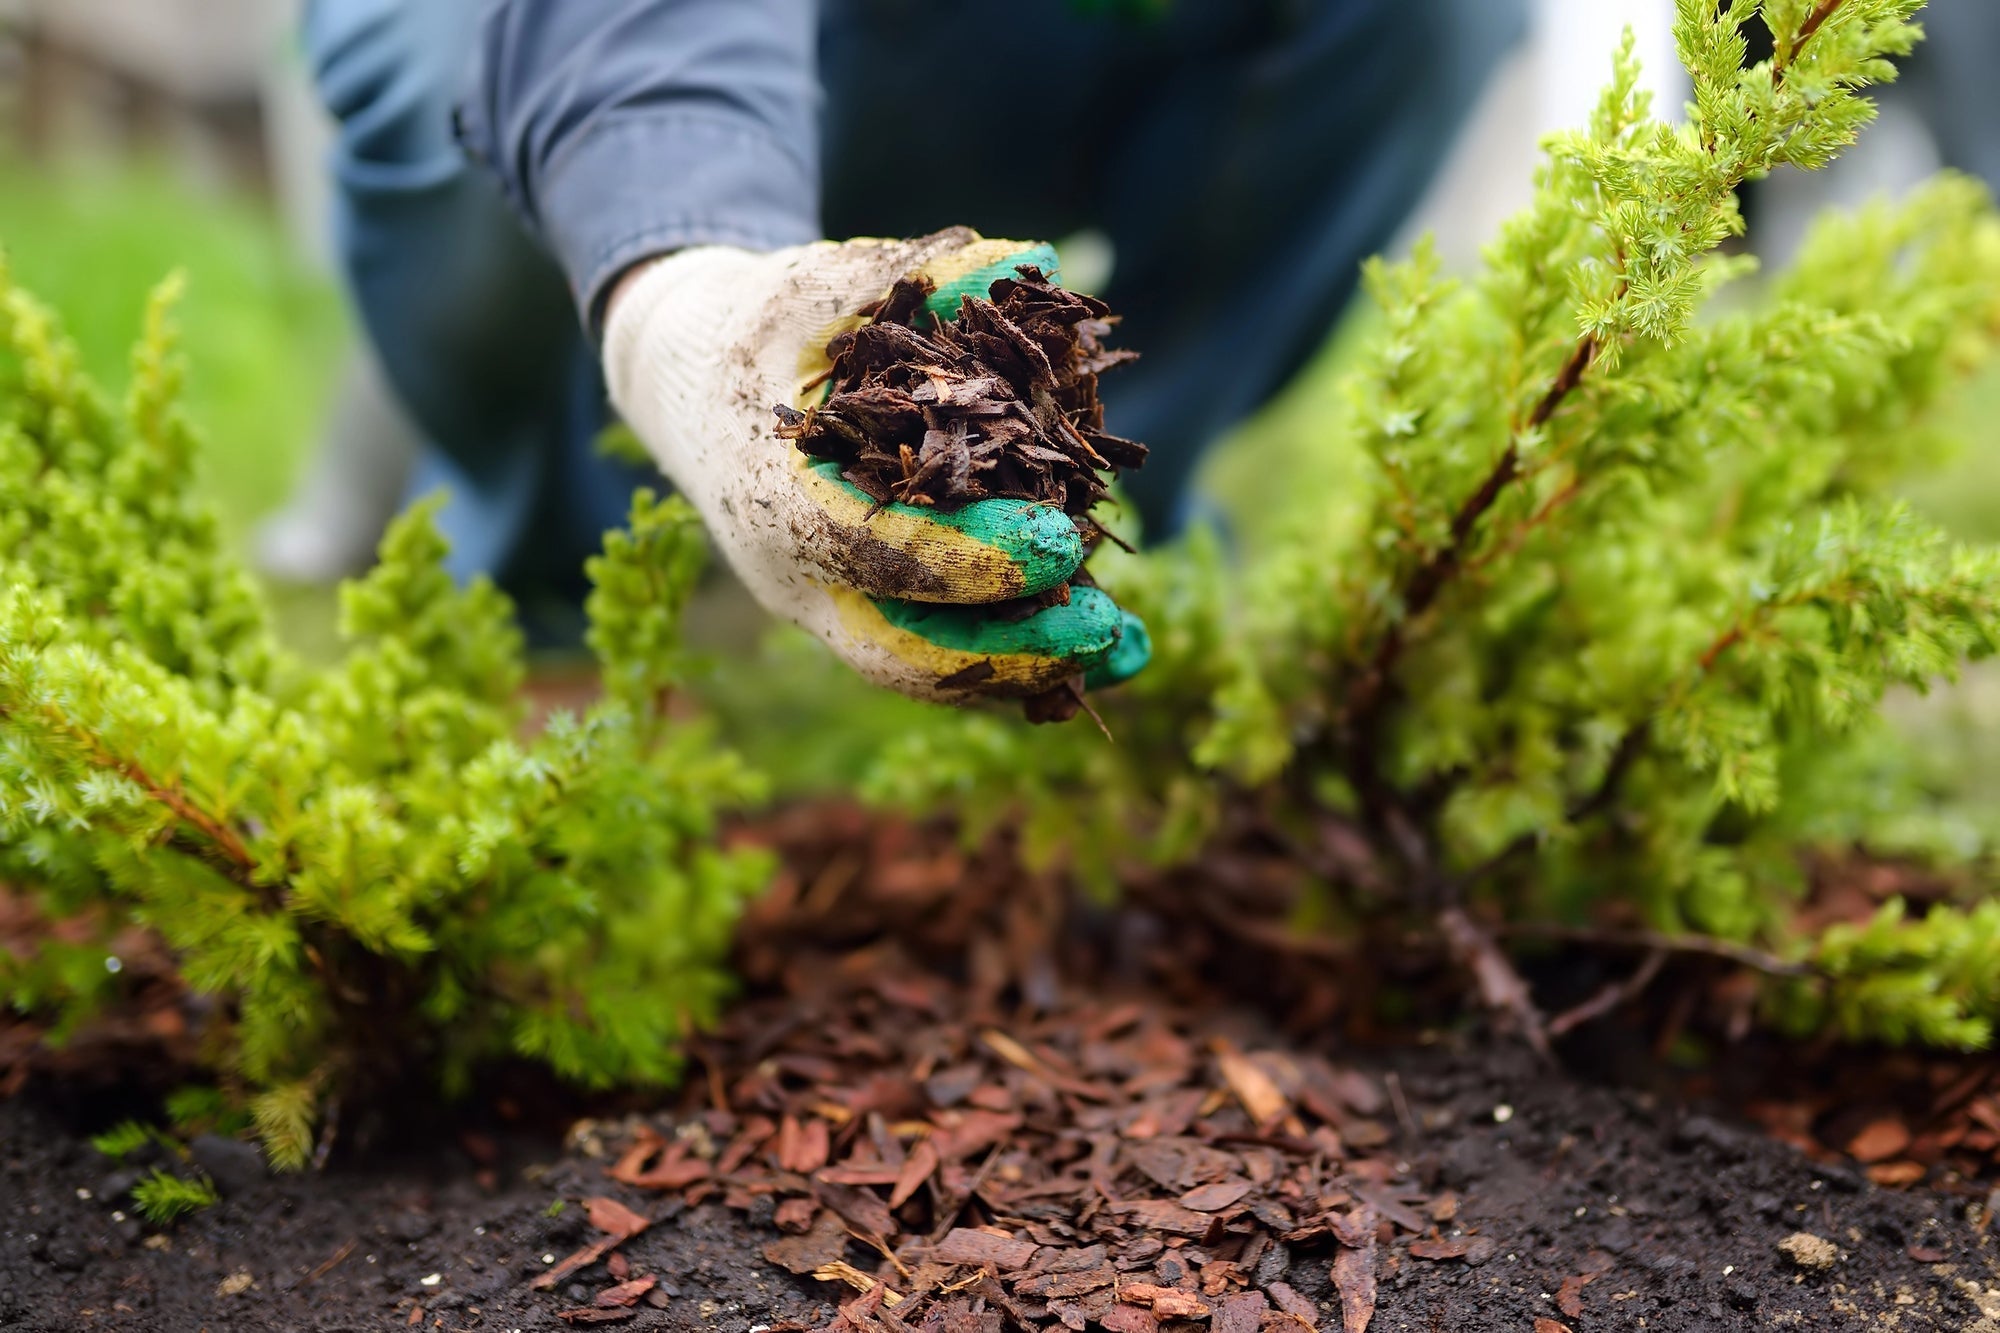
Mulchen mit Pinienrinde: So nutzt du organischen Mulch, um Unkraut zu verhindern
Das Mulchen mit Pinienrinde gehört zu den effektivsten Methoden im modernen Gartenbau und in der nachhaltigen Landwirtschaft. Dabei wird eine Schicht Mulchmaterial auf die Bodenoberfläche aufgebrac...
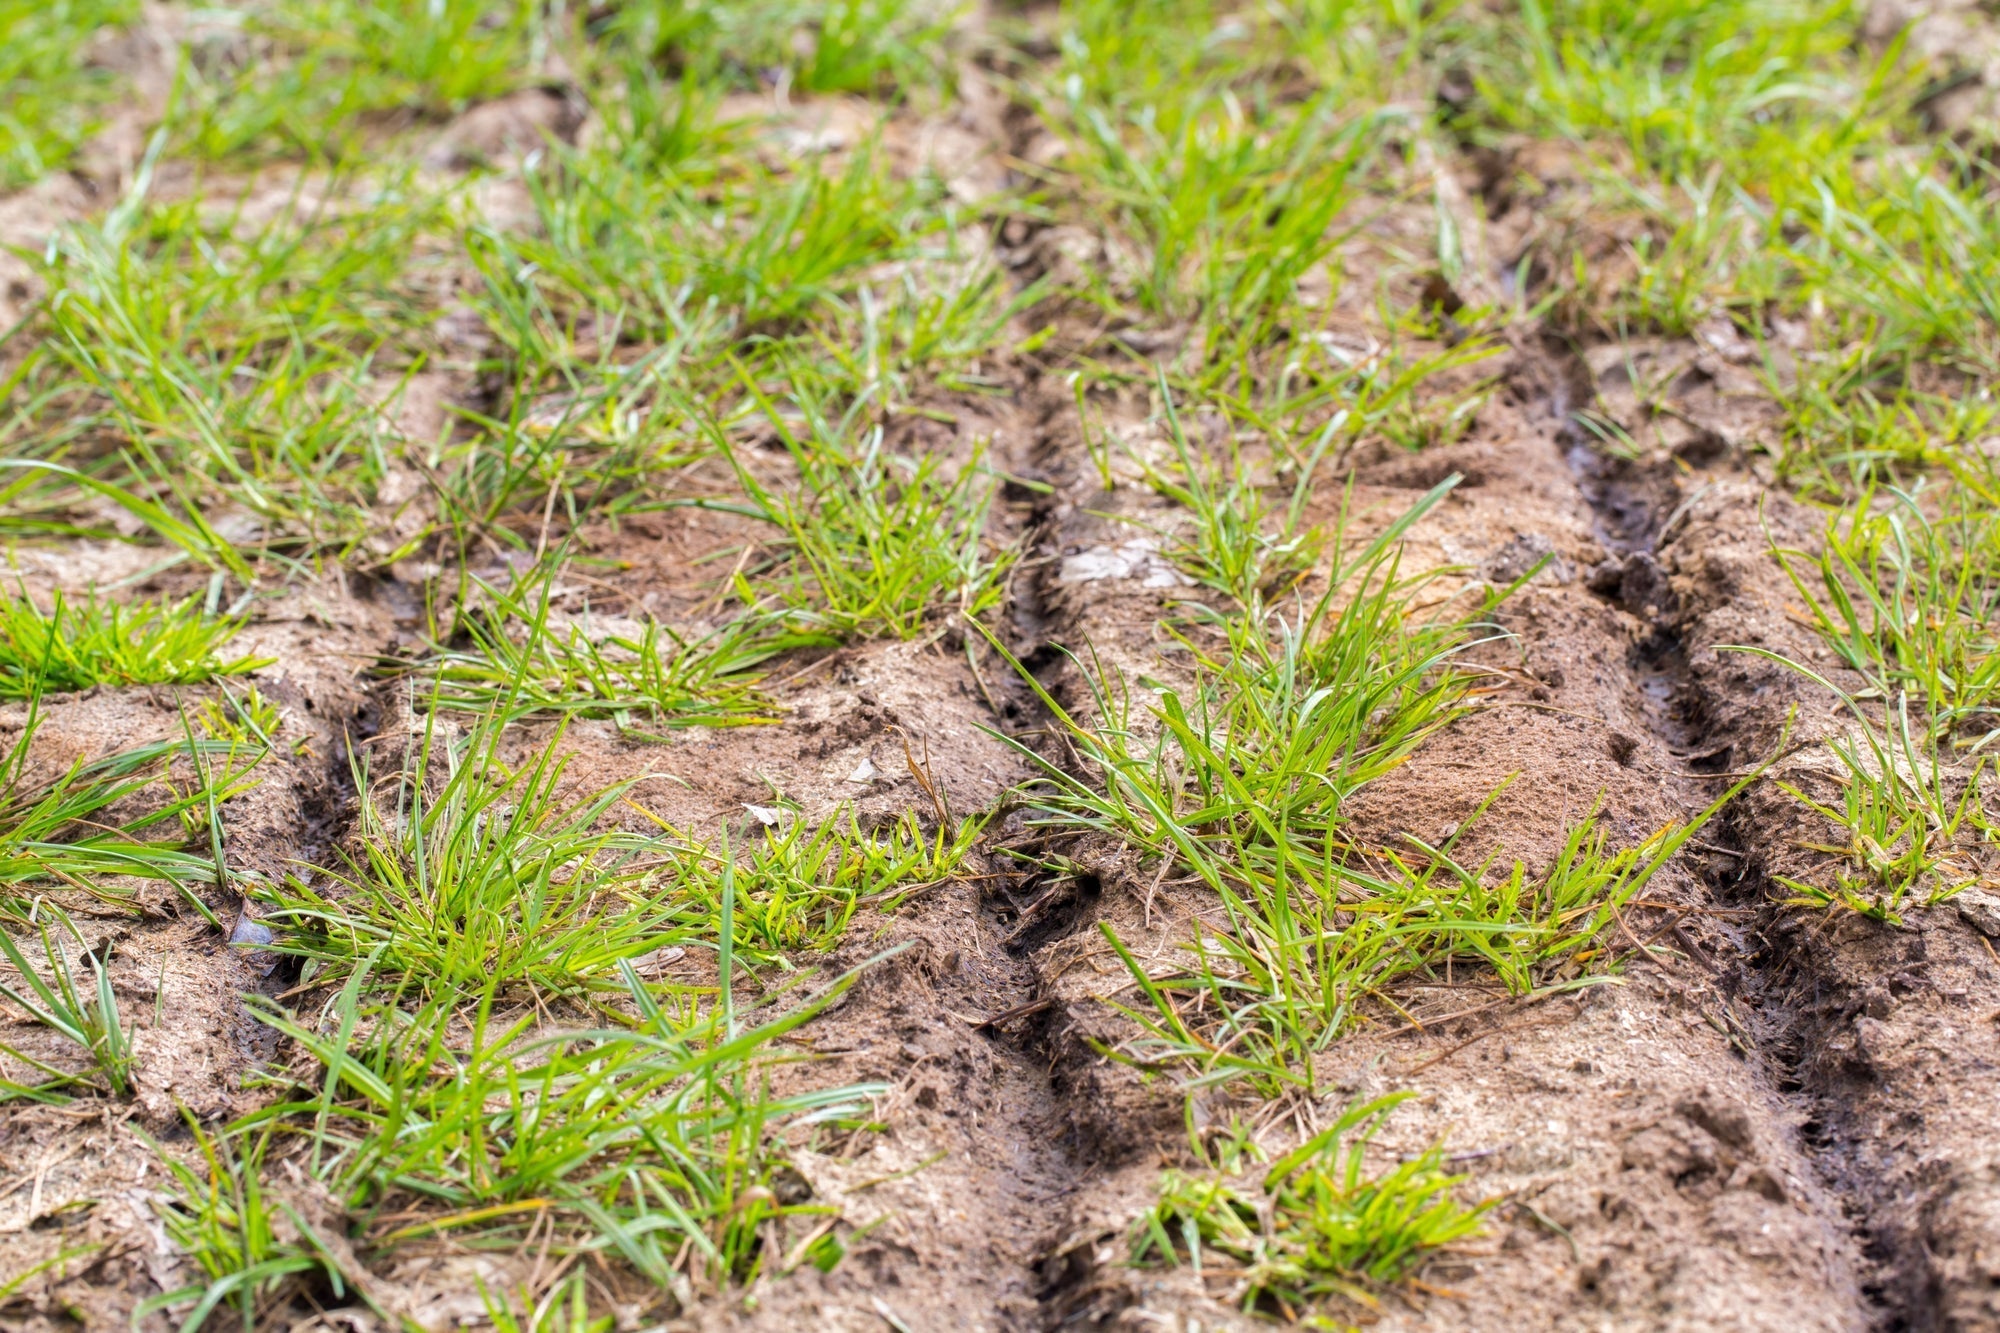
Bodenverbesserung im Garten: So verbesserst du deinen Gartenboden im Frühjahr für gesunde Pflanzen
Inhaltsverzeichnis Warum Bodenverbesserung im Garten im Frühjahr so wichtig für einen gesunden Gartenboden ist Gartenboden nach dem Winter prüfen: Bodenstruktur, Verdichtung und Bodenart erke...
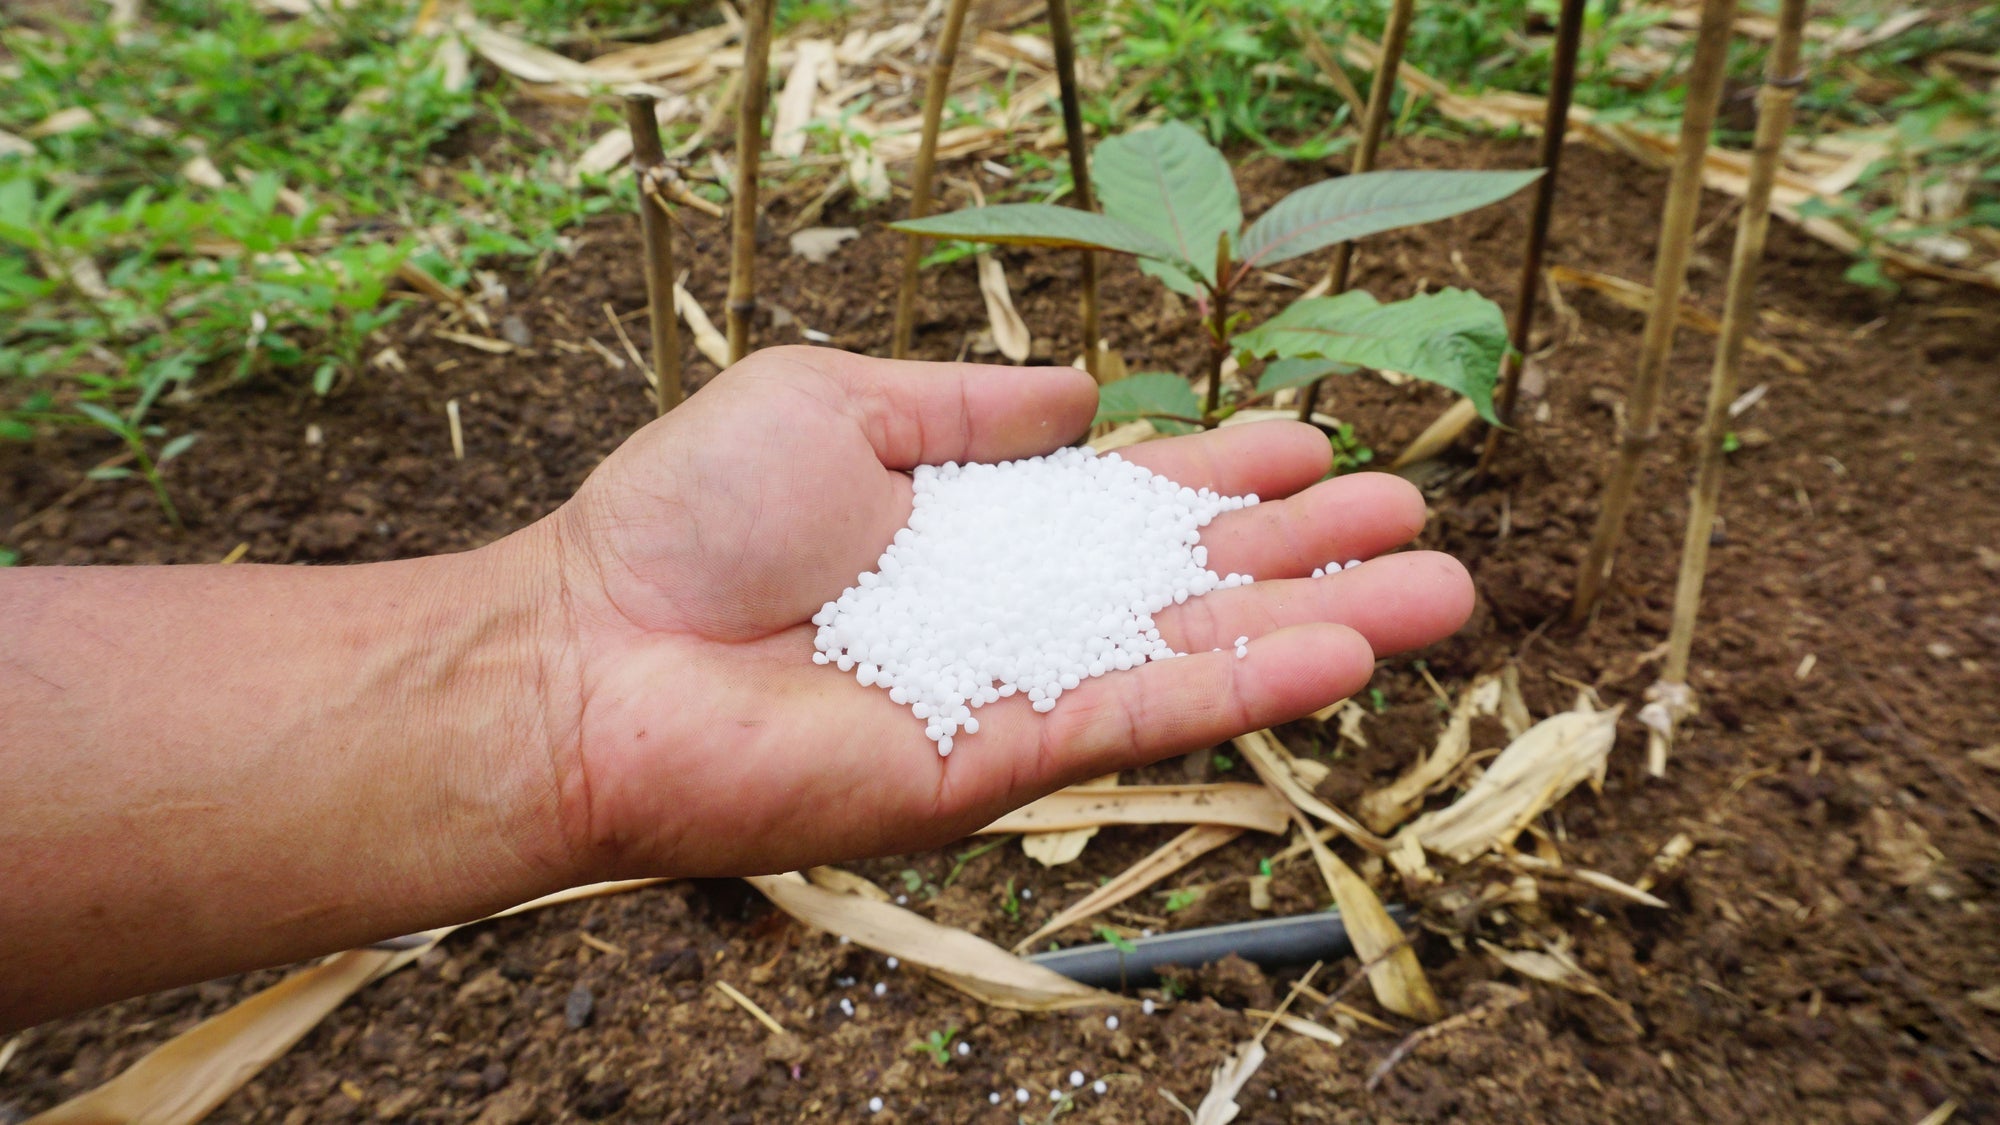
Richtig Düngen im Garten: Schritt für Schritt erklärt
Inhaltsverzeichnis Warum Düngen im Garten so wichtig ist Bodenanalyse: Grundlage für die richtige Düngung Organische vs. mineralische Dünger: Was ist besser? Kompost, Hornspäne & Co.: Organi...


