


Protect Garden Beds & Roots with Mulch | FUXTEC
Protecting Beds and Roots with Mulch: How to Keep Soil, Plants and Harvests Healthy Long-Term
Healthy soil is the best insurance for your garden. With mulch, you can keep it moist, loose and full of life – without a great deal of effort. Here at FUXTEC, we show you how to protect beds and roots with mulch, which materials really work, and how to lay a long-lasting mulch layer step by step. Your flowers, vegetables and shrubs will benefit from steady growth, less stress and an extra boost of nutrients.
Mulch protects soil, roots and moisture levels – and saves you time on watering and maintenance.
What mulch is – and why it works so well
Mulch is any protective layer applied to the soil surface. It can be organic – such as bark mulch, leaves, compost or grass clippings – or inorganic, for example gravel or stone chippings. The principle is always the same: mulch covers the soil, slows evaporation, moderates temperature extremes and keeps the soil crumbly for longer. At the same time, it suppresses weeds and protects exposed roots.
Organic mulch is particularly valuable. It feeds soil organisms, which use it to build humus. This improves structure, water retention and nutrient availability. As a bonus, mulch also reduces erosion from rain and wind. For sensitive plants, the layer protects the root zone from heat, frost and physical damage.
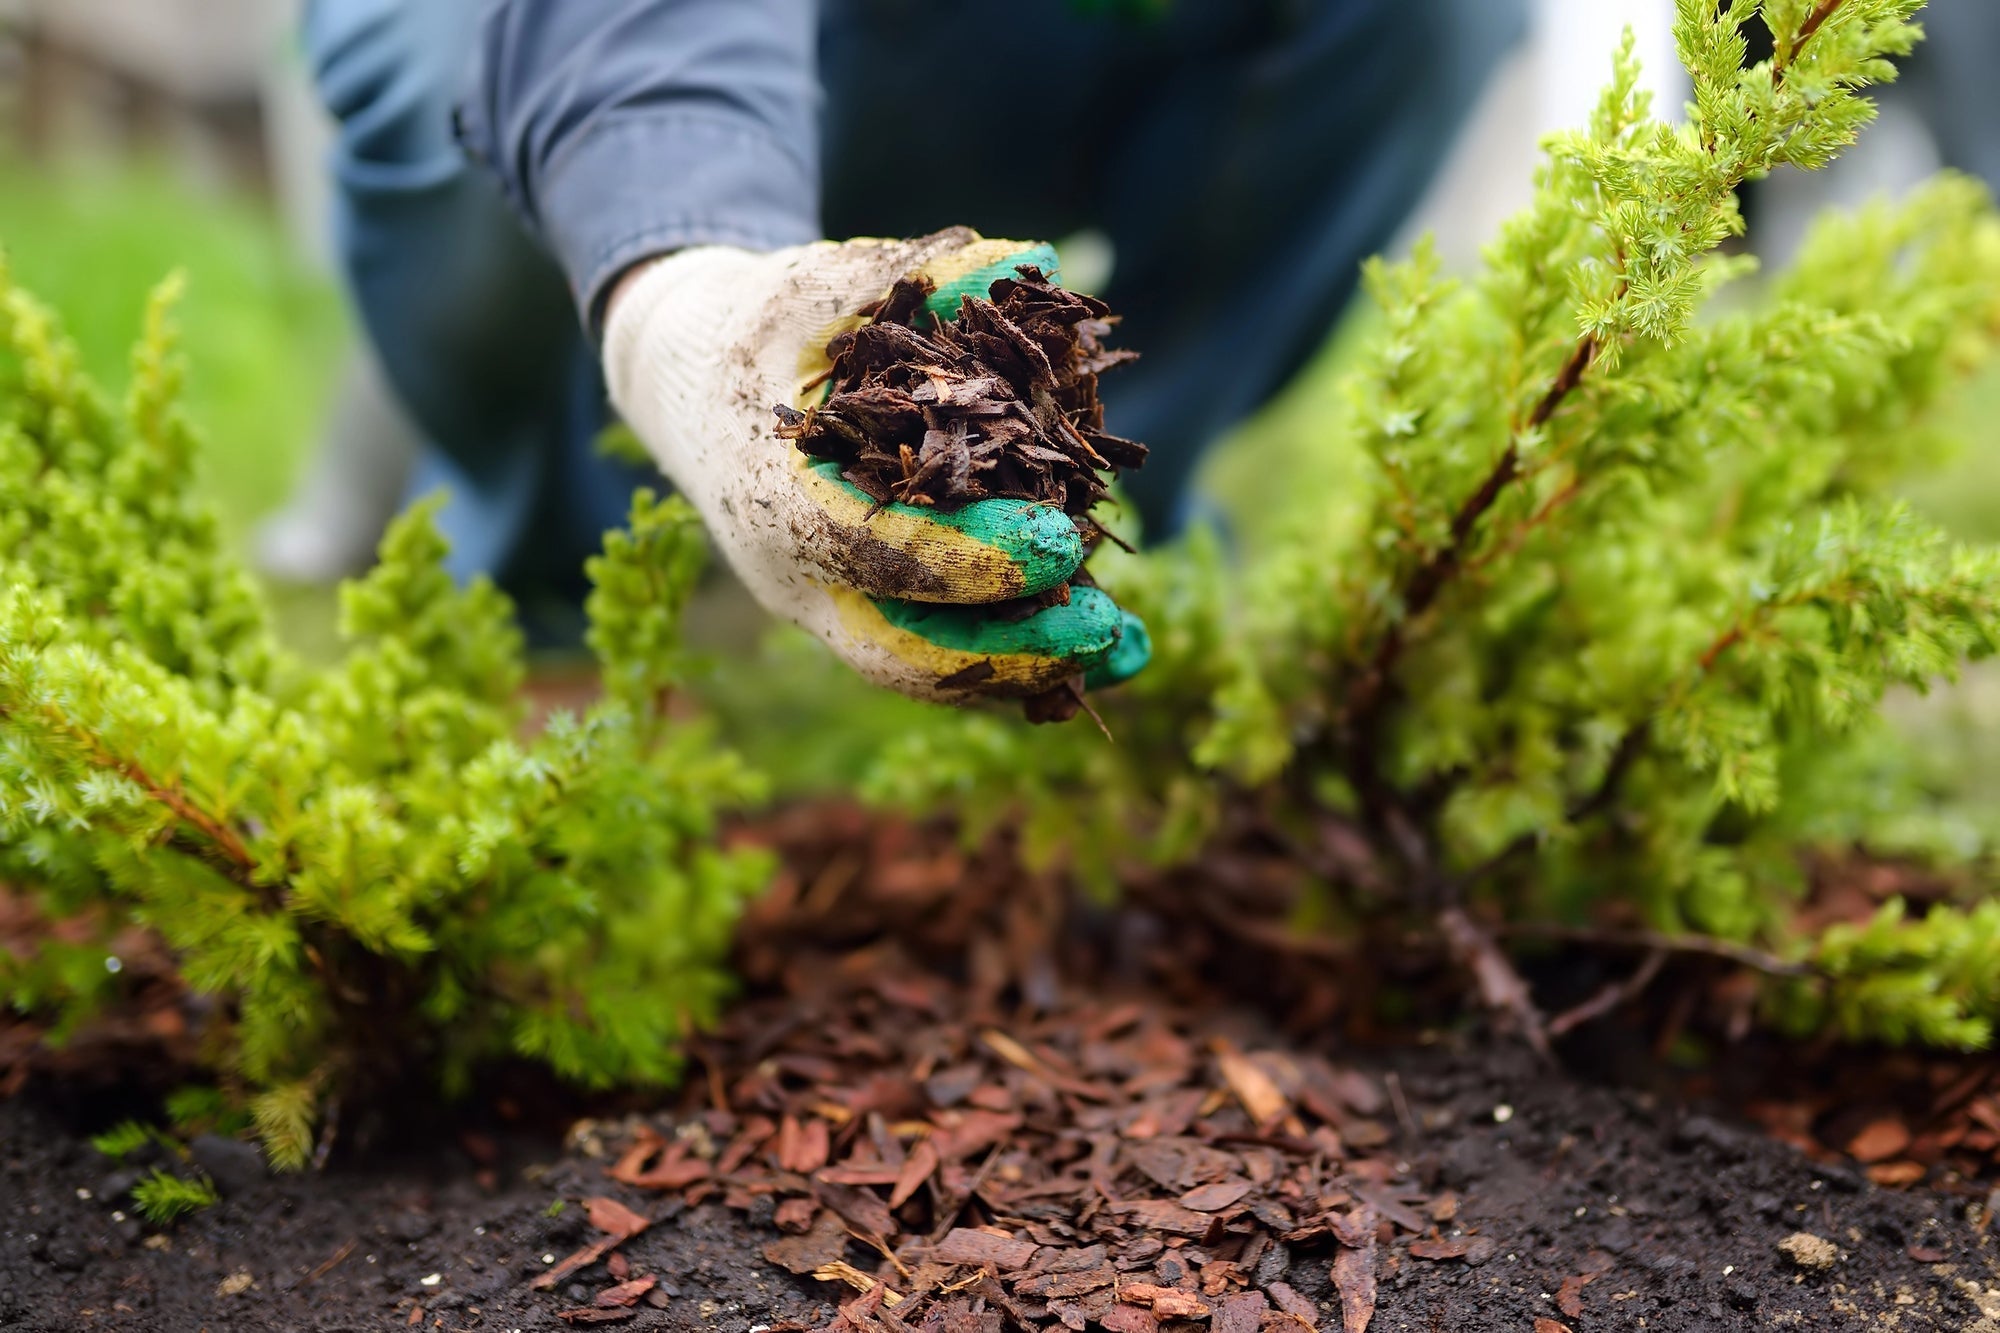
The best mulch materials for your beds
Not every material suits every bed. Vegetables prefer finer, nutrient-rich mulches such as compost or well-dried grass clippings. Beds with shrubs and ornamental bushes do very well with coarser wood chippings or bark. For dry or gravel gardens, inorganic mulch can be a sensible choice. It's important to keep an eye on layer depth, decomposition rate and pH effect.
A quick overview to help you choose:
| Mulch Type | Suitable For | Advantages | Recommended Depth | Longevity | Notes |
|---|---|---|---|---|---|
| Bark mulch (conifer) | Ornamental beds, pathways, under shrubs | Excellent weed suppression, prevents drying out | 5–8 cm | Slow | Can temporarily lock up nitrogen; mix in horn meal for hungry plants |
| Wood chippings (branch and shrub prunings) | Hedges, fruit trees, perennials | Light and airy, long-lasting, good frost and heat protection | 5–10 cm | Slow | Apply loosely; do not push against the base of stems |
| Leaves (partially dried) | Vegetable beds, soft fruit, perennials | Free, promotes soil life, protects earthworms | 3–5 cm | Medium | Shred thick layers first; sycamore and oak leaves can slightly acidify soil |
| Grass clippings (dried) | Vegetables, potatoes, tomatoes | Quick nutrient release, retains moisture | 2–3 cm | Fast | Always allow to dry first; apply thinly and refresh regularly |
| Straw | Strawberries, courgettes, cucumbers | Keeps fruit clean, good moisture protection | 5–7 cm | Medium | Low in nutrients; combine with compost if needed |
| Mature compost | Vegetable and herb beds | Nutrient boost, activates soil life | 1–2 cm | Medium | Ideal as a base layer; top with fine mulch to prevent drying out |
| Pine bark | Ornamental beds, rhododendrons | Attractive appearance, long-lasting | 5–8 cm | Slow | Slightly acidifying – ideal for ericaceous plants |
| Gravel/stone chippings (inorganic) | Gravel and steppe beds, containers | Very long-lasting, retains warmth | 3–5 cm | Very slow | No nutrients – combine with organic feeding |
Go for locally available materials – this is sustainable and often more cost-effective. With a FUXTEC shredder, you can turn pruned branches and shrub trimmings into perfectly sized wood chippings for trees and hedges. For a nutrient boost in vegetable beds, fine crumbly compost works brilliantly. And when the lawn grows, a mulching mower provides handy grass clippings – make sure they are well dried first (see mowing the lawn – tips and using a mulching mower).
How to mulch beds and protect roots step by step
Good preparation determines the quality of your mulch layer. Remove coarse weeds, lightly loosen any crusted surface soil and water the ground if it is dry. Then spread your chosen material evenly. Important: avoid direct contact between mulch and stems or the base of trunks, to prevent rotting.
Here's how to go about it properly:
1. Lightly loosen the soil surface and remove coarse weeds – including persistent ones such as nettles.
2. If needed, work in a thin layer of compost, then water thoroughly.
3. Apply mulch evenly: 2–10 cm depending on the material.
4. Leave a 5–10 cm gap around stems, trunks and leaf bases.
5. On slopes, "anchor" the mulch with branches or coarse chippings to stop it sliding away.
6. Check after 2–4 weeks and top up as needed.
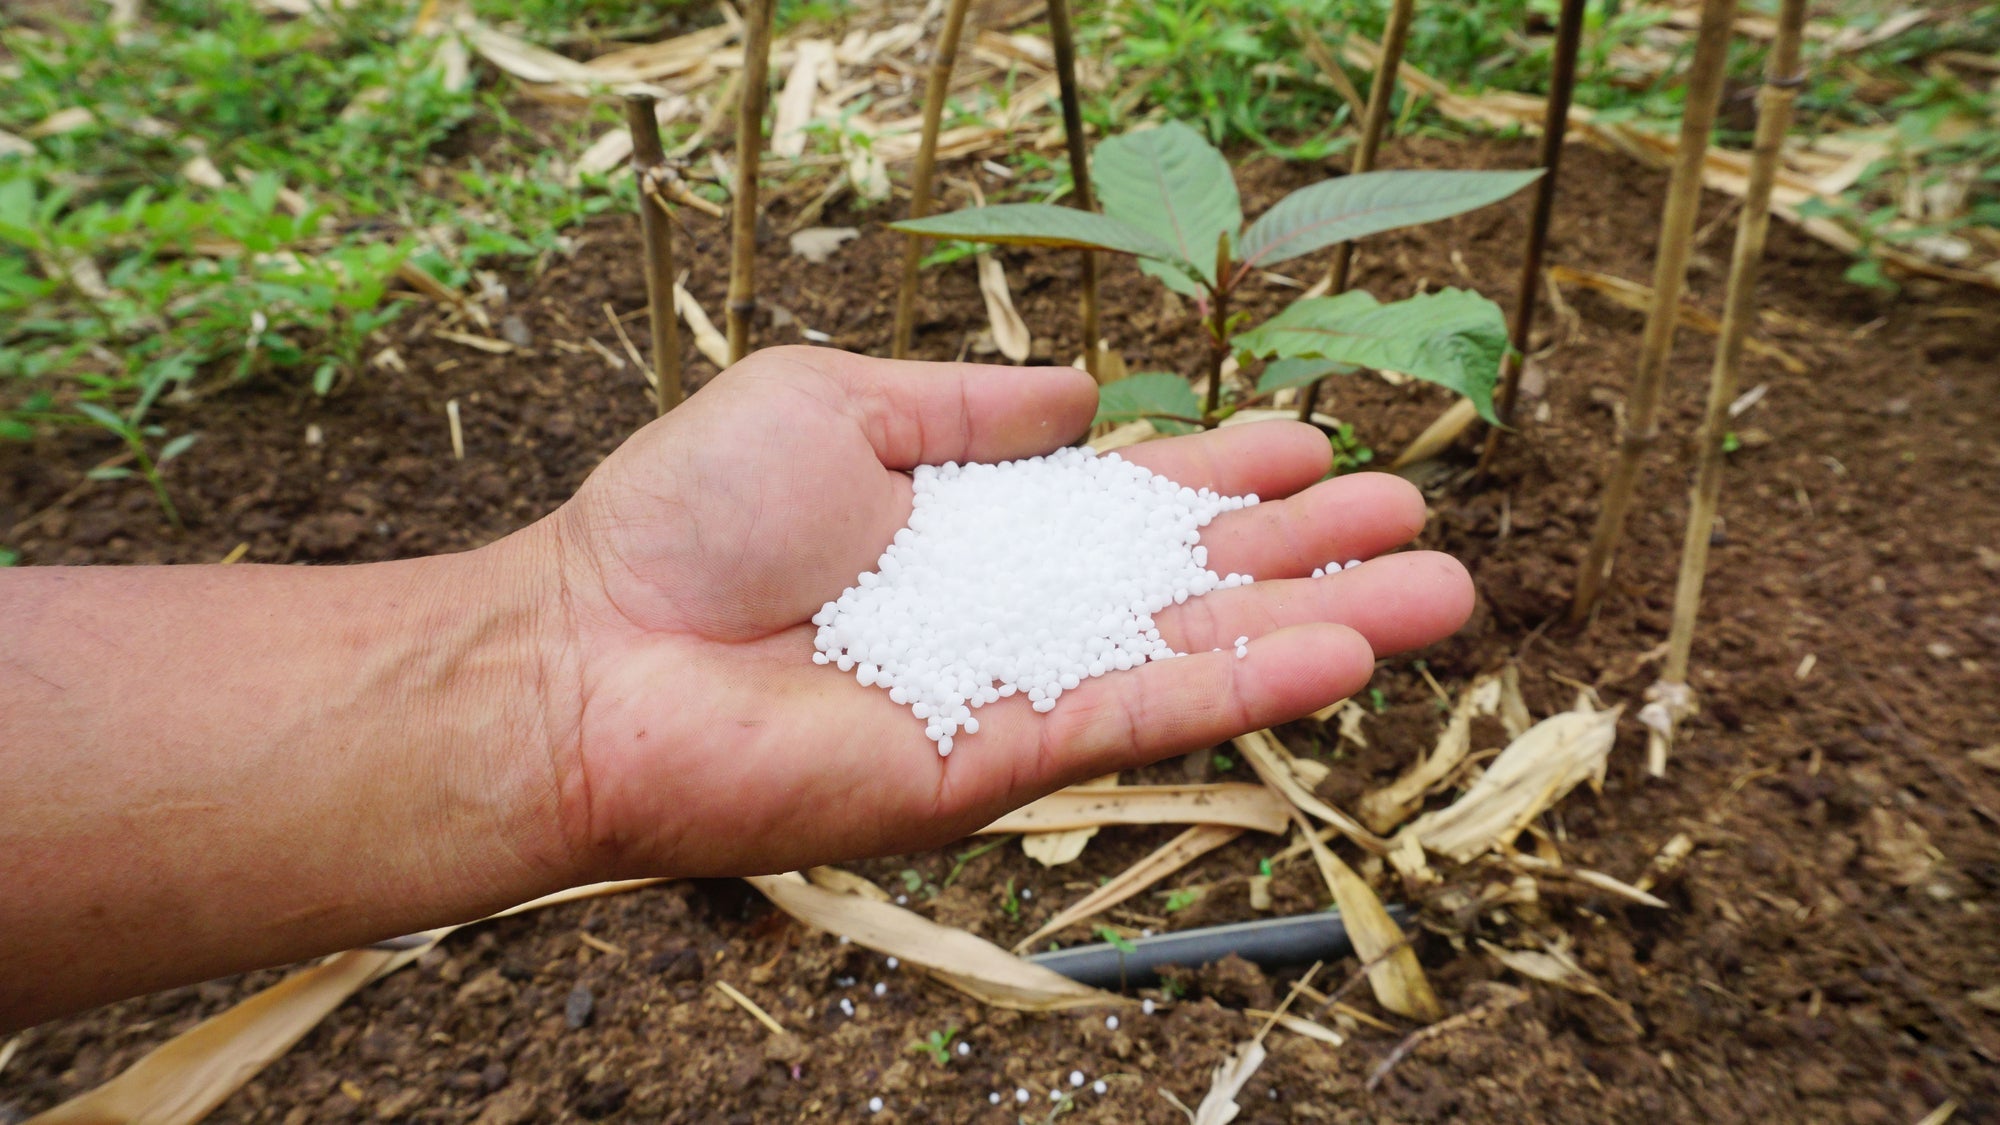
7. For heavy-feeding crops (tomatoes, brassicas), scatter horn meal or organic fertiliser beneath the mulch layer.
8. During dry spells, water less frequently but more thoroughly – mulch keeps moisture in the soil for longer.
Mulch must not be airtight. Thick layers of grass clippings can mat together. Always let them dry out first and top up in thin layers more frequently instead. Edges can be neatly defined with a taut string line or a lawn edging tool – this looks tidy and keeps the layer exactly where it should be.
Mulching through the seasons: timing it right
Spring and autumn are the ideal windows. In spring, mulch protects young roots from late frosts and retains early moisture in the soil. In summer, the layer moderates heat and slows evaporation. In autumn, it protects the soil structure from heavy rain and prepares the ground for winter. In winter, a light, not overly thick layer is sufficient as a buffer against the cold.
Here's what works well throughout the year:
- Spring: 2–3 cm of compost as a nutrient layer, topped with fine mulch to prevent drying out.
- Early summer: refresh grass clippings thinly and regularly, especially on vegetable beds.
- Midsummer: mulch maintenance rather than digging – fill gaps, check layer depth.
- Autumn: shred fallen leaves and use as a covering; supply woody plants with wood chippings.
- Winter: keep the protective layer loose, avoid waterlogging, keep stem bases clear.
With a FUXTEC vacuum shredder, autumn leaves are quickly turned into fine, ideal mulch. This lets you make use of organic material right on the spot, closing the nutrient loop in your own garden.
Common mistakes – and how to avoid them
Mulch is fairly forgiving, but there are a few pitfalls to watch out for. Layers that are too thick can suffocate the soil. Wet, fine materials are prone to rotting. And with fresh, woody mulch, nitrogen can become scarce because micro-organisms lock it up as they break the material down. All of this is easy to avoid.
Here's what matters:
- Adjust layer depth: fine mulches 2–3 cm, coarse ones 5–10 cm.
- Keep the base of stems clear: leave a 5–10 cm gap around stems and trunks.
- Dry out grass clippings: never apply in clumps.
- Watch nitrogen levels: scatter horn meal or compost beneath wood mulch.
- Don't mulch over weed patches: remove them first, then cover.
- Reduce slug risk: opt for coarser, drier mulches on vegetable beds and water in the evening.
If mulch smells musty, the layer was too wet or too compact. In that case, lightly aerate it, loosen the material and apply a fresh thin layer. This keeps everything airy, active and odour-free.
Mulch for vegetables, fruit and ornamental beds – what really works
Vegetable beds benefit from nutrient-rich, fine mulches. Compost topped with a thin layer of grass clippings retains moisture and supplies nitrogen. For tomatoes, peppers and courgettes, straw works well, as it keeps the fruit clean. Brassicas appreciate compost-rich mulch mixes that release nutrients slowly. Herbs that prefer drier conditions do well with gravel or very thin organic layers.
For soft fruit, straw or wood chippings protect the shallow roots. Strawberries appreciate straw for keeping the fruit clean and dry. Under blueberries and rhododendrons, slightly acidic mulch such as pine bark is ideal. In ornamental beds, pine bark is both attractive and functional. Under perennials, wood chippings last well and maintain a stable structure. Trees and hedges benefit from wide mulch circles of coarse chippings – this reduces root competition and keeps watering needs low. Complementing this with the right hedge feeding supports sustainable, long-term growth.
Sustainable mulching with FUXTEC power
Mulching becomes even more sustainable when you produce your own material. With a FUXTEC shredder, you can turn pruned branches into structurally stable wood chippings. Perfect for hedges, shrub borders and tree circles. Your lawn supplies a regular flow of fine clippings with a mulching mower – use them directly as a fertilising mulch or dried out on vegetable beds. This saves transport, costs and packaging.
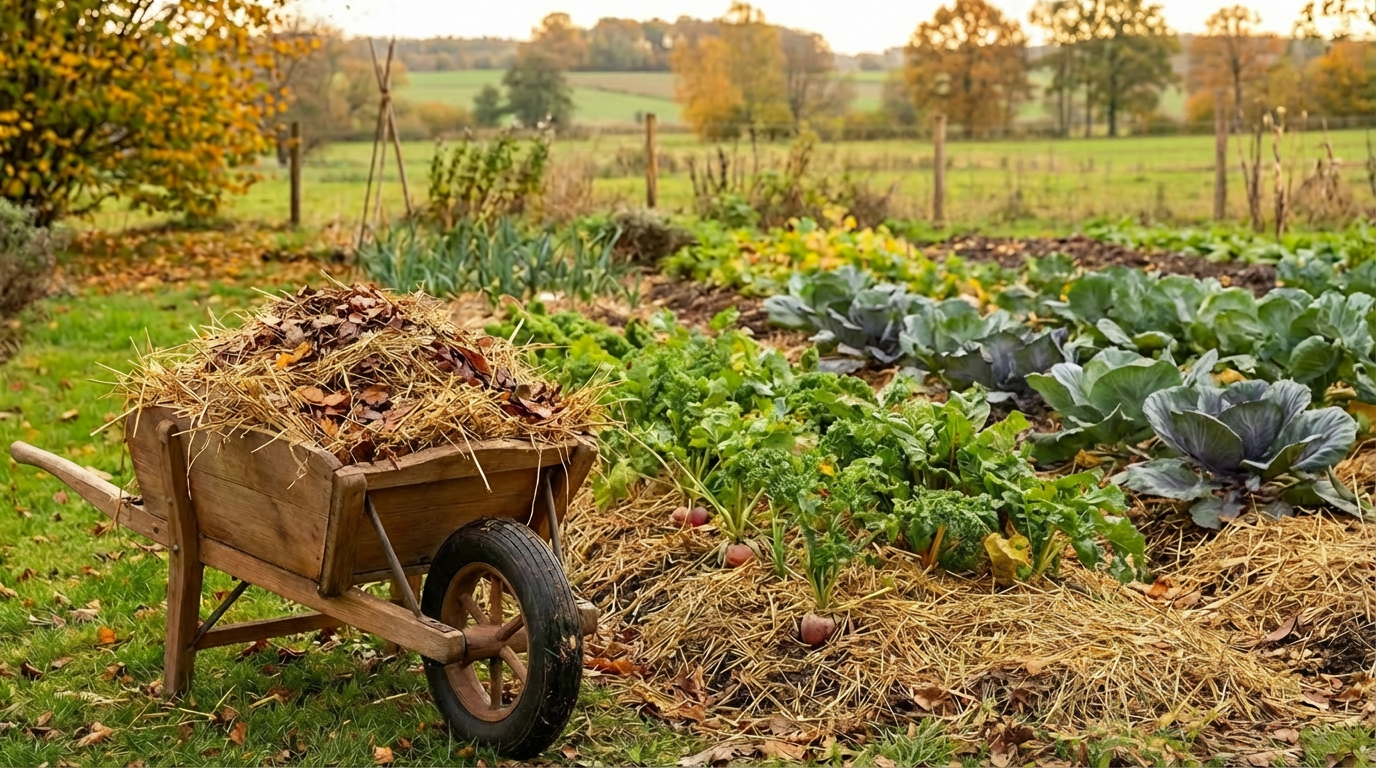
The right equipment also helps with ongoing maintenance. A FUXTEC leaf blower or vacuum shredder collects leaves quickly and chops them into mulch-ready material. With a wheelbarrow and rake, you can spread everything evenly. This makes it effortless to protect beds and roots with mulch and build lasting soil fertility.
Our verdict for your garden
Mulch is one of the simplest and most effective things you can do in the garden. It protects the soil, stabilises moisture levels and shields roots from stress. Applied correctly, it saves you time on watering and weeding, encourages soil life and helps your plants develop healthily and consistently.
If you want to protect beds and roots with mulch, choose the right materials, keep the layer airy and give it a little attention throughout the year. With the right tools from FUXTEC, you can make full use of resources from your own garden – efficiently, sustainably and with impressive results. Your garden will stay productive, low-maintenance and full of vitality for years to come.
Everything for your garden

More articles about garden care
Mulchen mit Pinienrinde: So nutzt du organischen Mulch, um Unkraut zu verhindern
Das Mulchen mit Pinienrinde gehört zu den effektivsten Methoden im modernen Gartenbau und in der nachhaltigen Landwirtschaft. Dabei wird eine Schicht Mulchmaterial auf die Bodenoberfläche aufgebrac...
Bodenverbesserung im Garten: So verbesserst du deinen Gartenboden im Frühjahr für gesunde Pflanzen
Inhaltsverzeichnis Warum Bodenverbesserung im Garten im Frühjahr so wichtig für einen gesunden Gartenboden ist Gartenboden nach dem Winter prüfen: Bodenstruktur, Verdichtung und Bodenart erke...
Richtig Düngen im Garten: Schritt für Schritt erklärt
Inhaltsverzeichnis Warum Düngen im Garten so wichtig ist Bodenanalyse: Grundlage für die richtige Düngung Organische vs. mineralische Dünger: Was ist besser? Kompost, Hornspäne & Co.: Organi...


